How to shoot a panorama
You’re out with your friends, and you’re standing on top of a mountain from where the view seems great. But your camera just won’t cover it all. There’s also no space to go back, and you’re not carrying a wide angle lens. This is where panoramas come in handy. They allow you to photograph an entire scene and not just part of it.
In the old days, photographers would create panoramas on manually by panning across a scene and taking a couple of exposures on film, then printing and stitching them in a lab. Or you got yourself one of those super expensive panorama cameras like the Hasselblad X-Pan.
It was far from ideal, and it was far from easy.
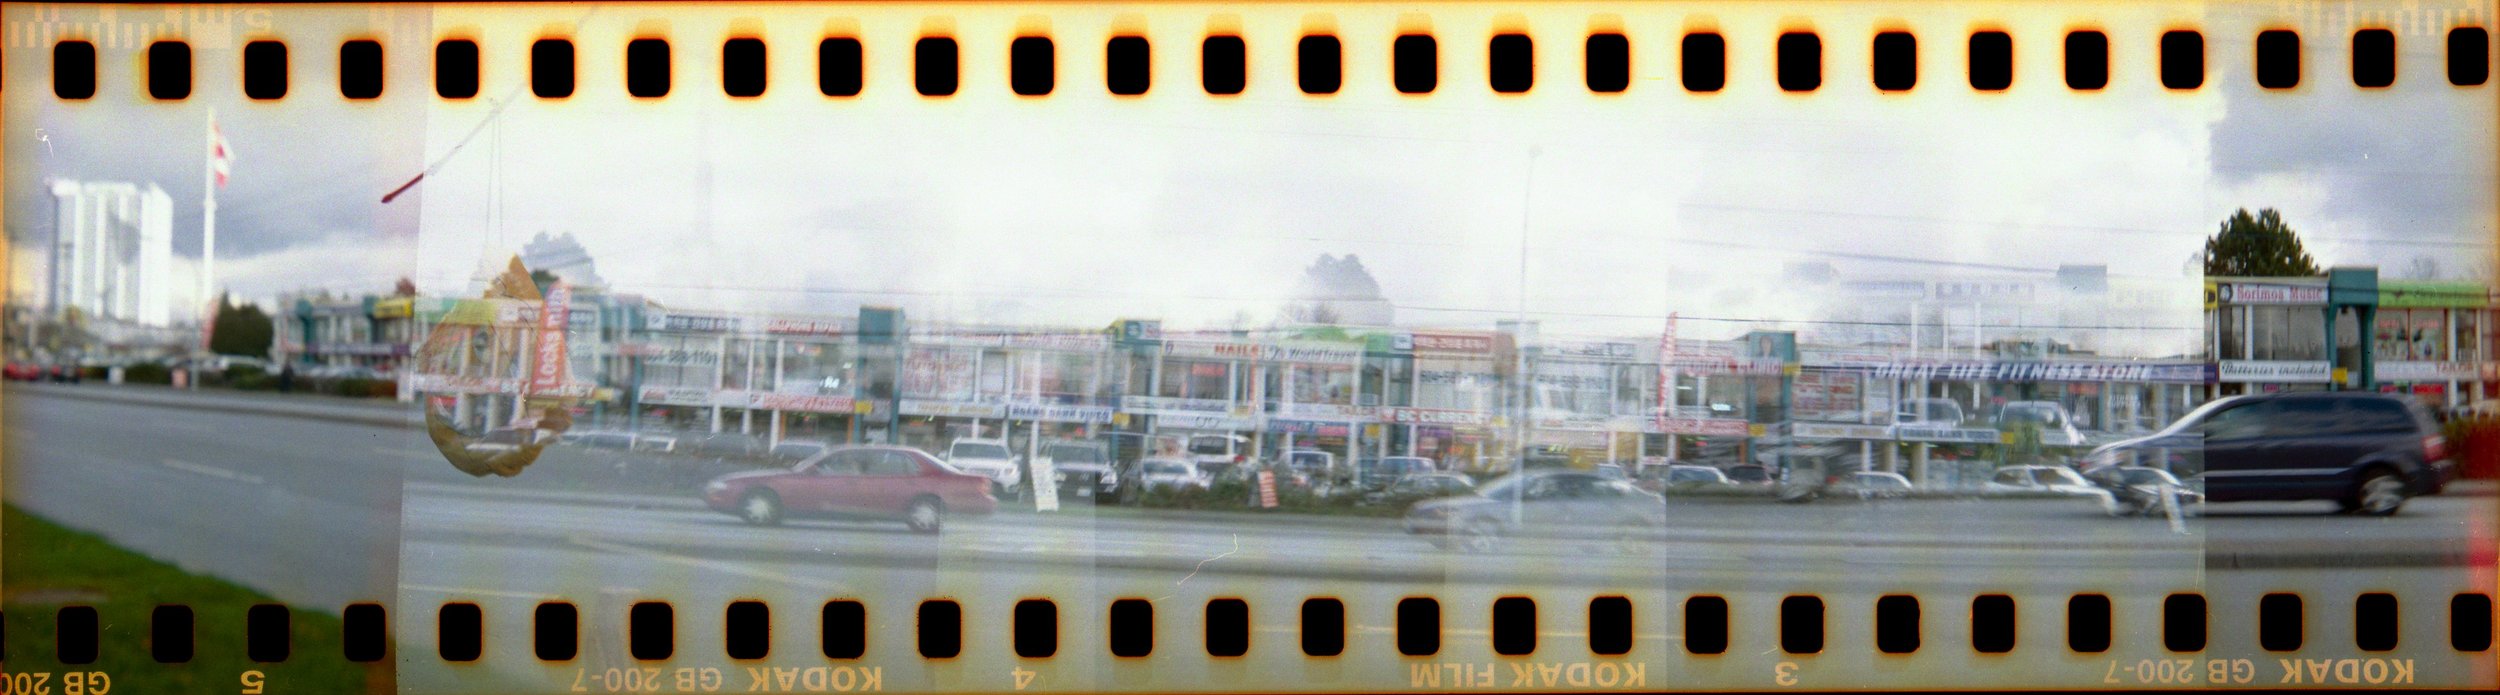
Panorama on film is very tough to achieve
But now, with the help of proper technique and post-processing software, you can get near-perfect panoramic shots. Some photographers stitch over a hundred photographs to create gigapixel panoramas.
WHAT IS A PANORAMA?
Panorama, or panoramic photography is wide-format photography in which you take multiple exposures and merge them together to create a massive picture, sometimes 180 degrees or more. Panorama was introduced by early painters who wanted to give a wider view of the scenes they were trying to project in their paintings.

Panoramic Painting By Maerten van Heemskerck
HOW DO YOU SHOOT A PANORAMA?
A panorama is created in two parts
Photographing the scene via your camera
Using post-processing software for e.g. Adobe Lightroom to merge them together
EQUIPMENT
While there are people who can shoot a panorama handheld, a tripod will allow you shoot images along one horizontal plane easily. You can also get a panoramic head or an L bracket if you’re into real estate or architectural photography. But for our purposes, a tripod should do just fine.
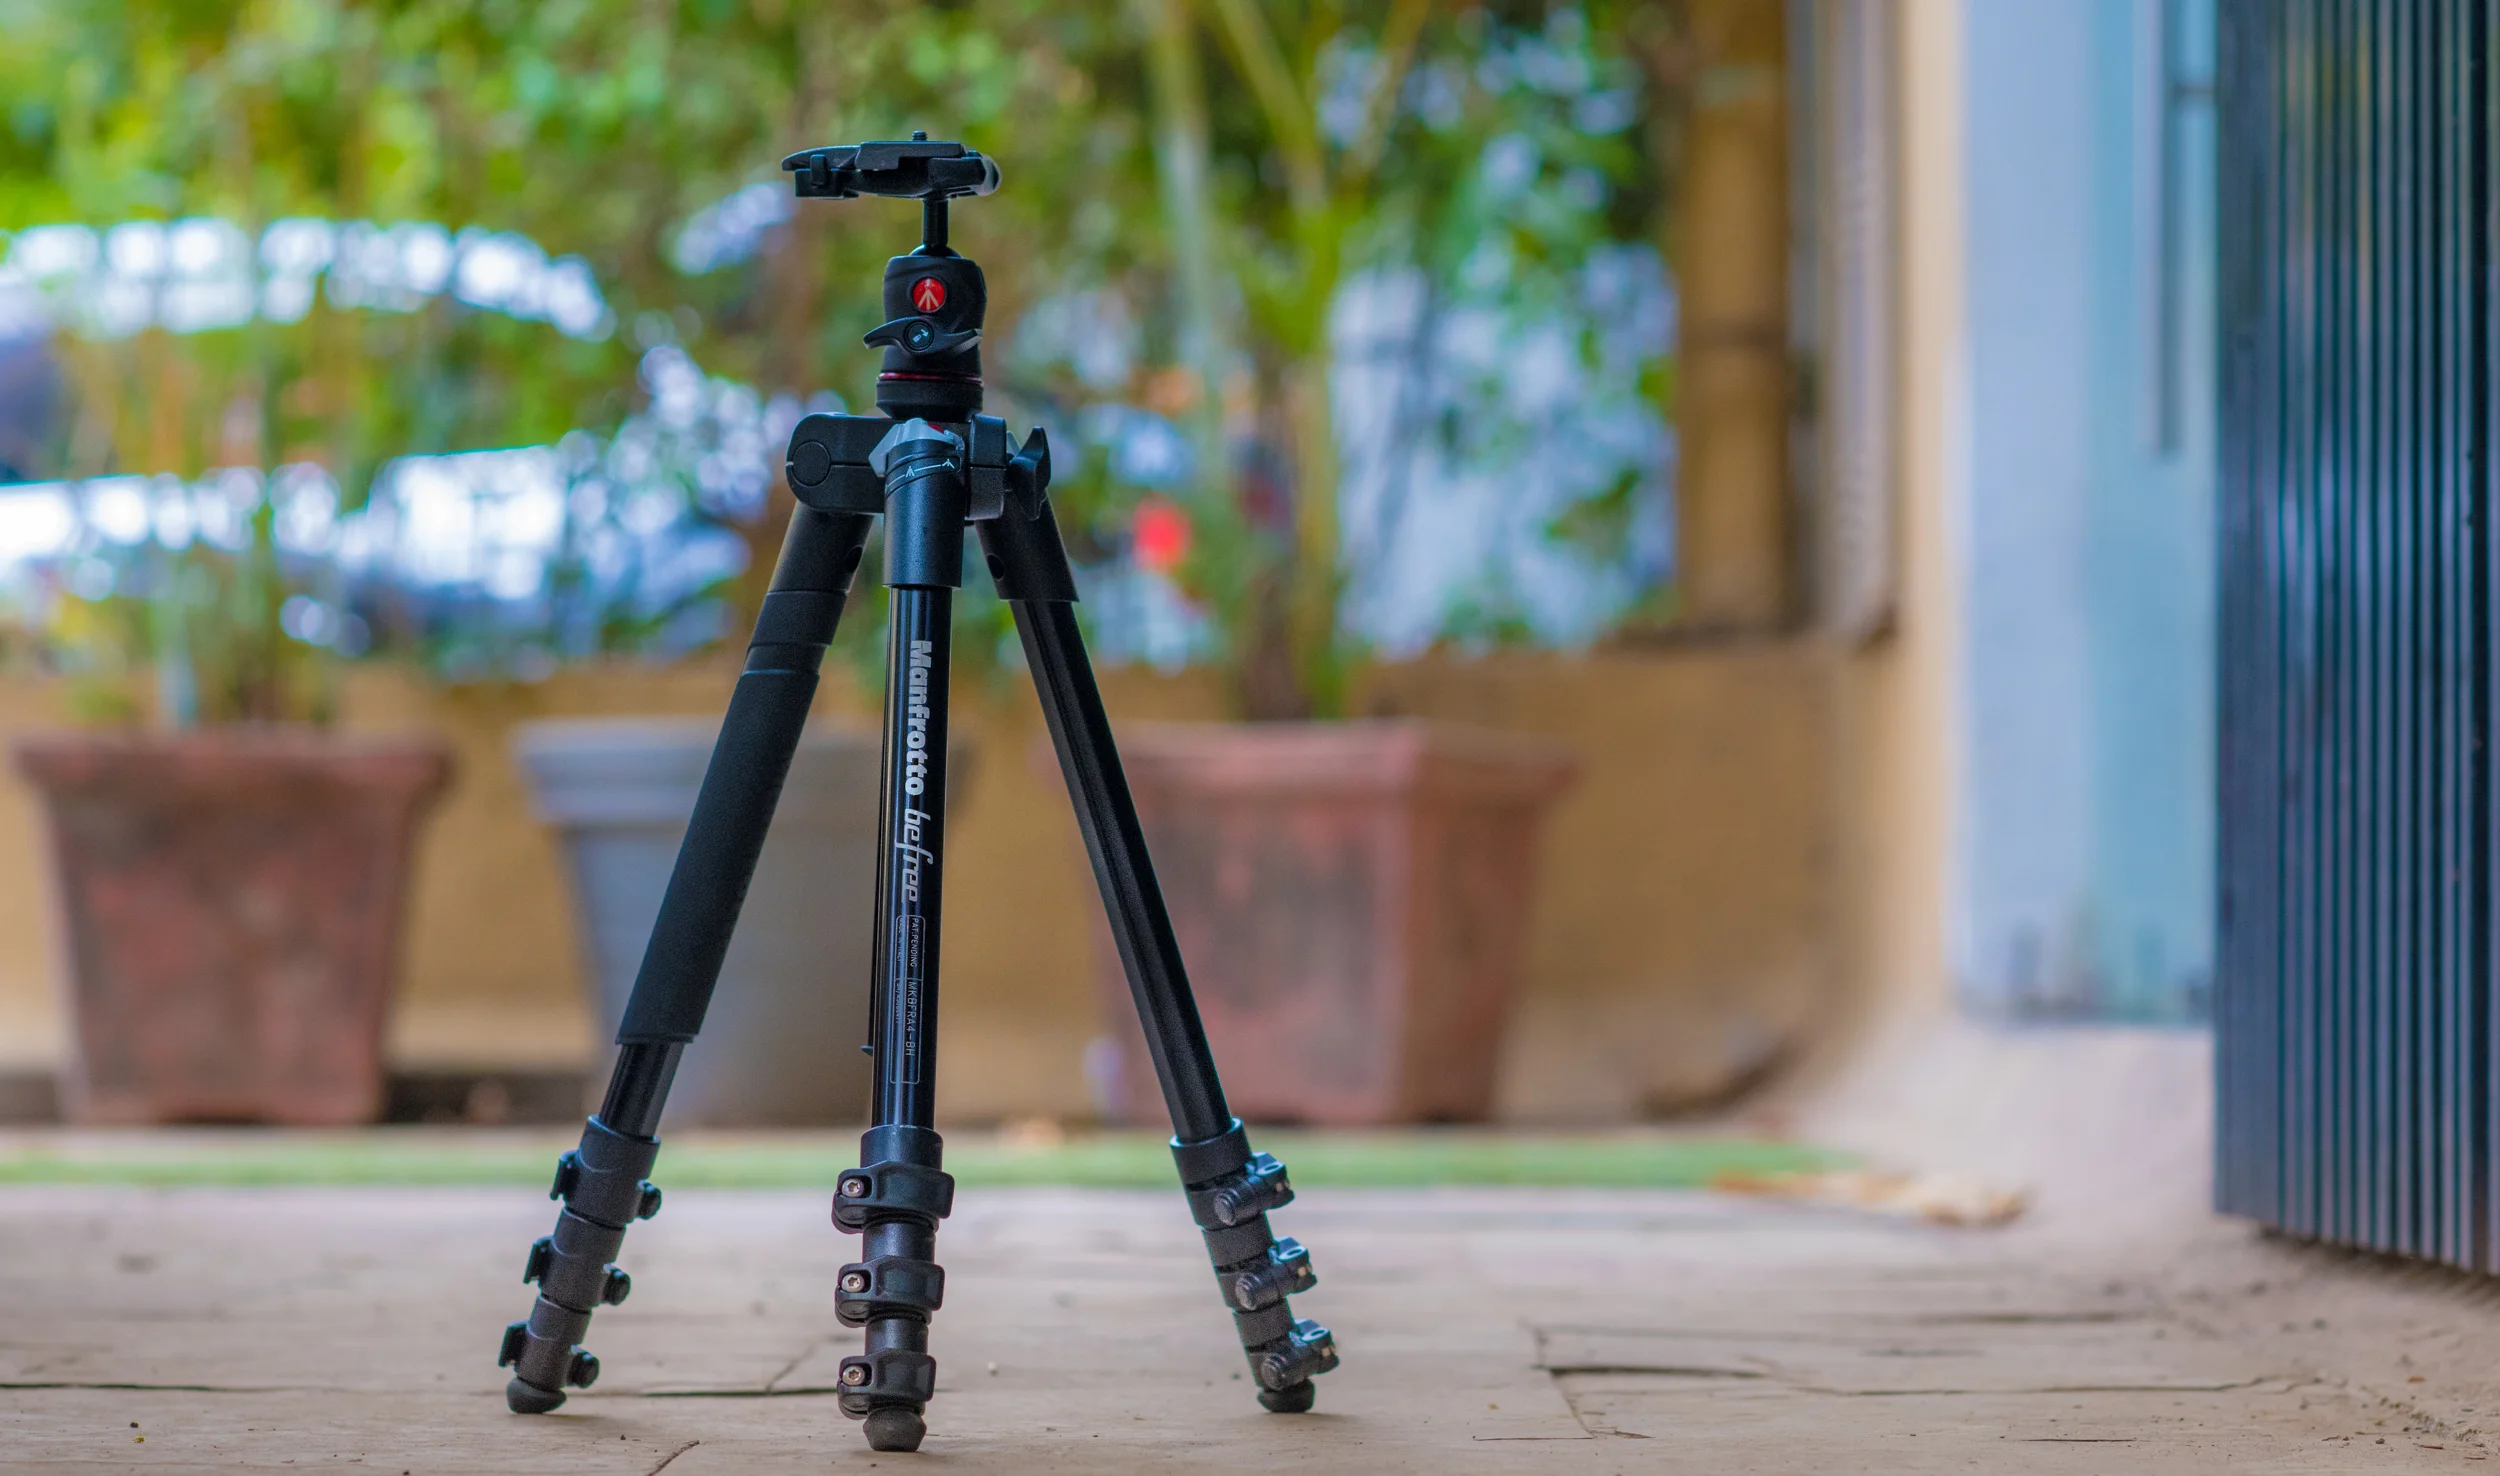
With a tripod, your images will remain level and steady
SETTINGS
Making a panorama look like one photograph is the hard part. Which is why you have to adjust settings manually. The computer in your camera doesn’t know that you’re trying to shoot a panorama, and will expose each shot differently if you left the job of setting the exposure to it.
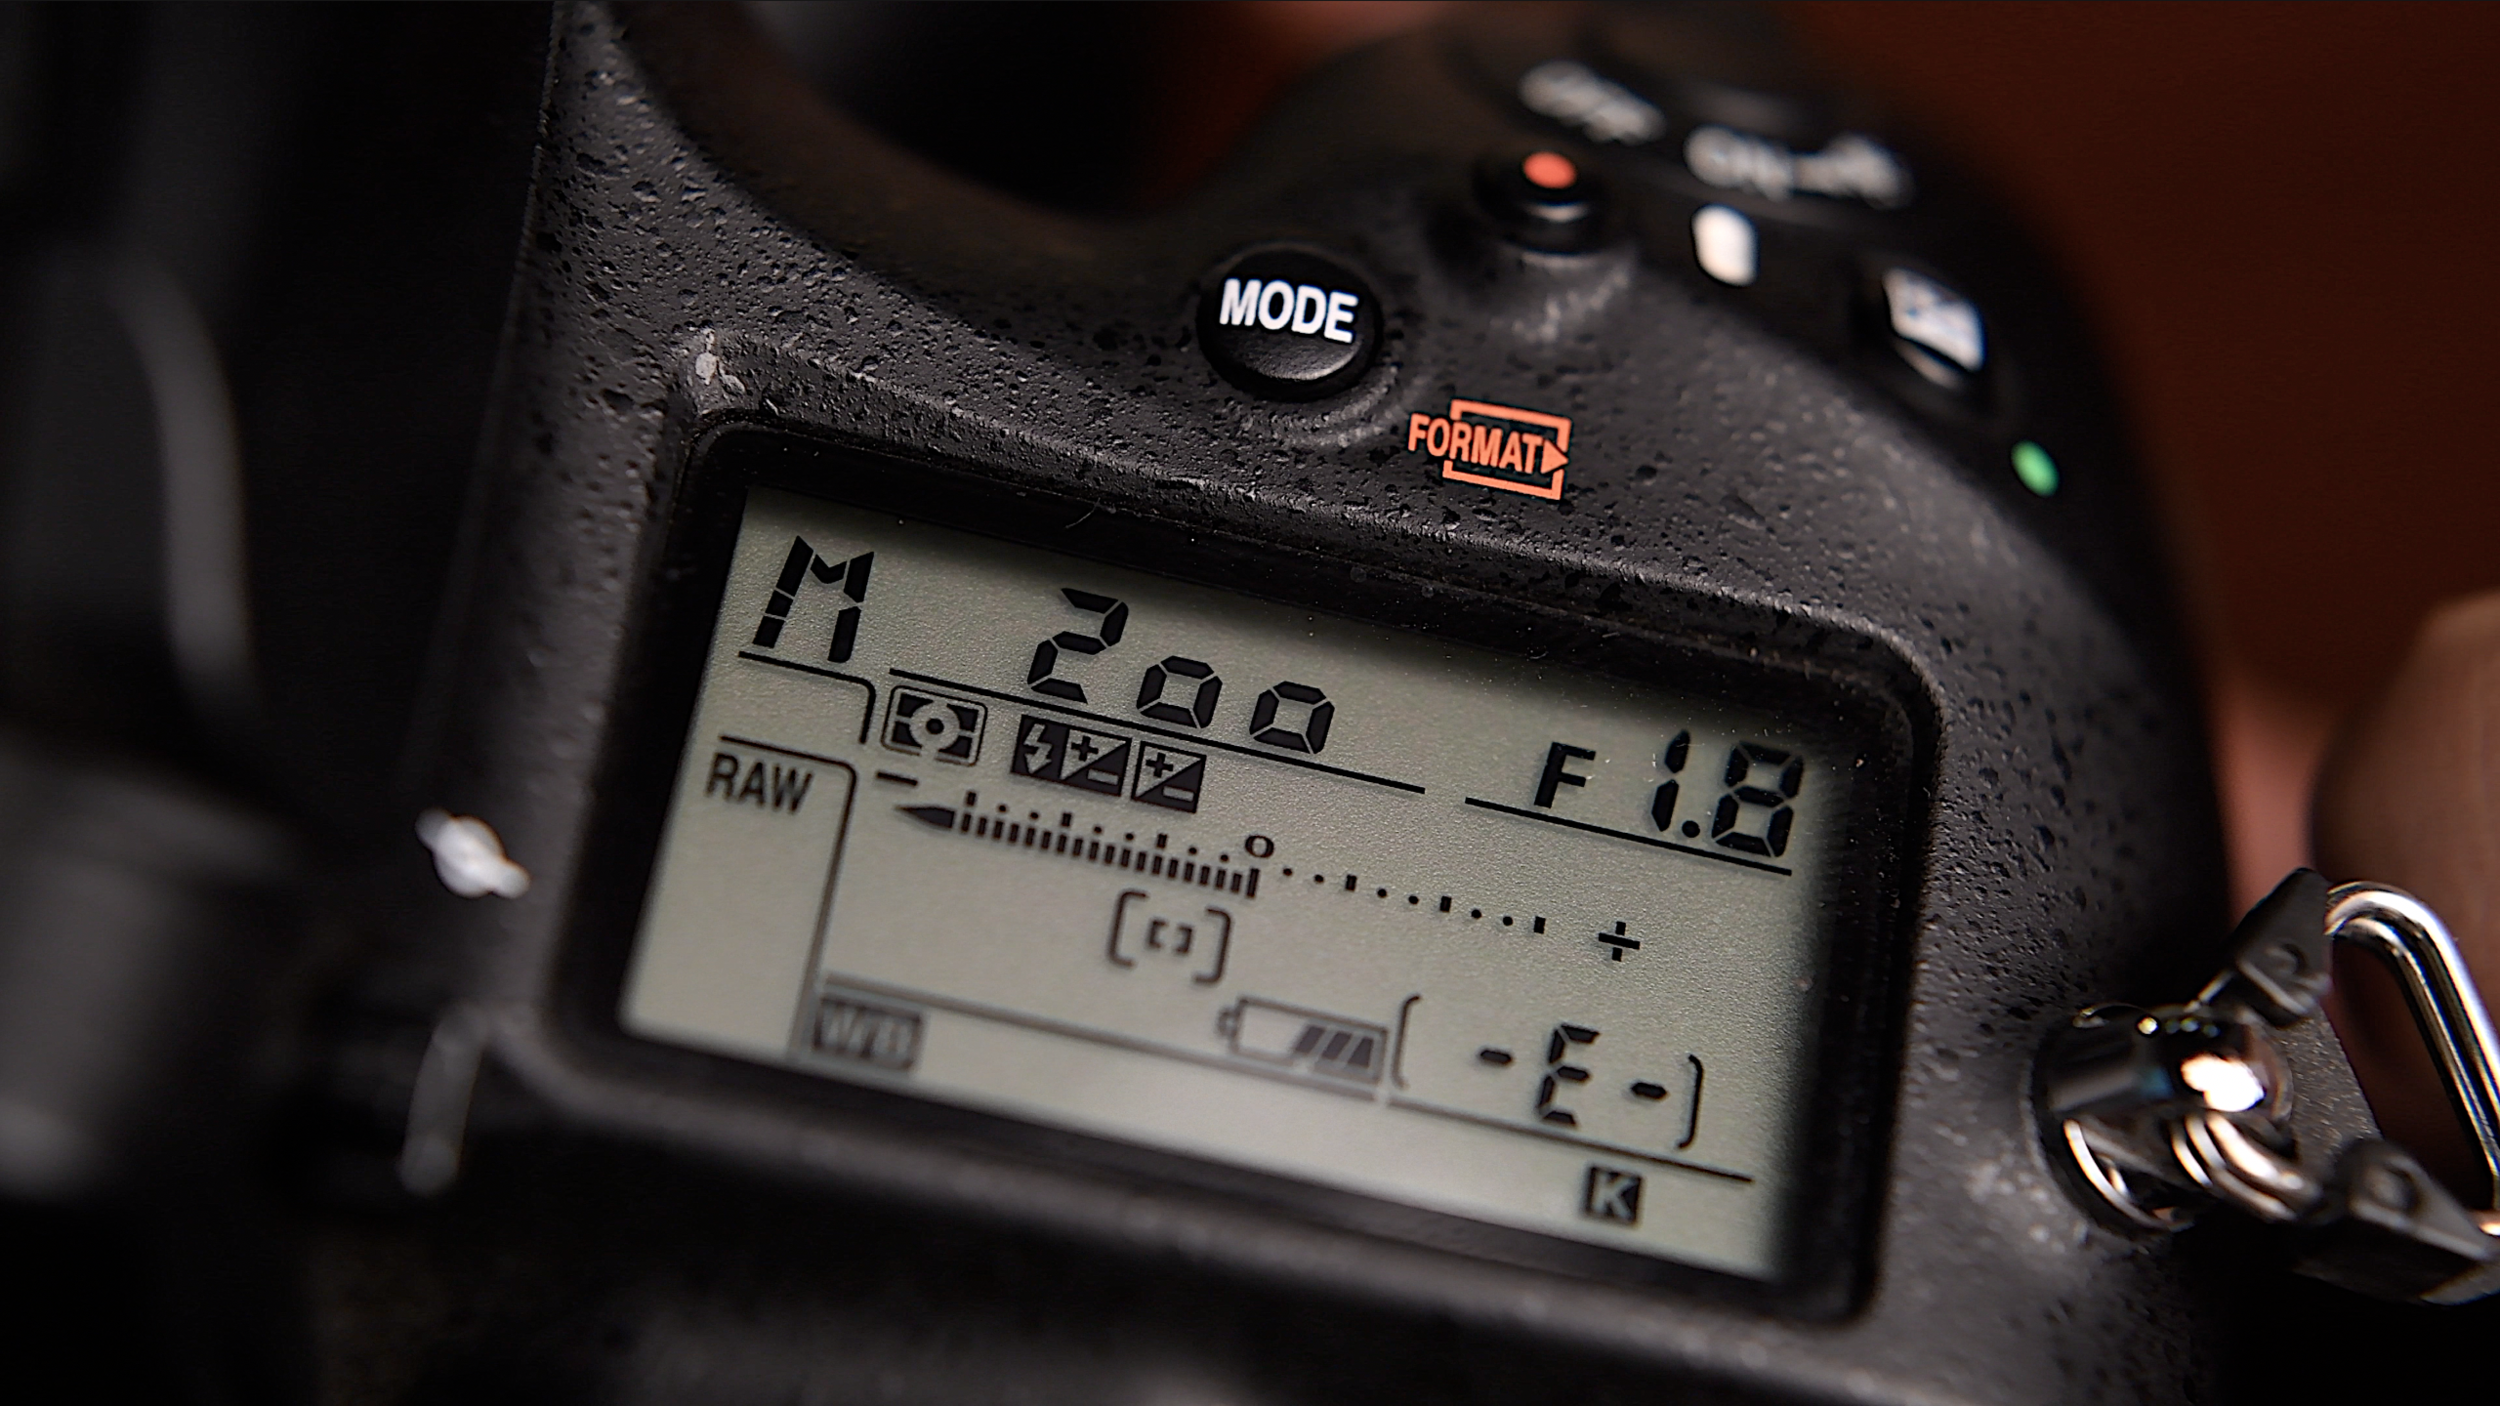
Switch your camera to manual mode and set the exposure manually to avoid varying exposures in every photograph
Focus
Focusing should also be done manually. Your focus should be set to a distant object that you're photographing or at infinity. This way, your camera won't change focus each time you take a picture.
Aperture
Because we want everything in focus, the aperture should be set to a higher f-stop, preferably f.8 or above.
Shutter Speed
Try to find a sweet spot in the center of the photograph using your camera's metering options. Take a few pictures to ensure the bright and dark areas of the photograph are exposed to your liking and not based on the automatic values suggested by your camera.
ISO
Set your ISO manually and use the same ISO for each picture.
White Balance
Because light reflects off each object differently, auto white balance could make your photograph look like a shade chart. Set and lock the white balance manually, like you did for your focus.
Shoot In RAW
Set your file format to raw, so it’s easier to correct exposure and color in post-processing. To fully understand the possibilities of shooting with a RAW file format, click here.
PHOTOGRAPHING THE SCENE
The next bit is taking the photographs. Once you’ve mounted your camera on the tripod, make sure the horizon is aligned correctly in your viewfinder.
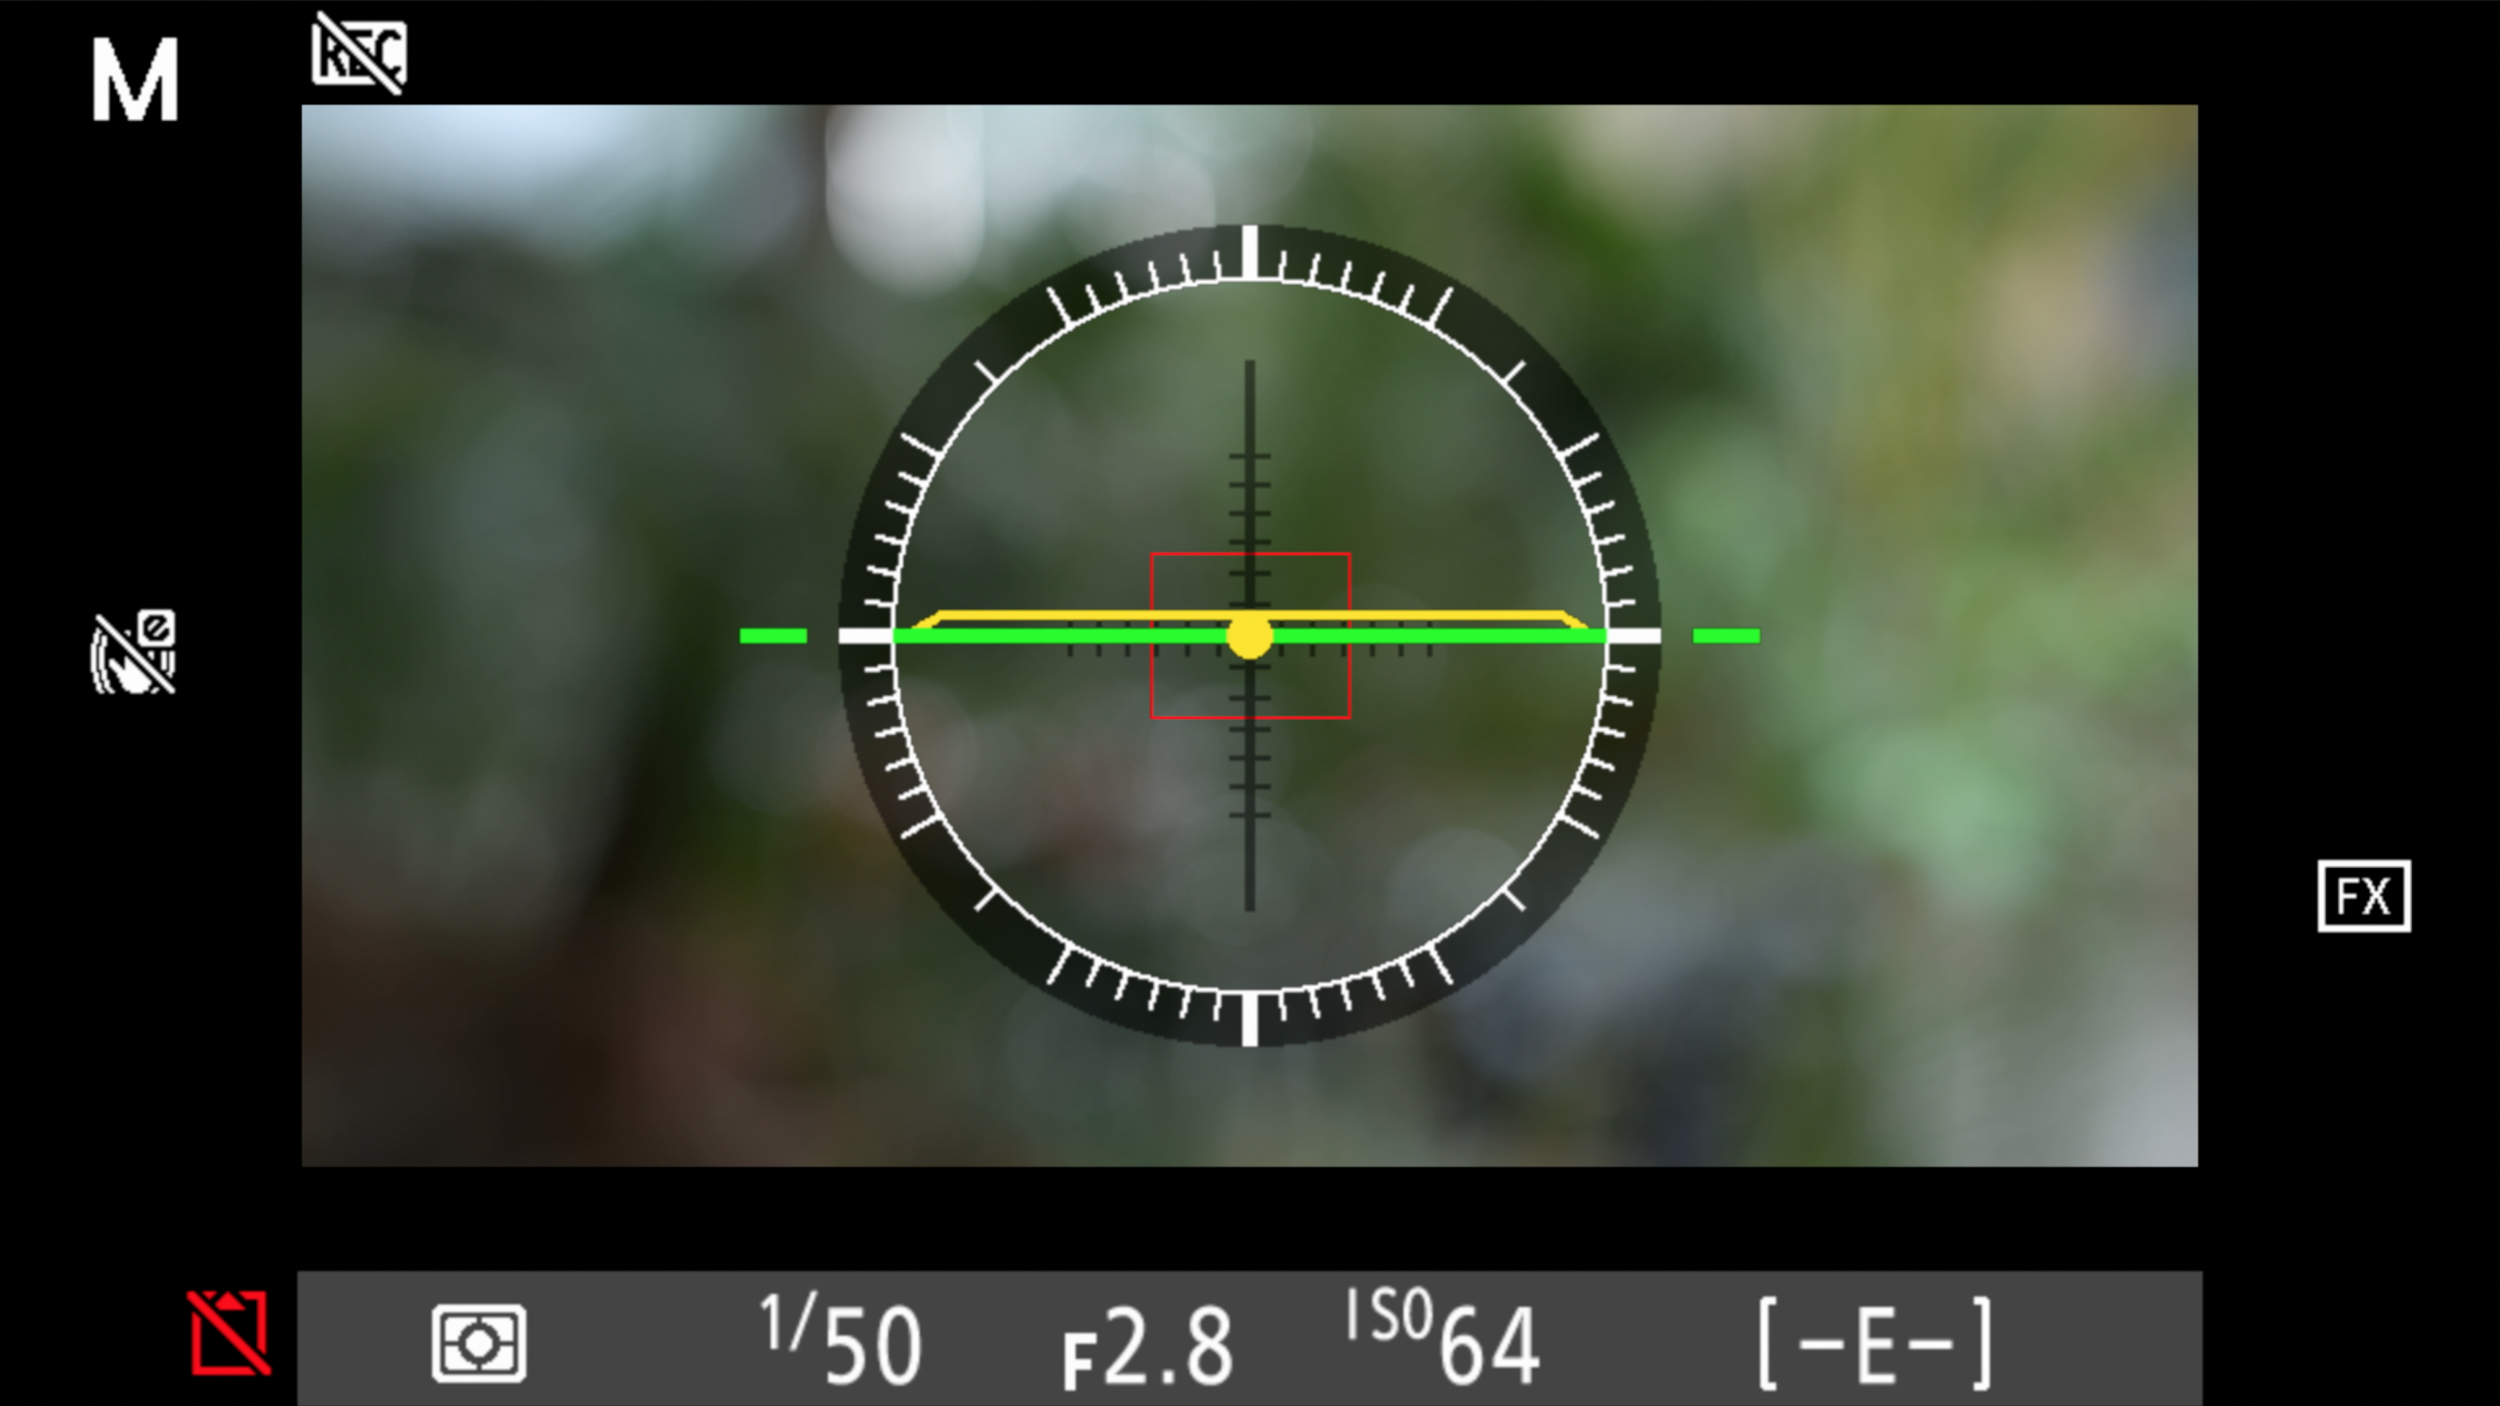
A leveled horizon brings you a step closer to getting the perfect panorama
Simply pan the camera across the scene you want to photograph and click a few pictures. Make sure that each image overlaps the other by 30% to maintain focus across the entire picture, and to make your panorama look like one image.
Watch out for wind and moving objects when taking pictures. It can spoil the evenness of your panorama. Half of it will look like it’s moving while the other half might be still.
PROCESSING THE IMAGE
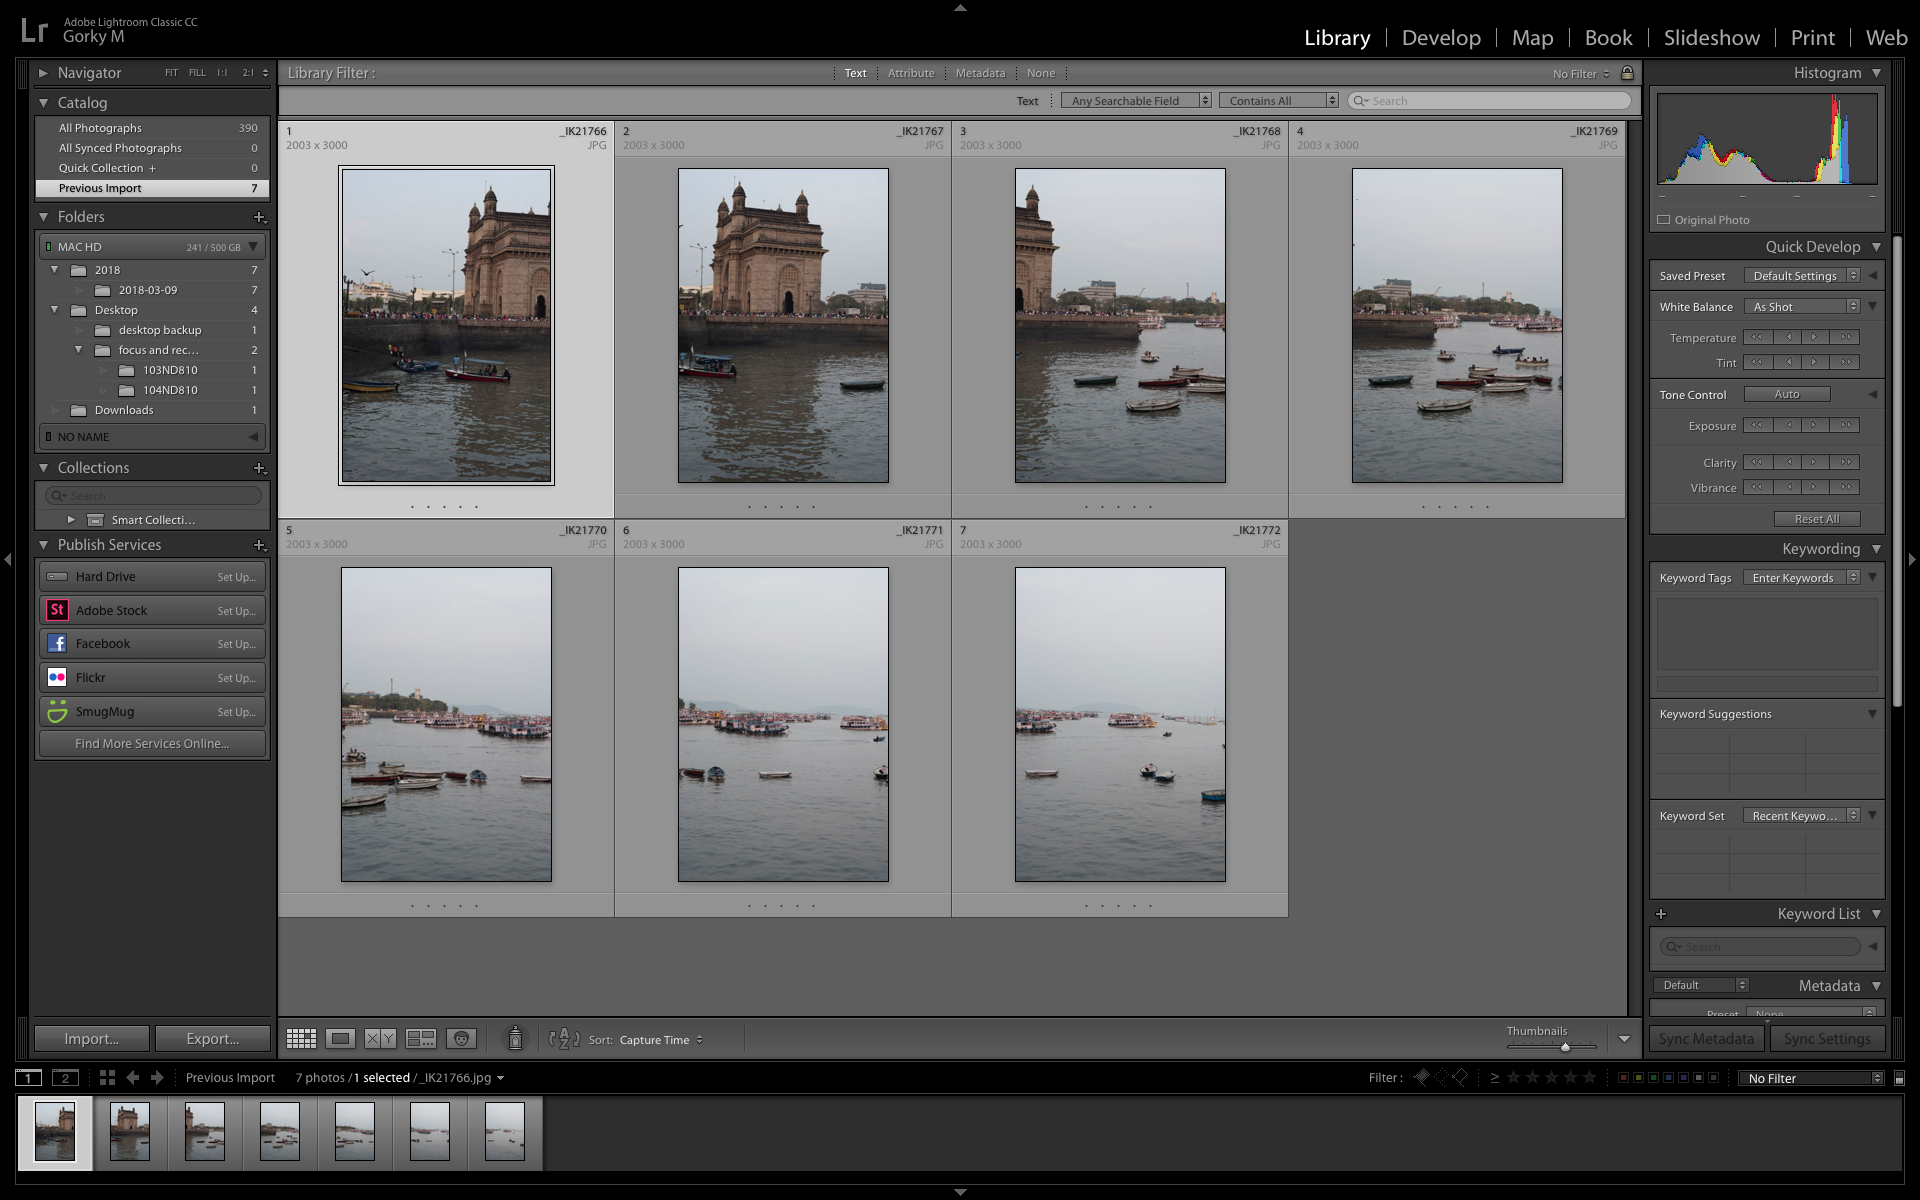
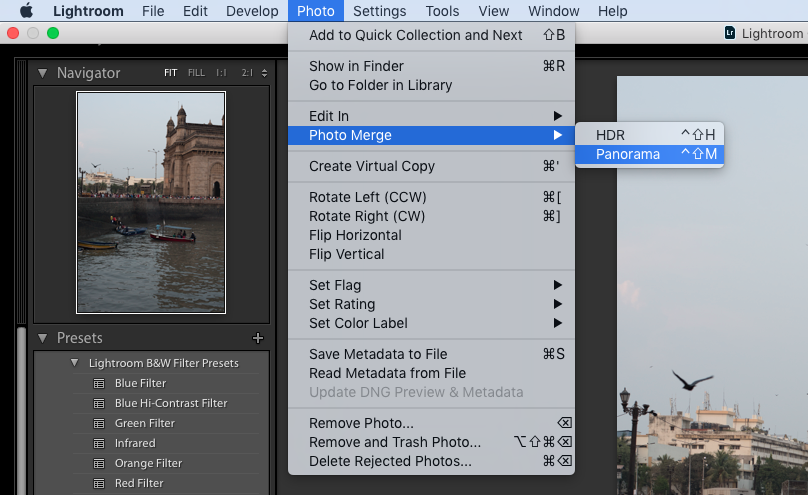
The second part of creating a panorama is the processing. There are tons of free software on the web for panoramic photography such as Hugin and Image composite editor, but we personally use Adobe Lightroom to stitch the images together.
One image has to overlap the other by at least 30% for maintaining focus and seamlessness
Open the images in Adobe Lightroom, then click on the ‘photo’ option and merge the images together.
You can straighten it a bit more, or crop it to your liking and that’s about it.
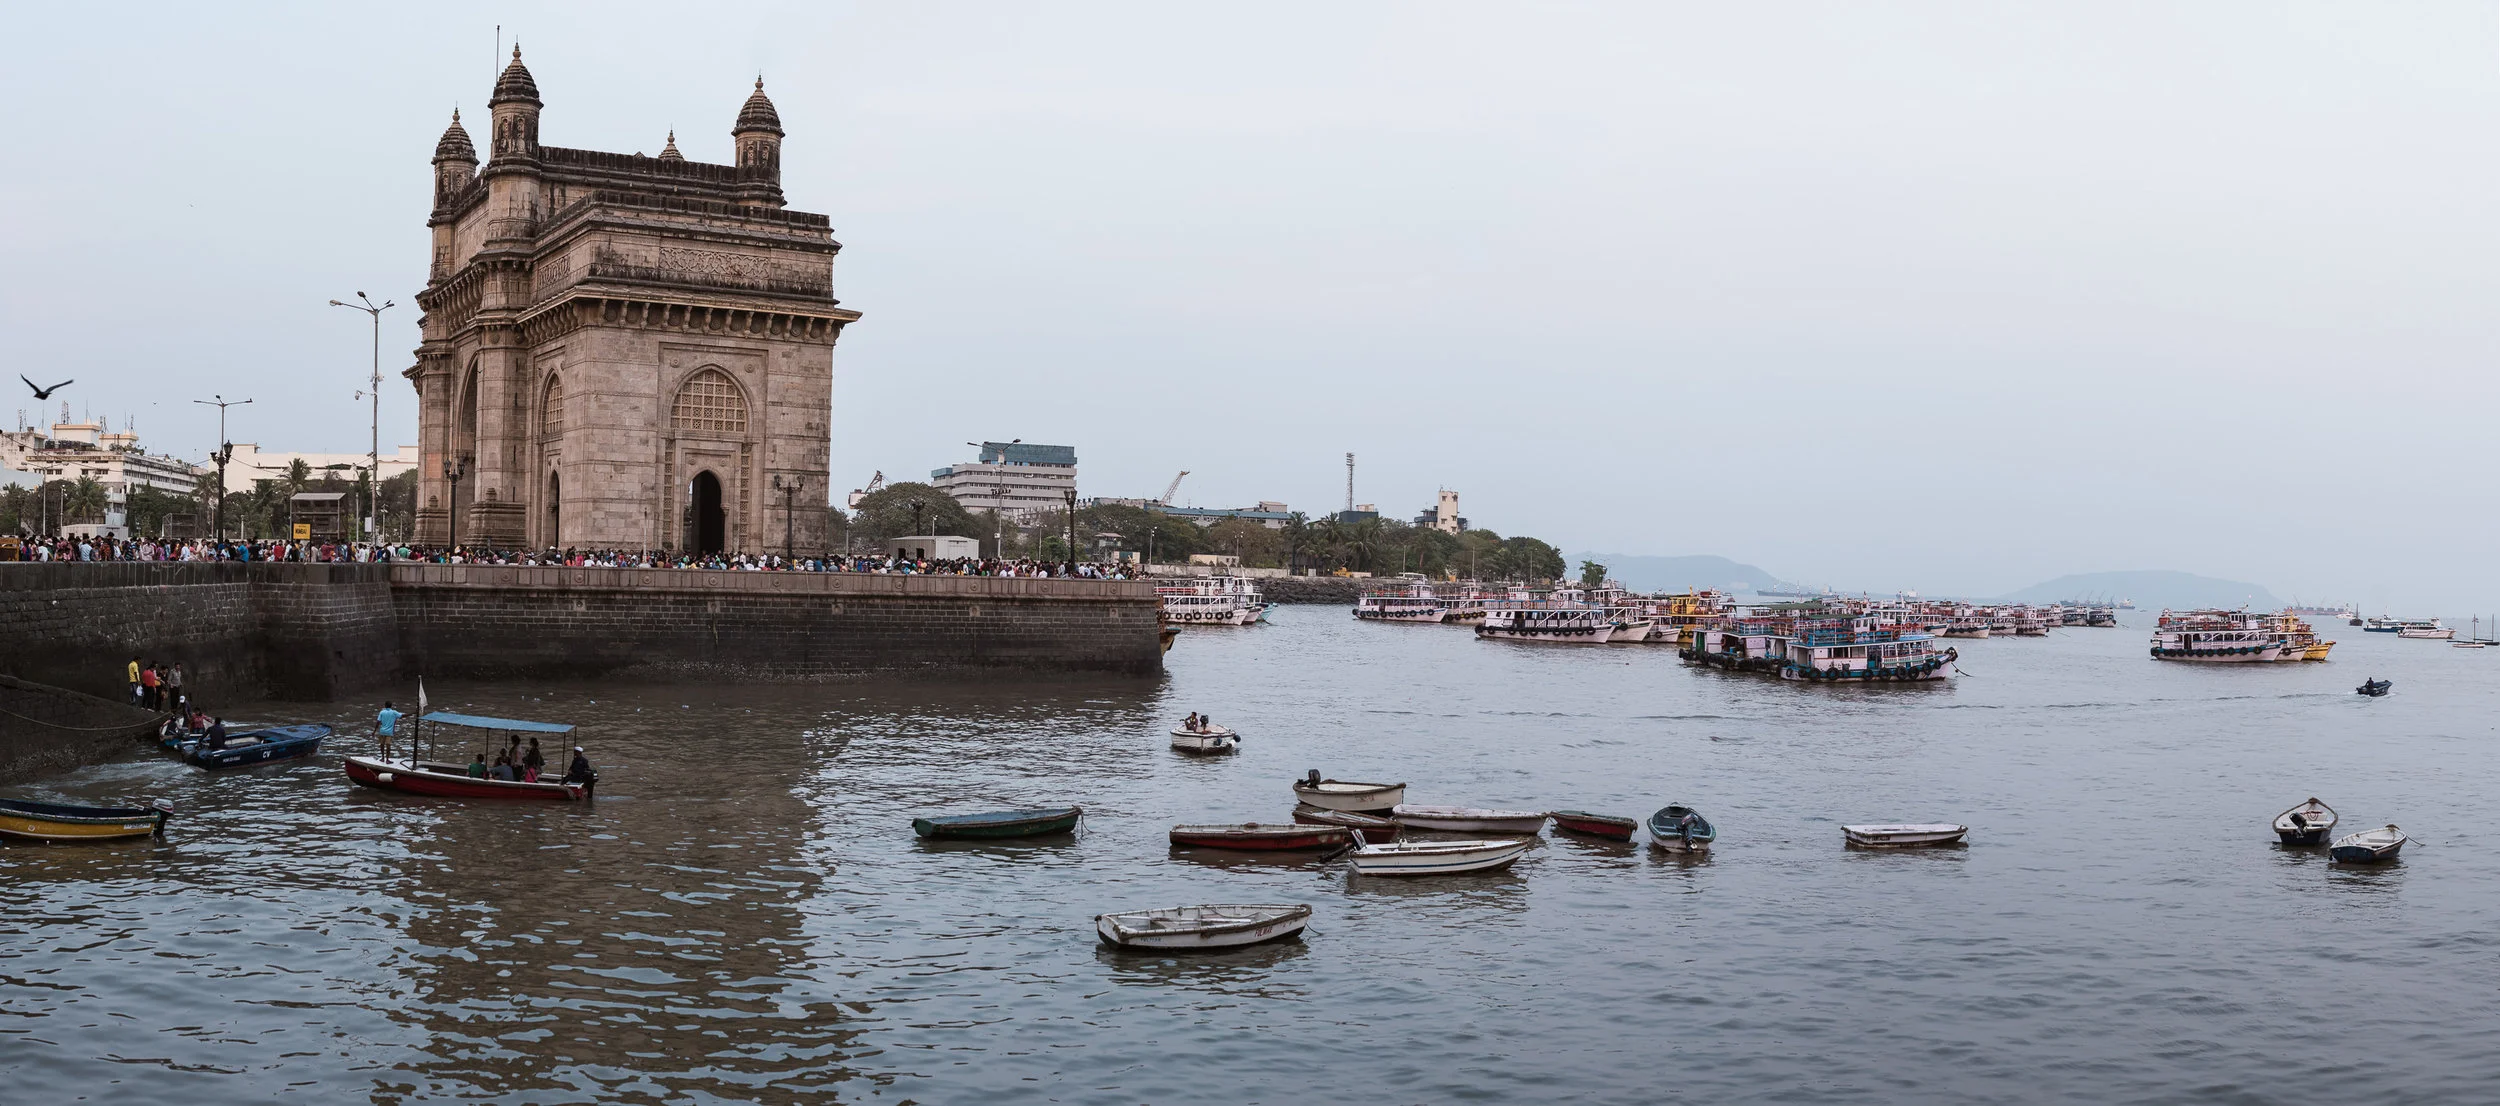
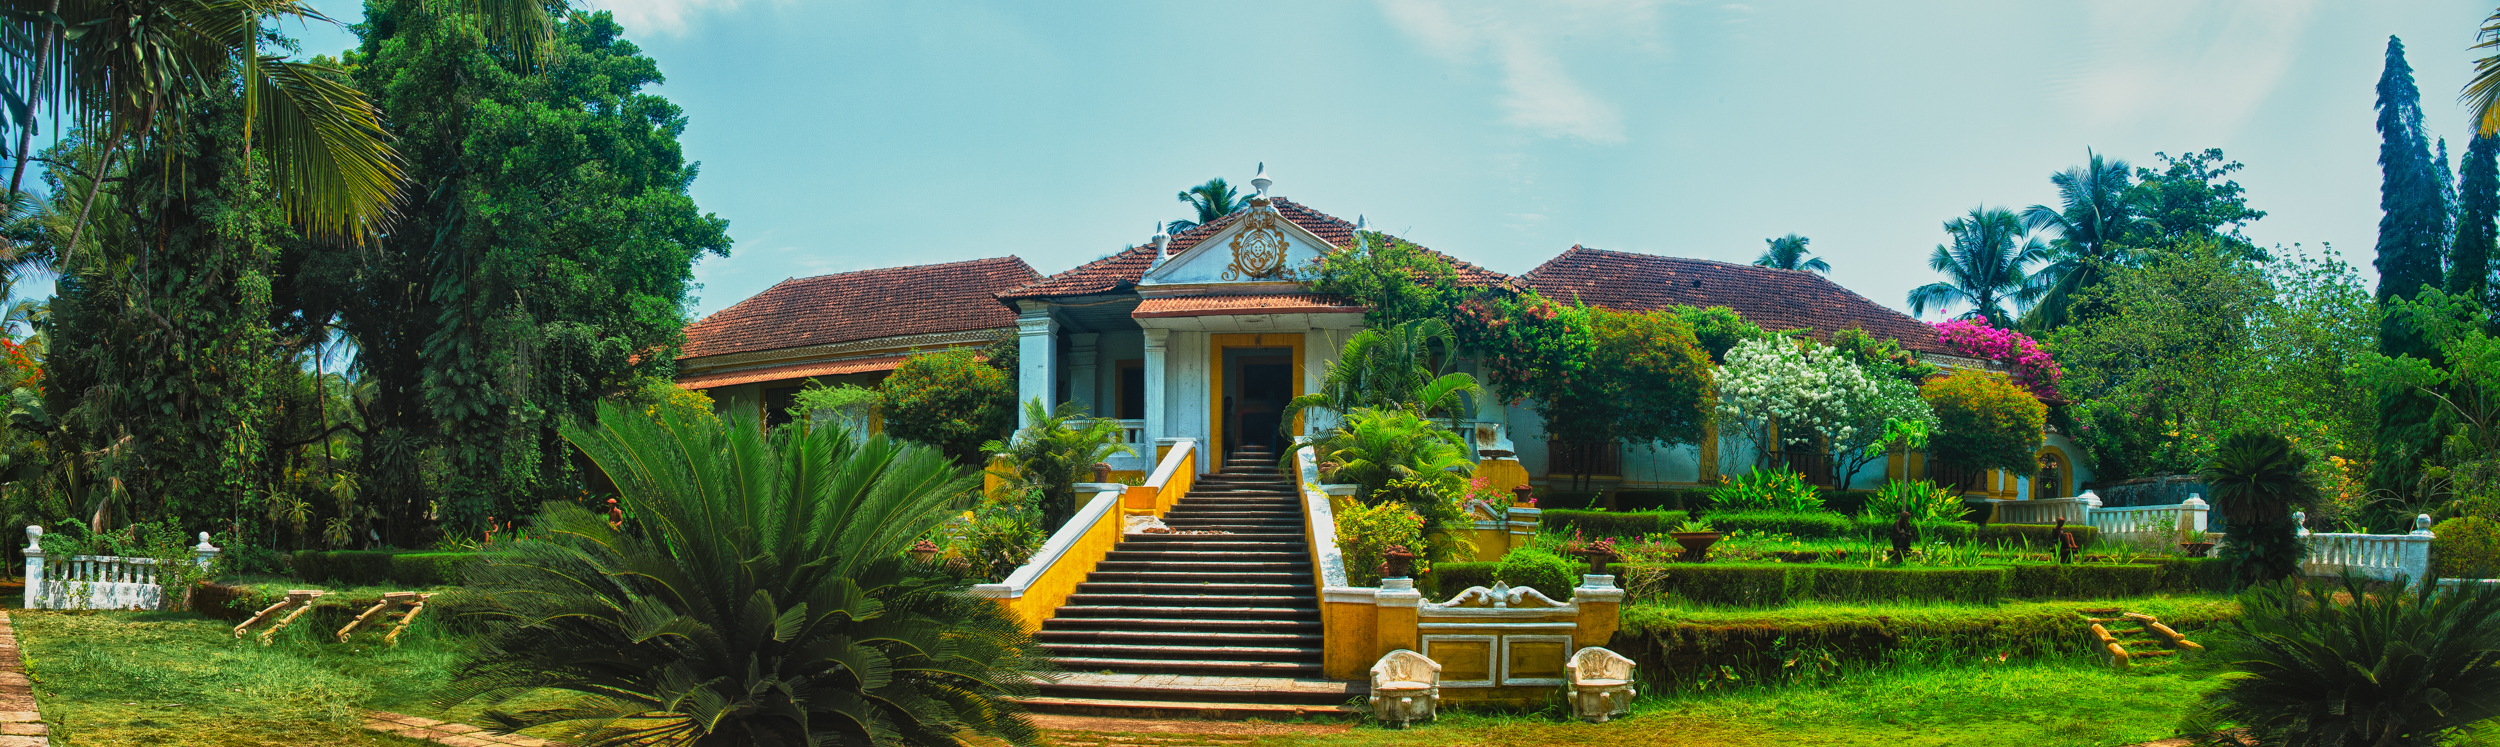
A panorama of the Gateway Of India
If you’d like an in-depth tutorial on how to create the perfect panorama, click on the video below.