Fujifilm X-T100: The Entry Level Mirrorless Camera
In 2018, Fujifilm released its entry level mirrorless camera that look a lot like an old SLR camera. The plus points of this device is that it has an electronic viewfinder and it has an aluminium body that gives it a rich elegant and retro look.
In 2018, Fujifilm released its entry level mirrorless camera that look a lot like an old SLR camera. The plus points of this device is that it has an electronic viewfinder and it has an aluminium body that gives it a rich elegant and retro look.
Source: GMax Studios
GENERAL SPECIFICATIONS
Sensor: 24.2-million APS-C CMOS sensor
Output size: 6000 x 4000 pixels
Focal length mag: 1.5x
Lens mount: Fujifilm X-mount
Shutter Speed: 30secs-1/4000sec (30secs-1/32000sec in electronic shutter mode)
Sensitivity: ISO 200-12,800 (standard) ISO 100-51,200 (extended)
Exposure modes: PASM, SR+, Auto
Metering: Multi, Spot, Average
Exposure Compensation: –5 to +5 EV, in increments of 1/3EV
Continuous shooting: 6fps
Screen: 3in, 1,040k-dot 3-way tilt touchscreen
Electronic Viewfinder: 0.39in, 2,360k-dot 0.62x magnification with 100% coverage
Video: 4K (15p) Full HD (60/50/24/23p)
External mic: 2.5mm stereo mini connector
Memory Card: SD, SDHC, SDXC
Power: NP-W126S battery
Battery life: 430 shots
Dimensions: 121.0x83.0x47.4mm
Weight: 448g with battery and card
AT A GLANCE
It has a 24.2MP APS-C size sensor, weighing in just under 450 grams and records videos at 4K for up to 30 minutes at any given time. The viewfinder on the X-T100 is a 0.39-inch 2,360K-dot OLED colour unit which can also be viewed on a 3-inch LCD touchscreen that can be tilted to be used on tight angles. The camera is enabled with WiFi and Bluetooth v5.0 LE and will thus let you transfer videos and photos to other devices wirelessly.
Source: GMax Studios
Other photography features include Advanced SR AUTO, Eye detection AF, Face Detection, Interval timer shooting, Electronic Level and HDR mode. The battery on the X-T100 will be able to last you up to 90 minutes of 4K video recording or an average of 430 stills depending upon how long you keep switching on the camera.
FEATURES
Even though Fujifilm endorses the X-T100 as just an entry level mirrorless camera, they have tried to incorporate as many features as they could to make it more desirable amongst budding photographers as well as to target those who wish to transition from DSLR to mirrorless.
Some of the best features that make this camera usable as well as convenient are:
Wireless Connectivity
Film Simulation
4K Burst Shooting
Multi Focus
The above features not only make a X-T100 a convenient camera but also makes it an unstoppable, robust machine.
BUILD AND HANDLING
Source: GMax Studios
Other than having a strong resemblance like the other X-T models, for being an entry level camera, it is built very well. The feel isn’t as similar to an X-T2 or X-T3, but the dial placement and the leather finish shows where the design has come from.
The X-T 100 is very light when you even compare it to the native mirrorless camera because of its aluminium and plastic body. The front handling front the right side of the camera is not very reliable which can be improved by attaching a detachable-grip that comes with the box. It would have been nice to see a rubberised thumb rest at the rear too. As it is it’s made of hard plastic and can be prone to get slippery with wet or sweaty hands.
Like the professional cameras the Fujifilm X-T100 is not weather or dust resistant so we had to be cautious with it while shooting under wet or humid environment.
VIEWFINDER AND SCREEN
Source: GMax Studios
Having the option to raise the X-T100 to your eye and clearly see what’s contained in the frame is one of the huge advantages of this camera. The viewfinder is very good for reviewing images in bright sunlight too, however you will notice there’s a momentary delay before each image is rendered sharp.
Its is also possible to use the EVF with the touch screen for actions such as moving auto focus points and double tapping the screen for detailed magnified view.
Source: GMax Studios
Source: GMax Studios
When it comes to the 3-way articulating screen, it is very handy for vloggers. It can be angled out by 180 degrees to aid with self-portrait shooting. It is very convenient and the touch screen function still works when its tilted out in any way.
PERFORMANCE
Despite a few criticism regarding the slow response time of the touch screen, X-T100 is very reliable when it comes to capture images. It may not have an X-trans sensor but the colours of this camera are very active and lively, exactly what we expect from Fujifilm.
The camera provides accurate focus in bright or low-light situations. For those who’d like to shoot discreetly, there’s the option to take shots silently by activating the electronic shutter.
The image quality of this camera is very good, you can get detailed images with high ISO range. The X-T100 is capable of resolving fine detail, with a good amount of scope to crop in when required. Detail holds up well beyond ISO 800 and only starts to dip when you push past ISO 3200.
Source: GMax Studios
Other than that it has:
4K Burst
HDR
High Speed Shooting (6 fps)
Film Simulations
When it comes to video, it does not offer much versatility. You can only record in 15p when it comes to 4K, continuously for 30 minutes which heats up very fast. In HD you can record up to 59.94p / 50p / 24p / 23.98p for 30 minutes straight and the camera does not heat up that much compared to 4K.
It is advisable to use a card with UHS Speed Class 3 or higher when recording 4K.
LENS
The X-T100 is only available with the XC 15-45mm f/3.5-5.6 kit lens. This is Fuji’s first attempt at making a compact motorised zoom. The lens extends by 24mm in length when the camera is switched on and it’s operated via two control rings: an inner one that operates the zoom in power assisted mode, and an outer ring that either acts as a focus ring. It’s good the lens automatically reverts to the last focal length setting used when the camera is switched off and back on again, but its motorised nature does slow you down.
Source: GMax Studios
VERDICT
Source: GMax Studios
Those who would like to enter the mirrorless world or who are advancing from the world of mobile photography this shall serve you as a loyal subject. As a camera designed for first-time users it has the features that go up to par with most of the camera’s in the market. Of course, it cannot compete with the professional camera Fuji has introduced such as X-T2 or X-T3 but it has a few features which make it stand out from the crowd, from both an aesthetic and performance point of view.
Those who would like to relish the infamous Fujifilm colours then this is the camera for you. The X-T100 is arguably the most attractive entry-level camera on the market at its price point.
Source: GMax Studios
Camera Canopy, An Umbrella For Your Camera | Now Shoot In The Rain Without The Pain
This nifty device offers a much needed solution to photographing in the rain. What do you think?
There’s good news for togs who love to shoot in the rain. There’s a device called camera canopy that puts a protective roof (canopy) over your camera and it uses the hot shoe for mounting.
www.cameracanopy.com
Togs have been battling the rain ever since camera was invented, and we now have something that doesn’t seem so difficult to set up. Although the design looks a bit ridiculous, it offers much needed safety from the elements.
Camera Canopy seems decently built, and the material looks pretty study too, The roof extends to accommodate lenses with focal lengths upto 500mm by sliding right out. It’s made in the USA and will incur shipping costs if you live in another country, but it’s a one time investment/solution for 80 USD, which comes up to around 5700 Indian rupees.
The second roof extends to support lenses up to 500mm
www.cameracanopy.com
In the video below, you can see how the device works. We for one, would be happy to use this because Mumbai rains are a pain to deal with. The only thing we are worried about is if it would fly off in the wind or not, but for the most part it looks like a decent solution.
You can one for 80$ from the company’s website here
Would you be willing to buy this or do you think there are better and cheaper options available? Let us know in the comments below.
(Via Petapixel via Digital Camera World via Camera Canopy)
DJI Osmo Pocket Review
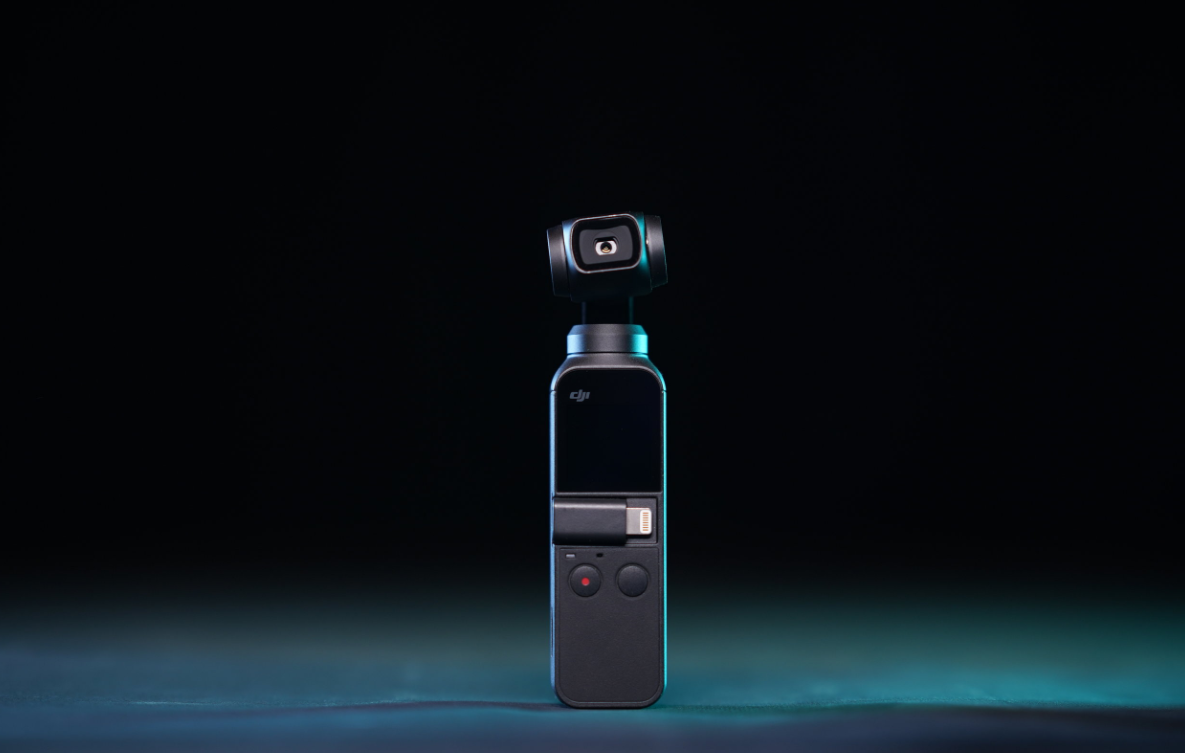
What is better than putting these two words together? Osmo and Pocket, and on top of that add a mini gimbal to it.. DJI OSMO POCKET.
The DJI Osmo Pocket was of the most awaited cameras to be launched at the end of 2018.
What is better than putting these two words together? Osmo and Pocket, and on top of that add a mini gimbal to it.. DJI OSMO POCKET. We, at GMax Studios got our hands on it and were able to test it to its extremes.
Source: GMax Studios
It has only been few years since a traditional handheld gimbal have launched, DJI has always made a prominent presence in the market with their big gimbals such as Ronin, Ronin M and Ronin MX. But these gimbals are bulky and require assistance. It has not only been a year since DJI released it new gimbal, Ronin S in the market as a competition to Zhiyun Crane.
At the end of the year 2018, DJI outdid itself and introduced the new DJI Osmo Pocket in the market. This was something very much awaited from DJI after Osmo, Osmo Mobile and Osmo Plus.
Some Specifications:
Weighs up to 116 grams
1/2.3” CMOS Sensor
26mm Lens
Video: 4K, Slow Motion and Timelapse
Photo: JPEG+RAW
We believe the Osmo Pocket is the most ideal camera anyone can have, if they like to shoot a lot of street style.
Stand Alone Mode and Phone Connector Mode
So you could only use the Pocket Osmo through two modes which are, Stand Alone mode and Phone connector mode.
In the stand alone mode you can only use the gimbal as it is and because of the new firmware update you can use this camera without a phone and adjust the settings in the Osmo itself. So that means, you can access the pro-mode through this gimbal alone which lets you adjust the white balance, shutter speed and the ISO. Not only that, but it lets you access the new picture profile DJI embedded in its new firmware update which they are calling D-C Like picture profile.
Source: GMax Studios
Whats really convenient is that DJI added the Pro-mode and focusing modes inside this gimbal, so that means the shooter doesn’t have to take the hassle of charging their phone all the time while connecting it.
The Stand alone mode also lets you adjust the focus mode from AF-C to AF-S or vice-verse.
Source: GMax Studios
Using the phone connector mode allows you to unlock a few of the features that one cannot access in the gimbal itself. Such as, you can use the joysticks to tilt up and down and pan right and left through your phone. One great feature about the phone connector mode is that DJI has included story mode in it where you can basically take the clips and videos you’ve shot and edit them in to a story.
Source: GMax Studios
Source: GMax Studios
Stabilization
The DJI Osmo Pocket has three modes when it comes to stabilization.
FPV Mode: In this mode, the gimbal will synchronize with the movement to provide a first-person perspective experience. So depending on the movement of the shooter the gimbal will respond creating a smooth transition.
Follow Mode: The angle between the gimbal’s orientation and shooter’s position remains constant at all times.
Tilt Locked Mode: In this mode, the camera will not move up or down but will pan as per your hand’s movements.
Source: GMax Studios
Tracking Modes
We believe DJI went overboard with this new gimbal. They somehow squeezed in Active tracking and face tracking in this small device, which we thought was impossible until now.
Active Tracking: You can use this mode in both stand alone and phone connector mode. In the stand alone mode, all you have to do is double tap the object or the subject you wish to track and viola it tracks until it loses the sight of it. In the phone connector mode, you can drag and draw a rectangle on the object/subject’s face.
Face Tracking: Similar to the active tracking, you can use this mode in two ways, stand alone and phone connector mode. Face tracking only works in selfie mode/front camera mode where the camera is facing the shooter.
Source: GMax Studios
Video
When it comes to the video quality of this camera, it does exceed our expectations as per its quality as well as the colors. This camera gives the shooter the liberty to choose the file formats before recording any video. You can choose you file type to be MOV or MP4, depending on your preference.
Let us talk about frame rates, this camera can record up to 24, 25, 30, 48, 50 and 60 fps in 4K as well as in full HD.
Source: GMax Studios
We also tried to use this camera and get some cinematic slow motion footage. This camera can shoot up to 100 fps. In our opinion, the slow motion video quality does not do justice because as soon as you choose to shoot on this mode the sensor crops in by 50% making the footage look grainy and less sharp.
Photo
The photo quality of this camera is at par. In this mode, the shooter can choose to shoot in either RAW or JPEG, or even RAW+JPEG. It is also possible to change the aspect ratio in the photo mode, like, 3:4, 4:3 or 16:9.
The images below were shot in a RAW format with an aspect ratio of 16:9. Let us know what you think about them in the comments below.
Timelapse
Now let’s talk business! The timelapse mode on this camera! The DJI Osmo Pocket also shoots timelapses as well as motion lapses. The quality isn’t very remarkable but it does its job and is satisfactory. The shooter has the liberty to set the interval, duration and path of the timelapse. To use thew motion lapse in the timelapse mode you are supposed to assign the starting point and an end point to which the gimbal moves.
Source: GMax Studios
Due to its small size the battery does compliment the device as per its usage but in our case it wasn’t enough. DJI has made sure that if you wish to shoot uninterruptedly then you can plug in a charger or a power bank to the device and charge it while shooting.
If you would like to take the full advantage you must buy the accessories DJI is offering with them. Unfortunately, they do not come with the device.
Source: DJI Global
So this is what we really thought about the new DJI Osmo Pocket. Its light, portable and a powerful beast in one. If you wish to know more you can watch our video that we made a few weeks ago (before the firmware update).
Our Verdict
Sony Alpha α6400 Mirrorless Camera Announcement and Specifications
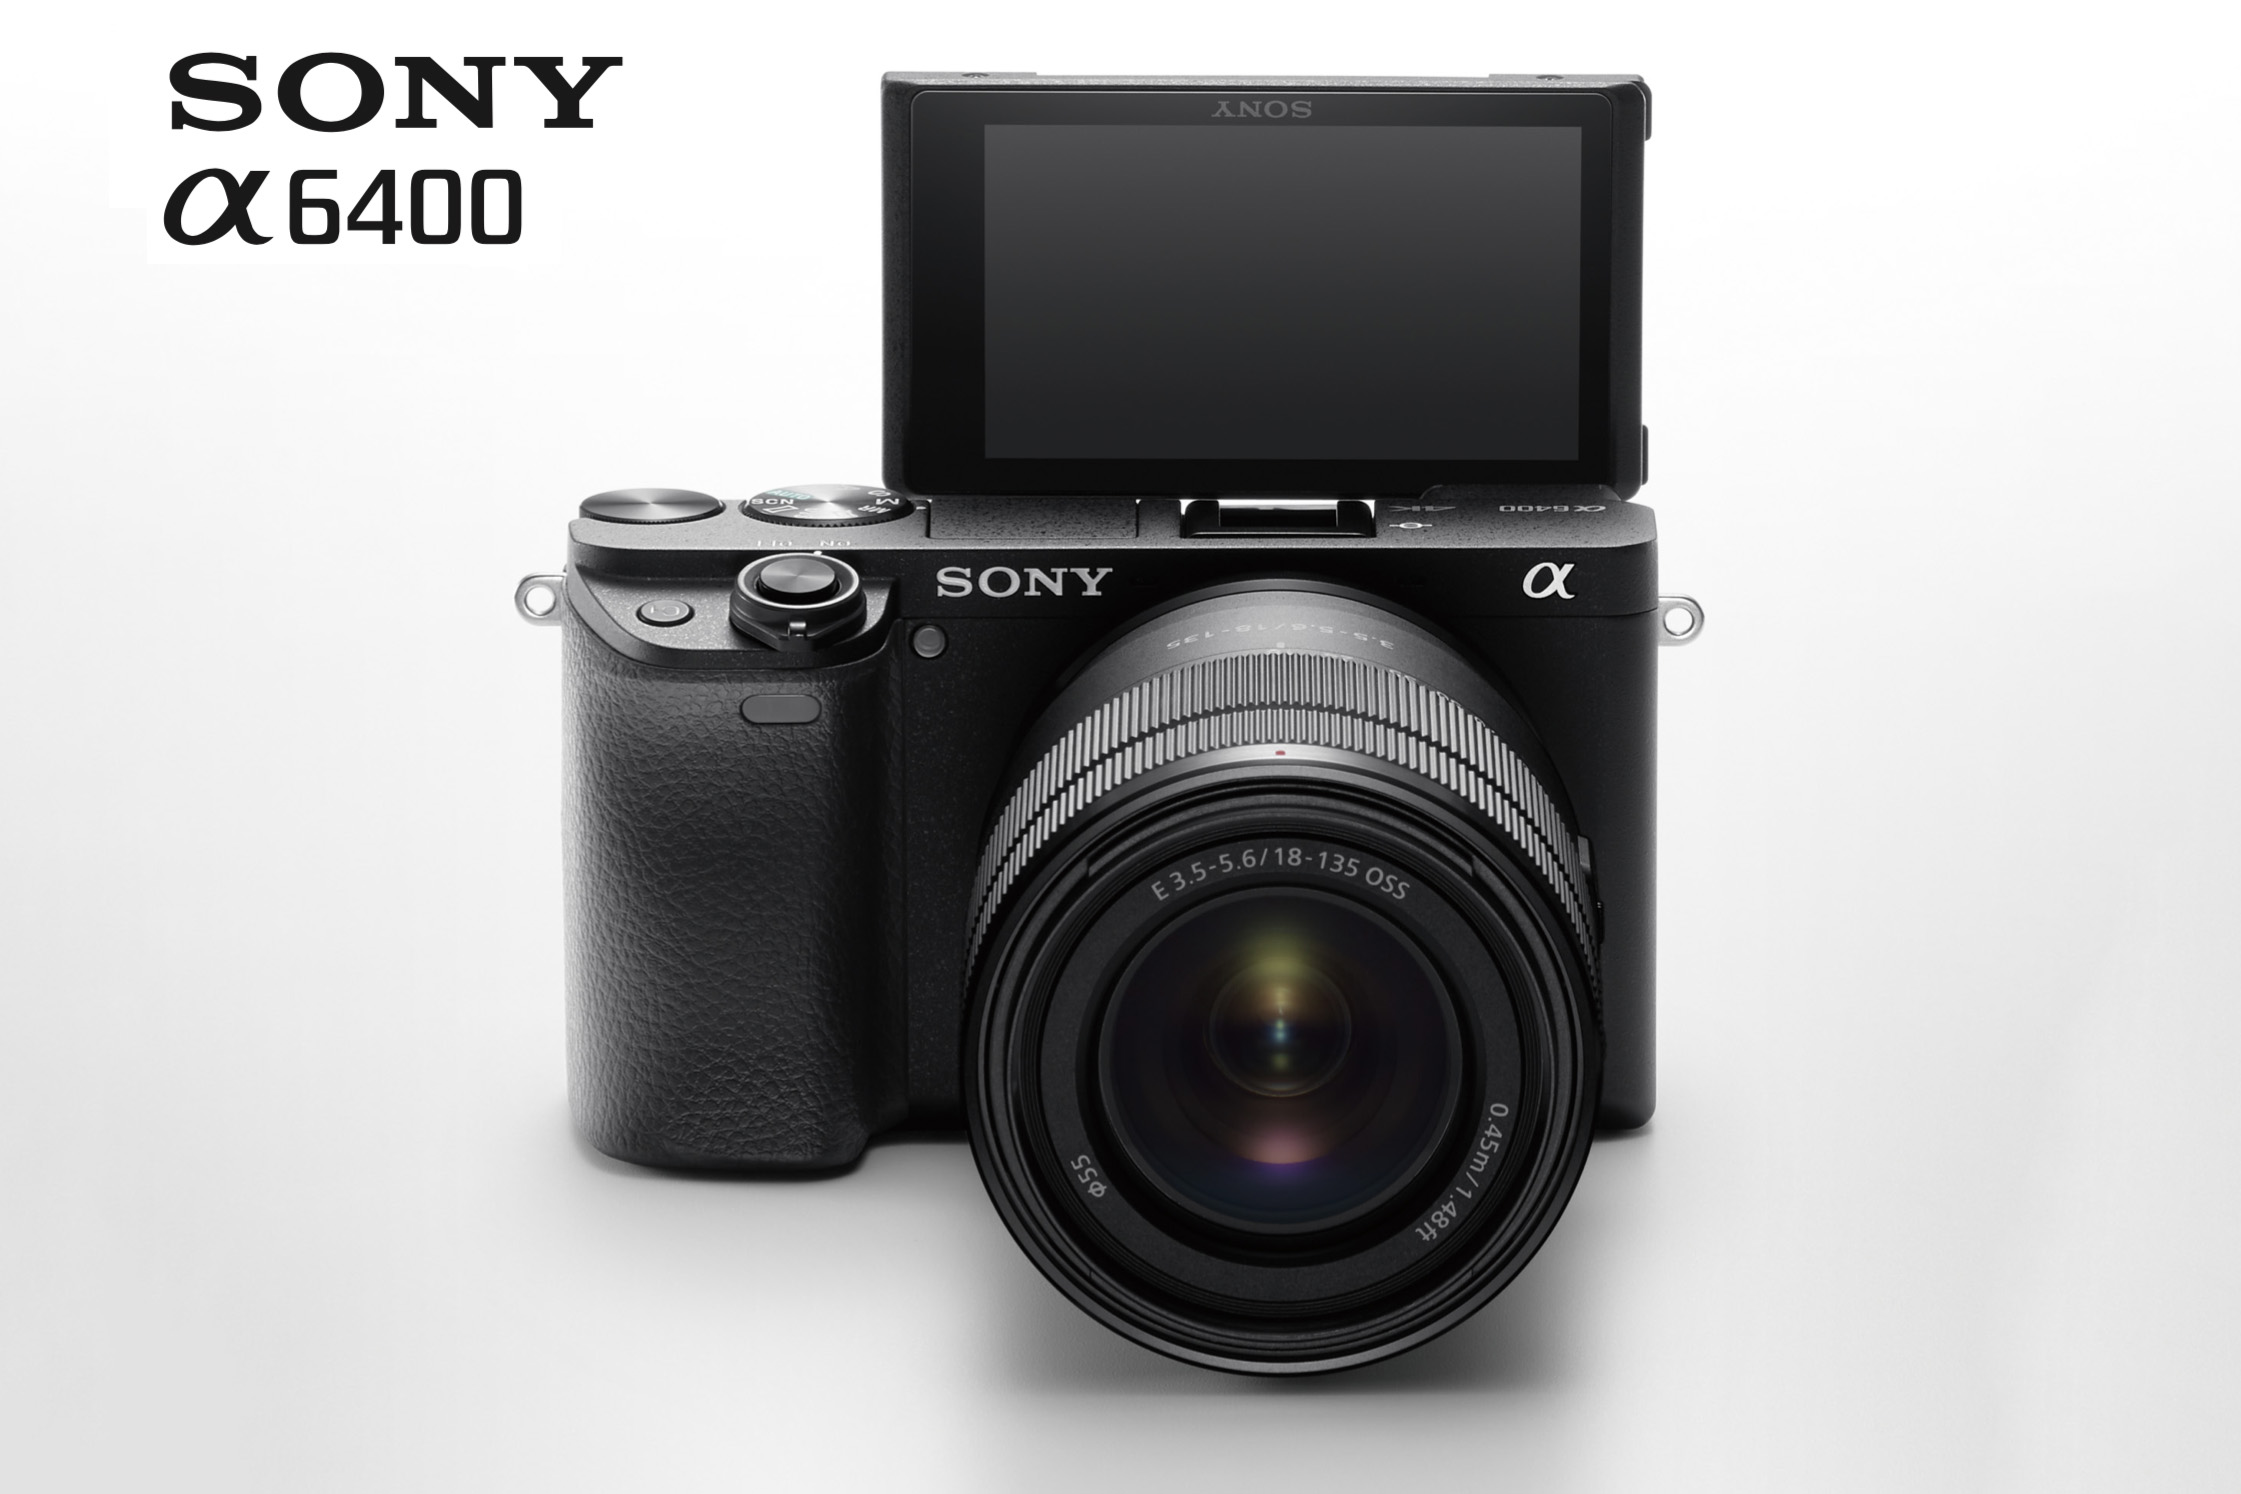
Sony Alpha A6400 α6400 announced
Sony Announced the Next-Generation α6400 Mirrorless Camera With Real-time Eye Autofocus, Real-time Tracking & World’s Fastest Autofocus.
The α6400 brings many of Sony’s most advanced technologies from their acclaimed full-frame lineup to a compact, lightweight APS-C camera. The speedy new camera boasts the world’s fastest( autofocus (AF) acquisition of 0.02 seconds, while also introducing the new advanced “Real-time Eye AF” and ”Real-time Tracking” capabilities. Also included are high-speed shooting at up to 11 fps with AF/AE tracking, a new-generation BIONZ X image processing engine that produces excellent image quality, 4K video recording, a fully 180-degree tiltable LCD touch screen and much more, making it the ultimate tool for all types of creators ranging from professionals to vloggers.
MAIN FEATURES
World’s Fastest (i) 0.02 seconds (ii) AF acquisition speed plus 425 phase-detection and contrast-detection AF points covering approximately 84% of image area
Advanced Real-time Eye AF
New Real-time Tracking for object tracking
24.2MP(iii) APS-C Exmor™ CMOS image sensor and latest-generation BIONZ X™ image processor
180-degree fully tiltable LCD touch screen for self-recording
High-speed continuous shooting at up to 11 fps(iv) mechanical shutter / 8 fps(iv) silent shooting with continuous AF/AE tracking
High-resolution 4K(vi) movie recording with full pixel readout and no pixel binning, plus advanced AF speed and stability
Interval recording for time-lapse videos
View the sample photographs here OR download the brochure here.
THIS IS HOW THE REAL TIME TRACKING WORKS
“The α6400 represents another important step in the growth of Sony’s overall interchangeable lens camera lineup,” said Neal Manowitz, vice president of Imaging Solutions at Sony Electronics. “By bringing so many of our latest and most advanced technologies from full-frame cameras to a brand new APS-C model, we are giving today’s creators more options than ever to realize their vision.”
VIDEO FEATURES
The versatile α6400 is an exceptional video camera, offering internal 4K (QFHD: 3840 x 2160) movie recording with full pixel readout and no pixel binning to collect about 2.4x the amount of data required for 4K movies, and then over samples it to produce high quality 4K footage with exceptional detail and depth. Focusing during movie shooting is fast and stable thanks to upgraded Fast Hybrid AF technology, which keeps the subject in constant smooth focus no matter the scene, and even if an object crosses in front of the camera. This advanced AF plus touch focus functionality make it an ideal camera choice for many vloggers and video creators that are regularly creating and uploading content online.
For time-lapse movie creation(ix), the new camera features built-in interval recording that can be set anywhere between 1 and 60 seconds, with a total number of shots from 1 to 9999. AE tracking sensitivity can be adjusted to “High”, “Mid” or “Low” during interval shooting, allowing for reduced changes in exposure over the shooting interval.
Additionally, for the first time in Sony APS-C mirrorless camera, the new model includes an HLG (Hybrid Log-Gamma) picture profile, which supports an Instant HDR workflow, allowing HDR (HLG) compatible TV’s to playback beautiful, true-to-life 4K HDR(x) imagery. Further, both S-Log2 and S-Log3 (Note: S-Log2 and S-Log3 are premised on processing pictures- whatever that means!!!) are available for increased color grading flexibility, as well as Zebra functionality, Gamma Display assist and proxy recording. The camera can also record Full HD at 120 fps(xii) at up to 100 Mbps, allowing footage to be reviewed and eventually edited into 4x or 5x slow-motion video files in Full HD resolution with AF tracking.
AVAILABILITY AND PRICE
The α6400 will ship in February 2019 for a suggested retail price of $900 USD. It will also be offered as a kit with the 16-50mm F3.5 – 5.6 lens for a suggested retail price of $1,000 USD. It will also be offered as a kit with the 16-50mm F3.5 – 5.6 lens for a suggested retail price of $1,000 USD. As for the availability and price in India, it is matter of when Sony Alpha India releases it depending upon the demand in the US and International markets. We will let you know as soon as we hear anything. ubscribe to our newsletter to be in the loop.
At what price point would you buy the Sony Alpha A6400 camera in India? Let us know in the comments.
Medium format becomes affordable - finally!
Fujifilm India reduces the price of medium format Fujifilm GFX 50R and lenses.
Fujifilm India seems to be on a roll! After an amazing price cut on the Fujifilm X-T3, they have announced a great offer on the Fujfilm GFX 50R price in India. This is great news for photographers who wanted to embrace the medium format but found the prices a deterrant. Not only were the prices of the medium format camera bodies really expensive, one also had to think of the cost of lenses.
According to Fujifilm India, not only have they reduced the price of the medium format Fujifilm GFX 50R but also promise a saving of upto Rs. 75,000 on the MRP of the lens.
The price combinations are as follows:
Fujifilm GFX 50R body with GF 63mm f2.8 R WR lens will be Rs. 3,84,923
Fujifilm GFX 50R body with GF 32-64mm f4 R LM WR lens will be Rs. 4,61,923
Fujifilm GFX 50R body with GF 45mm f2.8 R WR lens will be Rs. 4,00,323
As with any other camera and lens combination, your camera dealer might be willing to give you a further discount on the MRP (Maximum Retail Price).
Does this seriously make you consider buying a medium format camera like the Fujifilm GFX 50R? Let us know in the comments.
Fujifilm X-T3 price in India reduced
Fujifilm India slashes price on the Fujifilm X-T3.
Fujifilm India seems to be going all out in a bid to woo visual artists in India. Fujifilm India recently announced a huge cut in the Fuji X-T3 kit (Camera body+18-55mm lens) as well as the Fujifilm X-T3 body only. On top of that they have announced that people who buy the camera or kit along with any of the three lenses listed below will get two additional batteries and a battery grip free. The price of this combination itself is worth Rs. 37,000.
The three listed lenses are:
Fujinon XF 10-24mm f4 R OIS
Fujinon XF 16-55mm f2.8 R LM WR
Fujinon XF 50-140mm f2.8 r LM OIS WR
The new Fujifilm X-T3 price in India is Rs.1,38,199 for the kit and Rs. 1,08,699 for the body only.SEE THE IMAGE BELOW.
Since this is the MRP (maximum retail price) your dealer might offer you an additional discount (as mine always does!)
Does the new pricing make this more affordable for you? Leave us a comment.
Fujifilm XT3 price in India
READ THE FUJIFILM X-T3 REVIEW HERE
You can watch our review of the Fujifilm X-T3 here:
Fujifilm XT3 Review | Video & Photo Test
Fujifilm India XT3 review Earlier this month, we had brought you the Fujifilm X-T3 unboxing, and like we promised: in this photography video, we bring you the much awaited Fujifilm X-T3 review. Fujifilm X-T3 is a 26 Megapixel APS-C Sensor Camera that featuring Fujifilm's latest processor, The X-Processor 4.
Nikon Releases New Nikkor Z Series 14-30 F/4 S Ultra Wide Zoom Lens
Nikon releases the ultra-wide-angle NIKKOR Z 14-30mm f/4 S zoom lens compatible with the Nikon Z mount system.
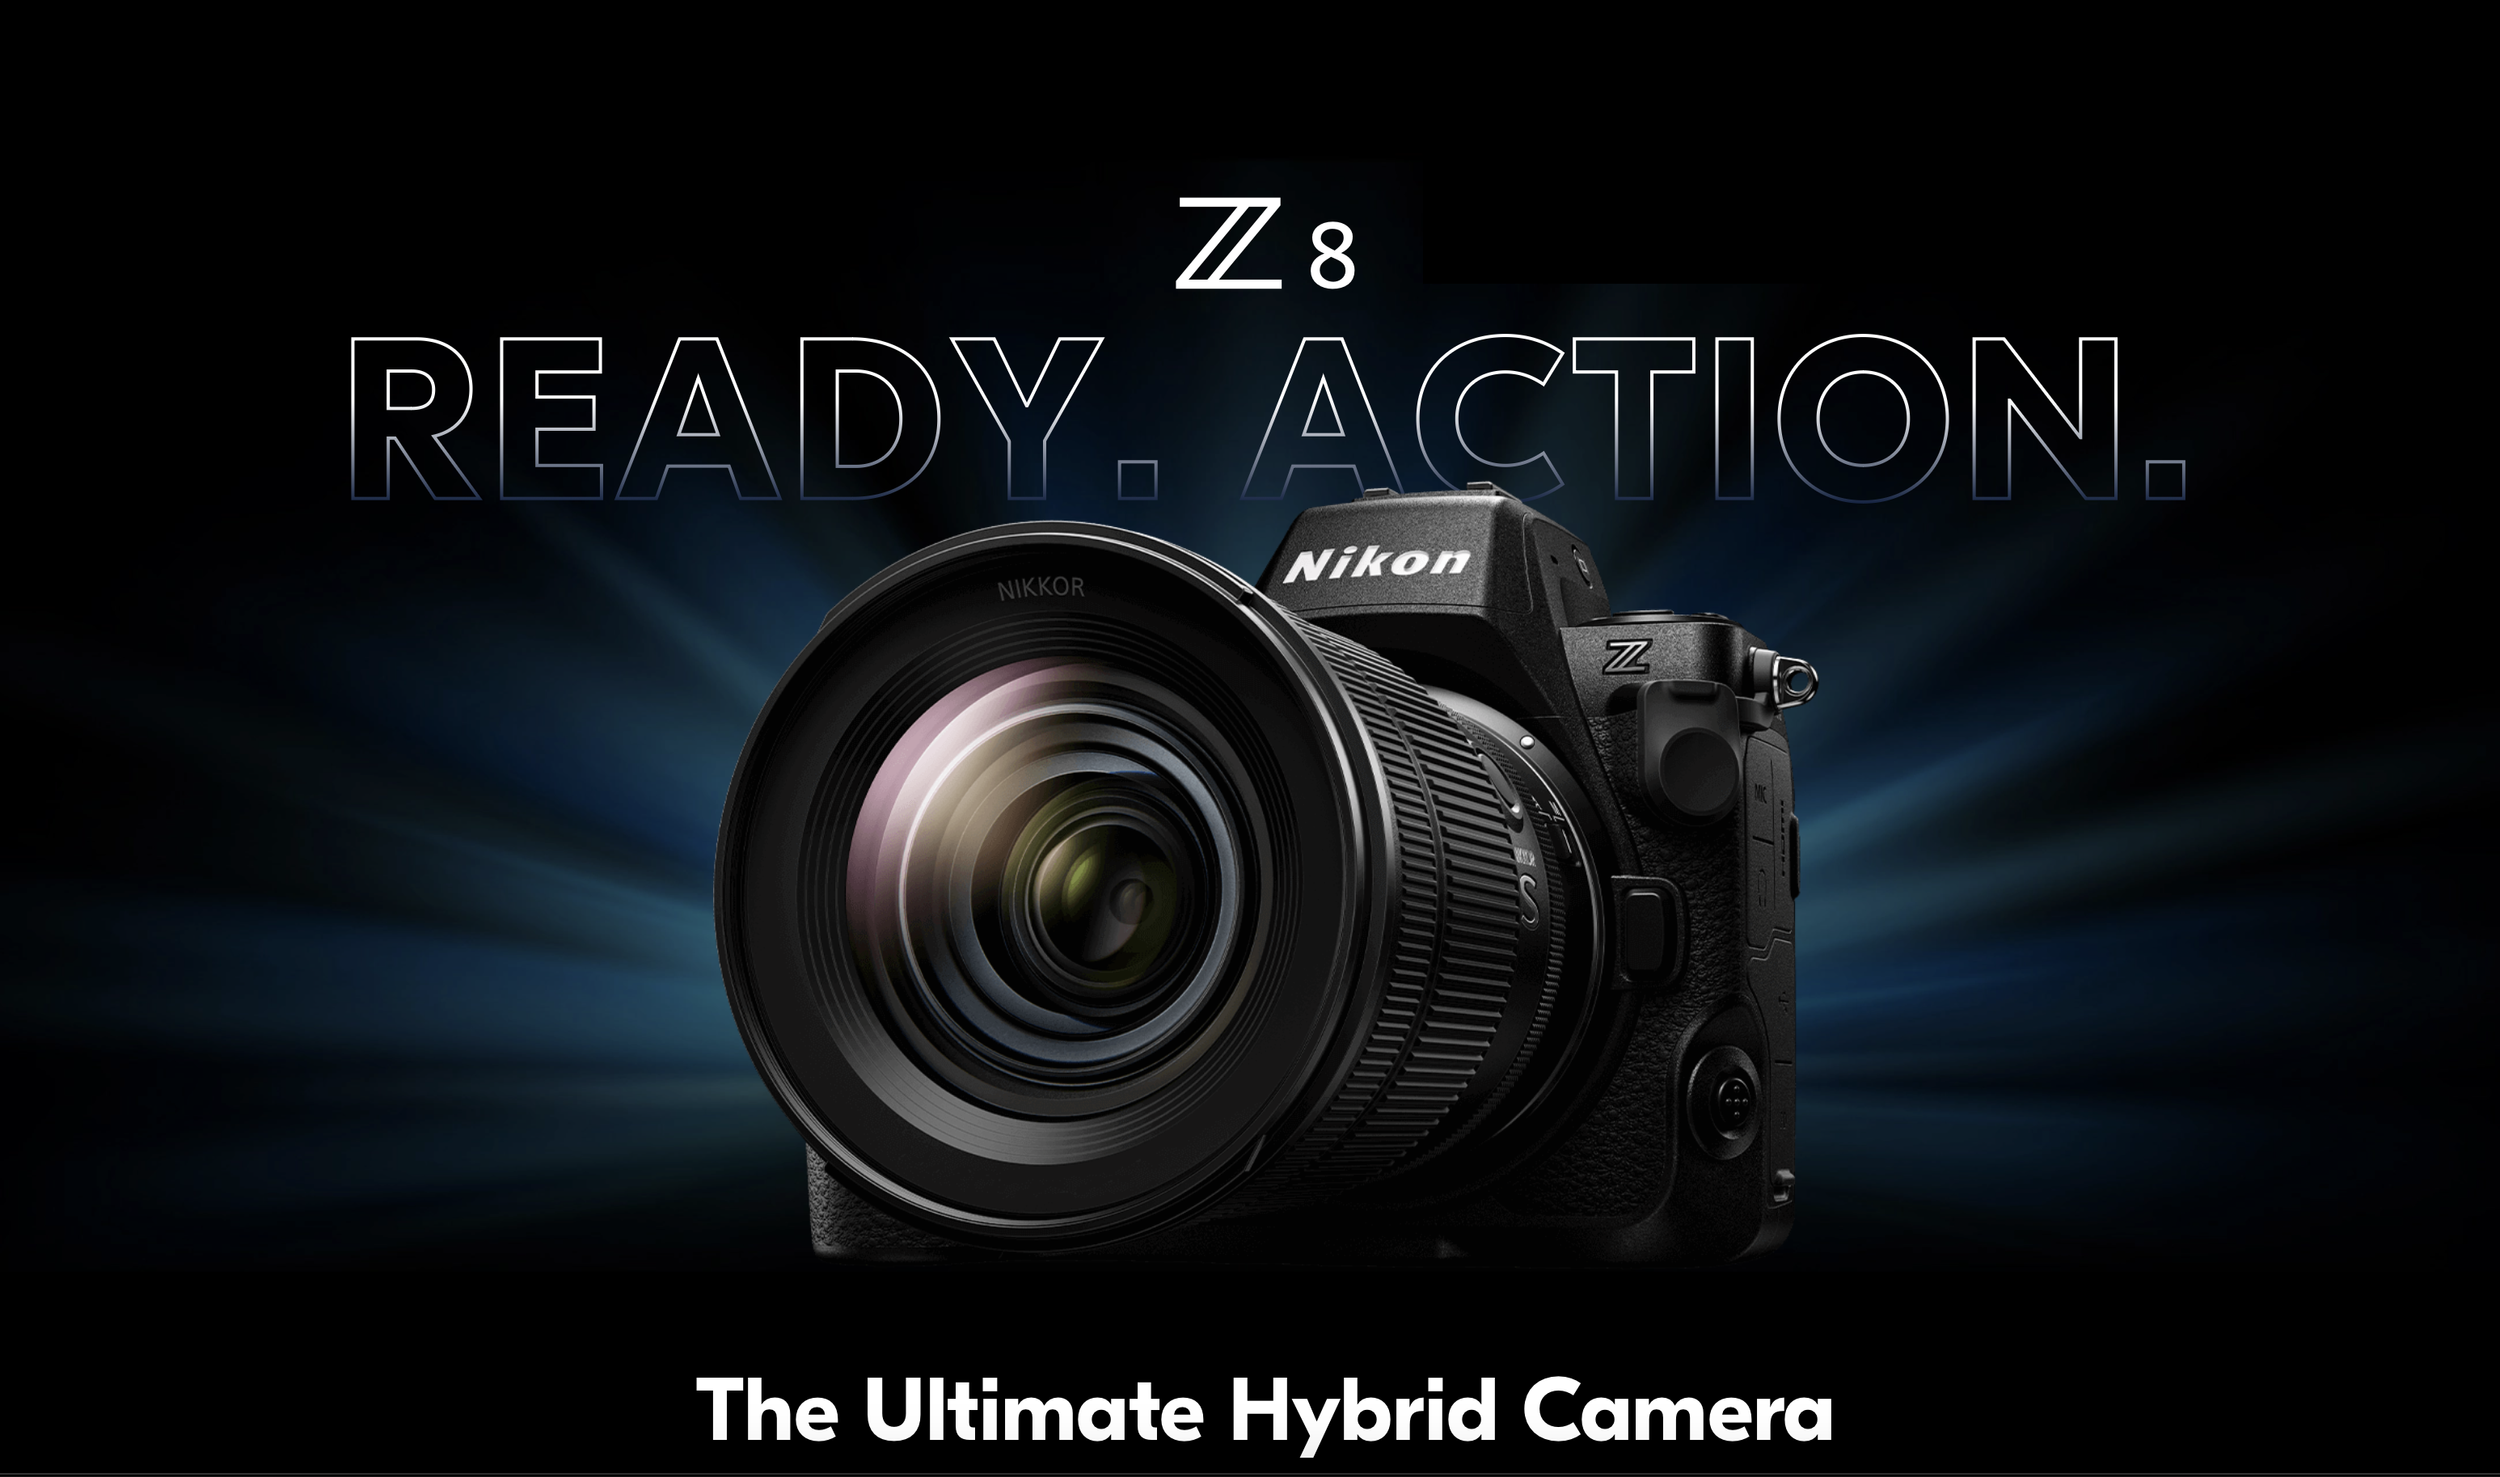
The NIKKOR Z 14-30mm f/4 S is an ultra-wide-angle zoom lens that covers a 14 mm to 30 mm range of focal lengths with a constant maximum aperture of f/4 throughout the range.
Nikon introduced the new Nikorr Z series 14-30 F/4 S ultra wide zoom lens on the first day at CES 2019.
The 14-30MM f/4 weighs up to 485 grams which if we compare it to the old 14-24MM f/2.8 (which is almost 10 years old) weighs at a 1,000 grams. This 14MM is the first full-frame FX lens that will allow the photographers to attach various types of screw-on filters (82MM) to the front of this ultra-wide lens. This will in-turn will expand creative possibilities for photographers and cinematographers, infinitely.
“A compact 14 to 30mm zoom range with a fixed f/4 aperture and outstanding image quality. Experience edge-to-edge sharpness even when shooting wide open. Shoot stills or video in near-silence. This is an essential lens for travel, adventure, events, video and everything in between.”
-Nikon Global
The 14-30 mm is one of the most anticipated lens from Nikon in 2019.
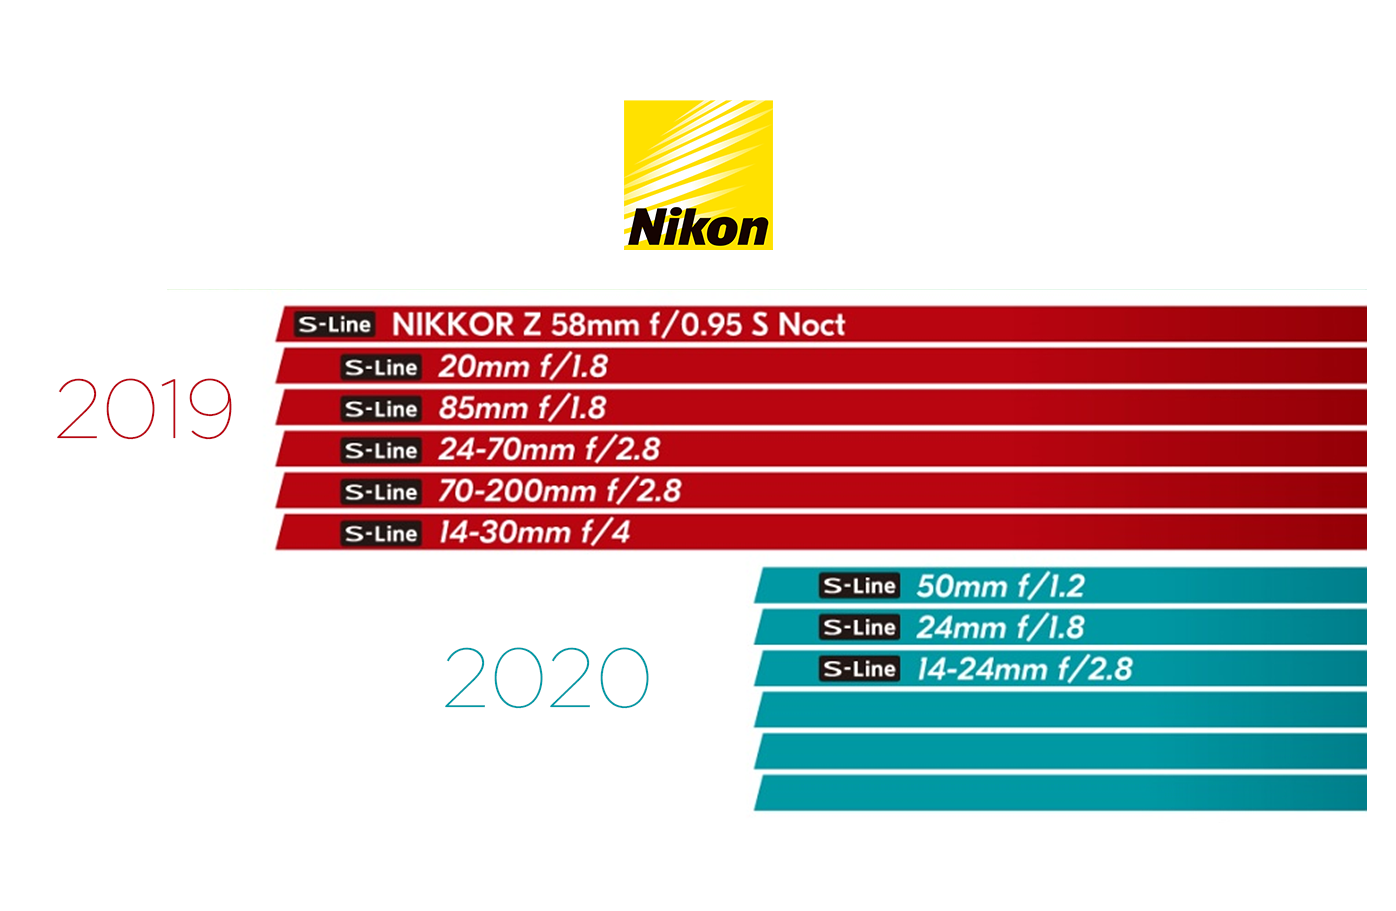
According to the road map Nikon released last year, there are a few lenses due for this year which shall be released soon:
NIKKOR Z 58MM F/0.95 S Noct (2019)
NIKKOR Z 20MM F/1.8 (2019)
NIKKOR Z 85MM F/1.8 (2019)
NIKKOR Z 24-70MM F/2.8 (2019)
NIKKOR Z 70-200MM F/2.8 (2019)
NIKKOR Z 50MM F/1.2 (2020)
NIKKOR Z 24MM F/1.8 (2020)
NIKKOR Z 14-24MM F.2.8 (2020)
Source: Nikon Global
According to Nikon, the lens is part of the S-Line, a newly designated grade of NIKKOR Z lenses that adhere to a new benchmark in optical performance, creating new definitions of design principles and quality control. Nikon chose to start their year by releasing this lens which is a F/4.0 lens, instead of bringing out the big guns like; 85MM F/1.8 or the 70-200MM f/2.8.
For us, we don’t believe it is a professional lens, like Nikon promised us it would be.
Are you excited about the new 14-30MM f/4 lens?
Let us know your thoughts below.
Lexar announces 1TB Memory card
The 1TB card is here!
Having memory or storage problems?
Lexar announced a 1 TB 1TB 633x SDXC™ UHS-I card to end your sorrow.
The main features are:
Leverages Class 10 UHS-I (U3, V30) technology for a read transfer speed up to 95MB/s (633x)*
Capture high quality images and extended lengths of stunning 1080p full-HD, 3D, and 4K video**
Enjoy shooting longer without changing cards with this high-capacity 1TB memory card
High-speed file transfer from card to computer to dramatically accelerate workflow
“Almost fifteen years ago, Lexar announced a 1GB SD™ card. Today, we are excited to announce 1TB of storage capacity in the same convenient form factor. As consumers continue to demand greater storage for their cameras, the combination of high-speed performance with a 1TB option now offers a solution for content creators who shoot large volumes of high-resolution images and 4K video,” said Joey Lopez, Senior Marketing Manager.
The 1TB Lexar® Professional 633x SDXC™ UHS-I card is available now at an MSRP of $499.99.
Would you buy it?
DJI Smart Controller for Drones
DJI has announced a new smart controller for drones.
DJI has introduced a smart controller for some of the drones it makes. By some we mean the latest drones like the Mavic 2 Zoom and the Mavic 2 Pro.
DJI Smart Controller in the field.
The main features are:
5.5 inch 1080p screen
Ultra bright built- in screen at 1000 cd/m2
Ocusync 2.0 transmission
Video feed upto 8kms distance
Super fast setup speed of 30 seconds
Real time auto switching between 2.4 GHz and 5.8 GHz
4K 60p output via HDMI
Stable operation in temperatures ranging from -20°C to 40°C.
The 5000mAh battery gets fully charged in 2 hours and you can use it for up to 2.5 hours
Detachable control sticks
Also, the DJI Smart Controller comes with a built-in microphone and speaker for “expanded options” such as live streaming. It can also playback video through the HDMI output port at 4K with H.264 or H.265. Of course, wi-fi is required for live streaming.
The price of the Smart Controller is USD 649.
What do you think? Let us know in the comments.
According to DJI:
The DJI Smart Controller expands the ecosystem of accessories built around DJI's industry leading drone technology. Using a crisp 5.5” screen built into the controller itself, the Smart Controller allows pilots to quickly get their drone in the air without the need to connect a mobile device. It can be paired with DJI's newest drones including Mavic 2 Zoom and Mavic 2 Pro which use DJI's OcuSync 2.0 video transmission system, displaying vivid images in Full HD resolution. Drone pilots can take advantage of its compact, highly portable design that has been optimized for use in direct sunlight. It features an ultra-bright display with an output of 1000 cd/m2, twice the brightness of standard smart phones. A customizable Android dashboard supports DJI GO 4, DJI Pilot[2], along with various third-party apps such as editing programs. The DJI GO 4 app also touts several new features including SkyTalk, that allows pilots to livestream the drone’s camera feed to social channels including Facebook, Instagram and WeChat so that anyone can experience the thrill of flying a drone. Another new feature is DJI GO-Share which easily transfers imagery from the Controller to your mobile device. The DJI Smart Controller brings a new level of reliability when flying, with 2.5 hours of battery life and the ability to operate in adverse temperatures as cold as -4° Fahrenheit and as hot as 104° Fahrenheit.
Nikon Firmware Update Enables Raw Video, Eye AF And CF Express Cards On Z7 And Z6
Nikon just dropped this news. This is going to change the mirrorless game.
Nikon has announced a firmware update that will enable raw video output to an external recorder, Eye AF and CF Express card compatibility.
Apple ProsRes RAW Output
On the second day of the CES 2019, Atomos’ CEO Jeromy Young announced that the new Atomos Ninja V is compatible to record ProRes RAW with the new Nikon Z6 and Nikon Z7.
“Atomos is excited to work with Nikon on the development of ProRes RAW recording from Nikon’s Z series. This expands ProRes RAW to Ninja V and is the world’s first true full frame mirrorless to give raw video output. The combination will enhance content creation at all levels, from Social, through Pro Video and into Entertainment.”
- Atomos Global
According to Atomos, the Nikon Z6 and the Nikon Z7 output a stream of RAW data via a HDMi cable to the Ninja V. Capturing Apple ProsRes RAW with the Ninja V will unlock wider and complete control of the video image at highest quality possible.
Some believe that Atomos is using a closed loop protocol with-in the HDMi, which basically means that they are taking all the pixels and rearranging them.
Nikon’s new mirrorless cameras, the Z6 and Z7 will be more than capable of outputting a RAW signal to the Atomos Ninja V, it’s not unrealistic to expect that more cameras will be capable of doing this in the near future. We wouldn’t expect that we are likely to see either Canon or Sony enable a RAW output to be recorded from their cameras.
Eye AF
With this new firmware update Nikon intends to announce its long awaited Eye auto-focus feature in their mirrorless cameras like the Z6 and the Z7. The Eye AF is a very good helping-hand when it comes to taking pictures such as portraits, event or street photography scenario.
“Our much-anticipated Eye AF function that is currently in development for the Z7 and Z6 can effectively detect your subject’s eyes, making focusing so much easier! You’ll capture stunning shots where focus has been clearly acquired on the subject's eyes - good news for portrait and streetphotographers!”
-Nikon Global
According to Nikon, the technology/feature is in its last and final implementation phase. In the demonstration video below, you can see it acquires the eye as fast as a Sony/Fujifilm has been able to do with their mirrorless technology. The only difference being that the area of the box seems to be much larger than that of Sony’s or Fujifilm’s Eye AF.
Source: Nikon Europe YouTube Channel
It will be possible to select which eye to focus on if there are multiple subjects in the frame, in which case, this makes it easier for the shooter to prioritise the particular subject.
We expect the Nikon’s Eye AF to be as efficient as Sony’s or Fujifilm’s.
As of now, Nikon has not released an official date about when we can expect this new firmware upgrade, but we believe it will be soon.
If you would like to know further please visit:
CF Express Card
Nikon has also announced that their new mirrorless cameras will be compatible with the new CF express cards after the firmware update. These cards use the same form-factors as the XQD cards which are the only data transfer interface used in the Z6 and Z7.
What’s really surprising is that Sony was the first one to introduce XQD cards and yet they have not incorporated the technology to any of their camera devices.
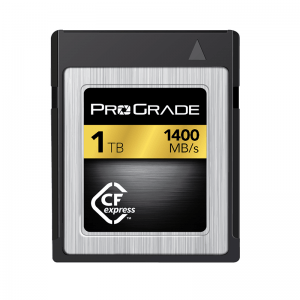
In a recent statement given by Pro Grade Digital states that they will be introducing a 1 terabyte CF Express card demonstrated 1,400 MB/s read speed and over 700 MB/s burst write speed.
Source: ProGrade Digital Website
“ProGrade Digital is delighted to be participating in this exciting technology demonstration highlighting the speed of the ProGrade Digital 1TB CFexpress card and Thunderbolt™ 3.0 in the digital workflow,”
-Wes Brewer, founder and CEO of ProGrade Digital.
“With read speeds up to 1400MB/s, this technology provides peak performance for offloading cinema-quality, video and still image files at speeds that are at least three times faster than ever before.”
- ProGrade Digital Global
If you would like to know further, please visit:
https://progradedigital.com/2019/01/08/prograde-digital-cfexpress-1-0-demonstrated-at-ces-show/
Joseph Radhik Interview | Lessons In Humility And Wedding Photography | In Frame With Gorky M Episode 1
If you’re a wedding photographer, you might not want to miss this.
Wedding Photography has witnessed a massive revival all over the world. These days, wedding photographers can charge as much as they like. This can partly be credited to photographers like Joseph Radhik who’ve taken a different approach to photographing weddings by bringing out a previously unseen art to them. Joseph has won countless awards for his work and is the founder of Stories by Joseph Radhik, a wedding photography firm that’s been featured in magazines like Grazia, Harpers’ and People Magazine. A photographer with an entrepreneurial spirit, Joseph has managed to blow up his craft into a thriving business whilst retaining all of the creativity and passion.
Joseph is the first guest in our latest series, ‘In Frame with Gorky M’ - a half hour tete-a-tete with some of the world’s best photographers. In the video, Joseph talks about how he got into wedding photography, his personal gear and more. The full episode is embedded at the bottom of the post, you can get right to it if you like.
“I worked as a business development manager five days a week, and on a Friday I would shoot a wedding and be back in office on Monday. ”
It’s this attitude and commitment that’s made Joseph the one of the prized photographers in the industry.
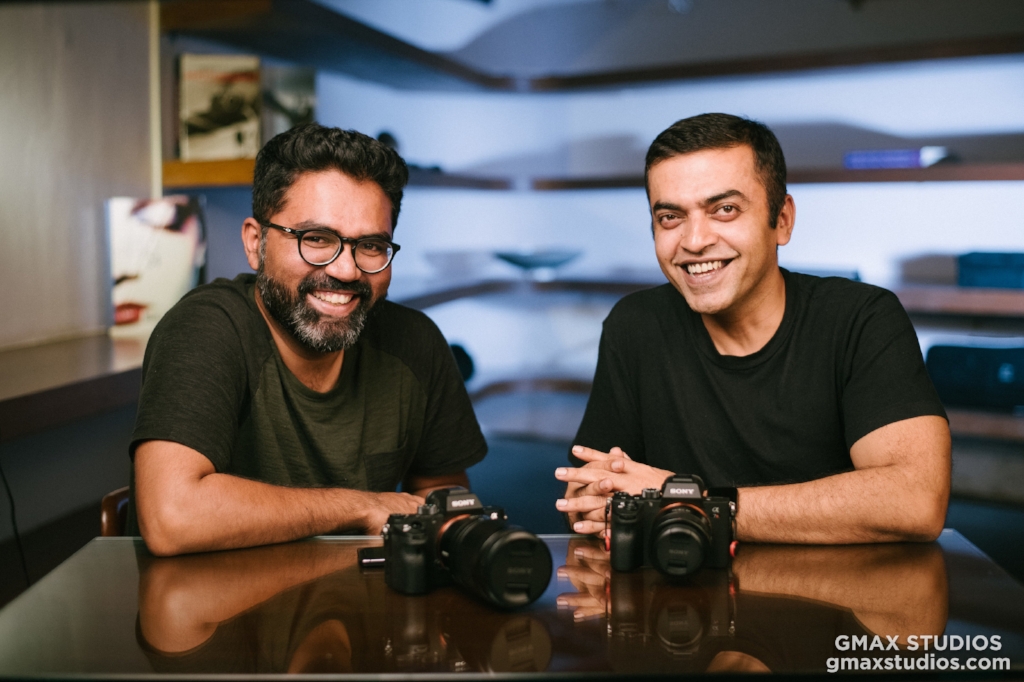
And there’s lots we’ve learned about the man these past few months, bumping into him at the Sony A7III launch in Mumbai (He’s also Sony’s Global Imaging Ambassador) and from the time he came over to talk about his passion project PEPx Photocon. He was coming straight from a photo-shoot, so he came with suitcase and all, very much, as we like to call it - in the zone. We were going to be filming our conversation in one hour, and he was going live simultaneously on his PEP Professionals app; his technicians setting up a live-stream that looked technical as hell. In those days we’d go live every Saturday, so we could understand the immense pressure. But Joseph was cool like you’d be on a Sunday morning. He was quick to figure out a solution when a problem arose, answering and hanging up calls at the pace of a stockbroker, at times, on his haunches like a camera assistant.
After seeing what Joseph’s schedule looked like, (putting together a 3-day global photography event, photographing a wedding, giving an interview and going live at the same time on his app) we learned that it’s no more just you and the camera. Photography is a big part of your life but it’s a relatively small part of your business. Most of your time’s eaten up by phone calls, production meetings, preparation and social media. It’s how you fare in those departments that determines if you’ll be remembered for picking up the camera or not.
Real photographers don’t shy away from selfies
In return for creating awareness on PEPx Photocon on our channel GMax Studios, Joseph had invited us to the event. He let us film the entire event, gave us the best seats in the house and also threw in twenty PEPx passes for our subscribers. It was because of this wonderful opportunity that we were able to chat with accomplished and globally renowned photographers such as Ira Block, Dinesh Kumble, Yuvraj Gurjar and Auditya Venkatesh.
PEPx was an unbelievable experience for a photographer. People were practicing photography the halls, students were chatting up their favorite photographers; ambassadors, acclaimed photographers, gearheads, camera companies, vloggers, motivational speakers - everybody was present. It was kind of like an Apple event, but for photographers. Joseph was speaking on all three days, and during the course of the event, we learned just how good an orator he is. His speeches are motivational and he also likes to laugh at some of his own jokes, but he kept the audiences engaged through all of it.
When asked about the best camera settings for wedding photography, (we know, it sounds absurd) Joseph said that the best setting is getting to the location with your camera. The theater erupted with laughter. While there were other renowned photographers speaking at the event, seeing Joseph get up on stage was always exciting, his jokes and insights being met with much laughter and applause. He was able to harvest every colloquial sentiment to make the people feel at home.
“In 2008, I googled ‘wedding photographers in India’ and it returned zero results.
I chanced upon a genre that I never knew existed.”
Wedding photography came to Joseph when he was looking for a photographer to shoot his sister’s wedding. At the time, he was photographing flowers and sunsets like every rookie with a D-SLR. (Scroll through some of his older photos on flickr, we’re not lying) “I chanced upon a genre that I never knew existed”, says the the three-time fearless photographer of the year, his eyes lighting up from visualizing the moment. He ended up photographing his sister's wedding, and naturally, he got good at it as he shot more and more. He even began to dress the part. In fact, his photography gear also comprises of waistcoats just so he can blend in better. “I’m working, but it’s still a wedding.” It’s a statement that’s profound because of its simplicity. It can only come from a guy who truly loves to photograph weddings.
“Wedding photography had everything that I loved. Photojournalism, beauty, light, documentary, landscapes. Weddings are also like wildlife. You need perfect timing.”
As an effort to enjoy himself more, Joseph carries only a handful of equipment - his favorite lenses, a double-camera strap (so he looks like a badass cop) and has a relatively small team helping him out with the lighting and managing of data. While his world is fairly complex, his photography is simple. It’s how he’s able to still love doing what he does despite his phone ringing off the hook. As a photographer, he’s not above shooting group photographs of the couple’s friends and family he says. The truth of that statement hits your chest. It’s a lesson in humility from the guy who shot India’s most talked-about wedding.
Watch the entire conversation between Gorky M and Joseph Radhik below. He talks about his inspirations, shares some valuable trade secrets and even lets us take a peek inside his camera bag.
Why is the 50mm 1.8 lens the best lens in the world and why should you buy it!
It’s been a while since you’ve had this DSLR but your photos just don’t stand out. They seem to be missing something. You can change that today.
It’s been a while since you’ve had this D-SLR but your photos just don’t stand out. They seem to be missing something. That finesse. That x factor. That punch.
That ‘D-SLR look’ you’ve seen on Instagram.
Mind you, If you’re not getting the kind of shots you want, it could make you fall out of love with photography. At the end of the day we do things to get results. And if you’re putting in the time and you don’t think it’s yielding anything substantial, it can turn you off big time.
Here’s what happens. You’re getting great natural light on your subject. You might even think that the picture has a kind of mood. You compose your shot, hold your breath and click the shutter release button. Nice.
Later, you see the image on your computer and you can’t believe it’s the same picture. It looks ordinary. You scratch your head and go, “I thought I’d get quality images with a D-SLR.”
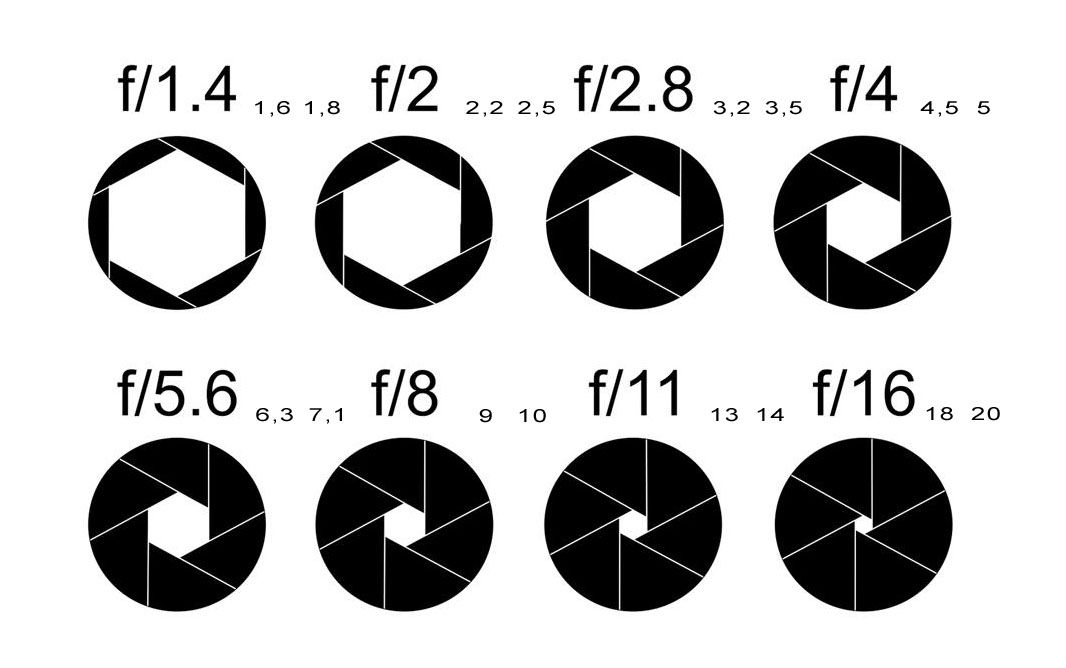
But here’s the thing. Image quality and sharpness often depends on the kind of lens you’re using and its aperture (aperture is the opening of the lens, which is denoted by the f number. For example, f.4 or 5.6.) The lower that f number is, the wider the aperture will be.
A wider aperture allows more light to enter the lens, and this allows your camera to render focus areas much better.
The 18-55 kit lens that comes “free” with your D-SLR may seem good enough to start with, but it has an aperture range between f/4 and f/5.6
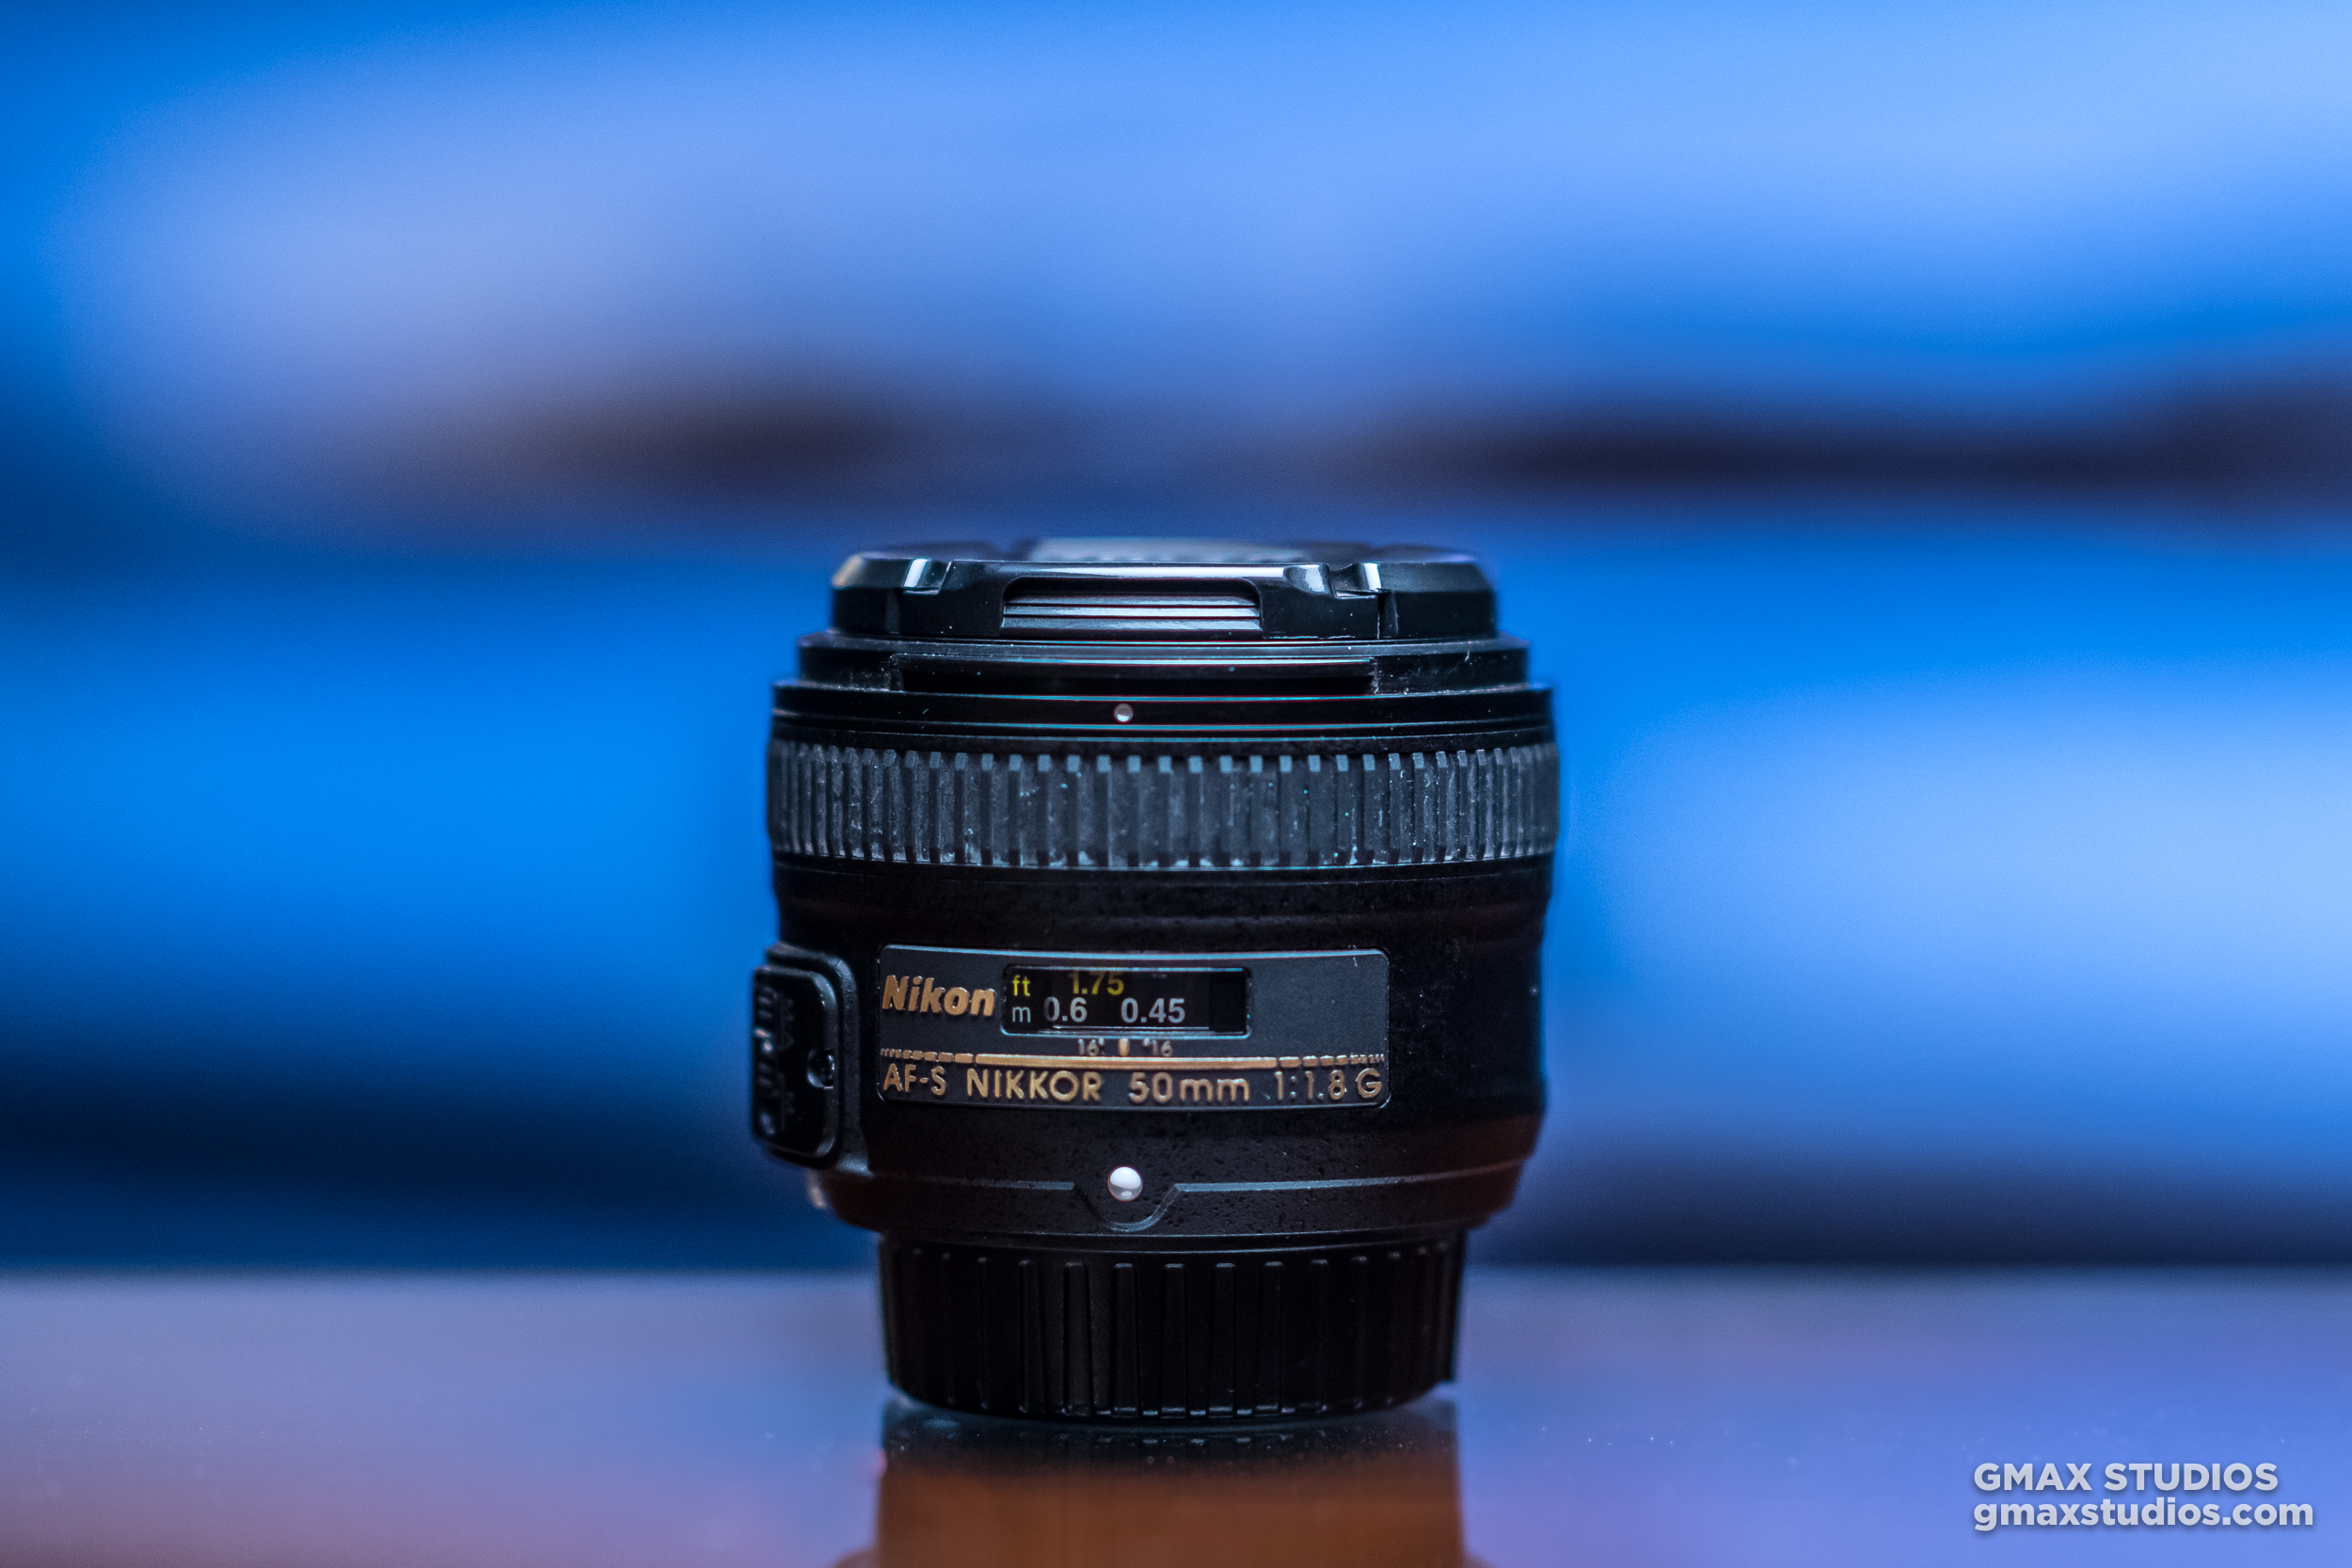
If you’re looking for beautiful bokeh, sharper image quality, a 50mm prime lens with a 1.8 aperture is a great lens to buy.
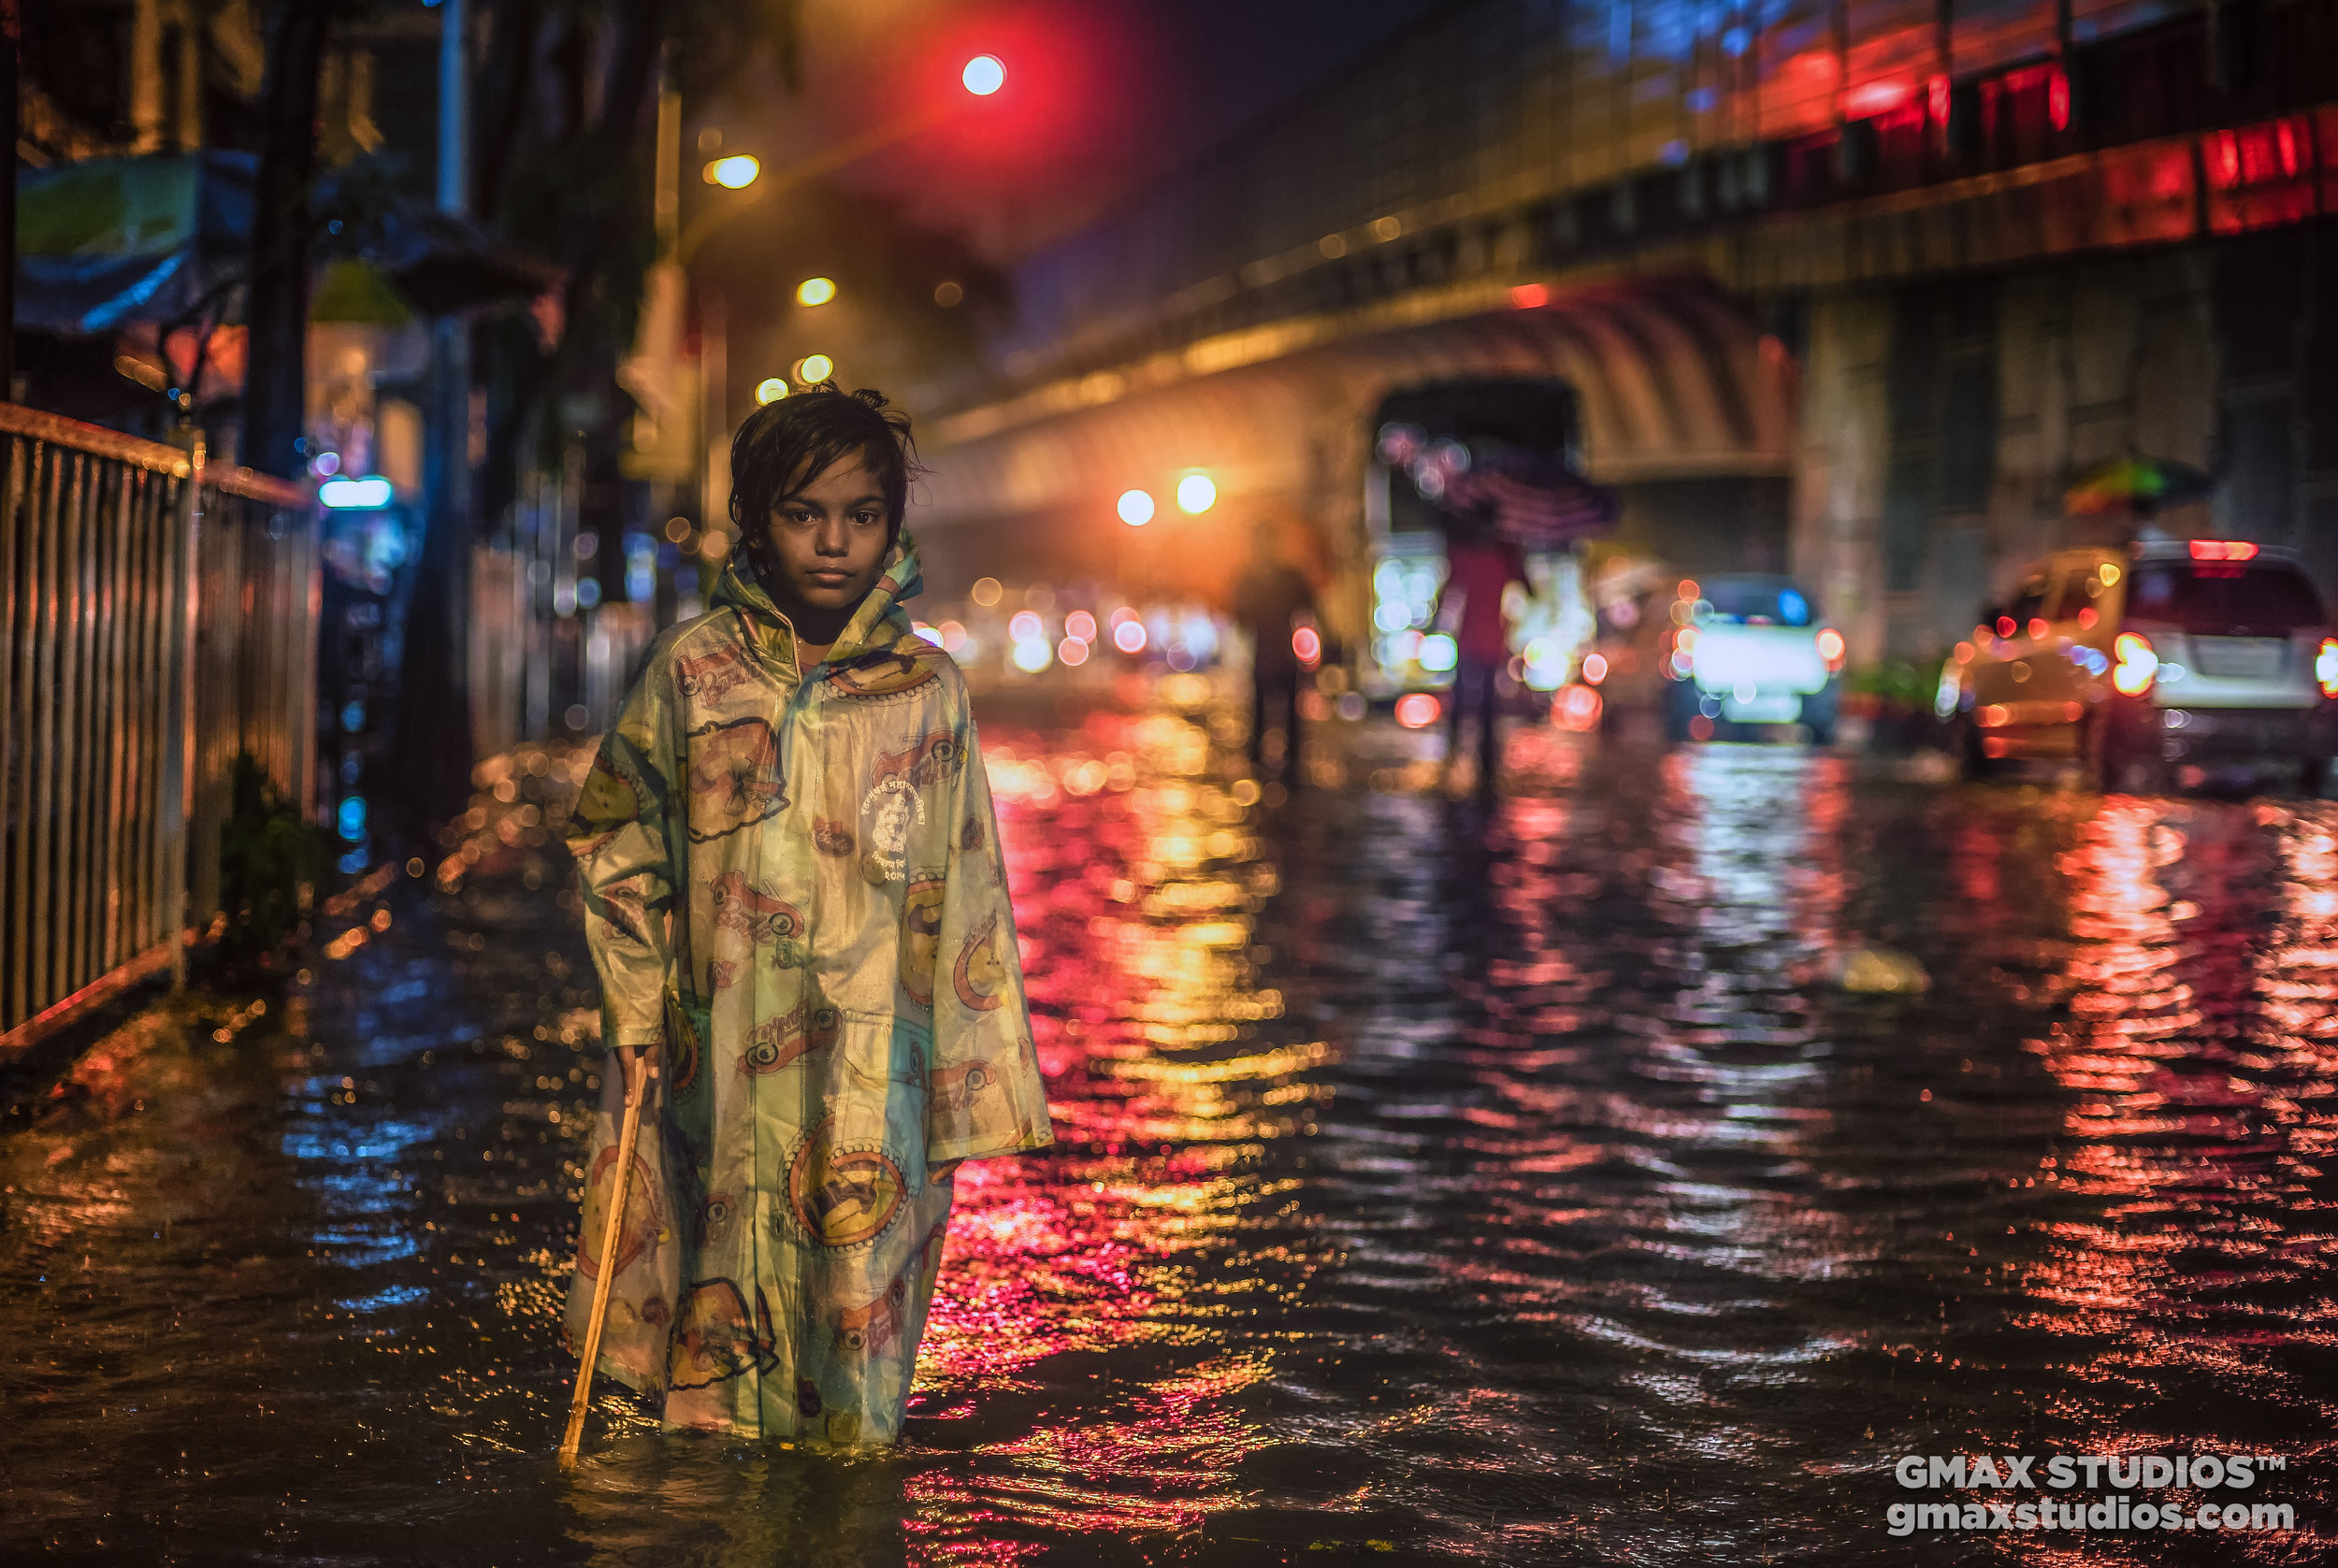
Background blur has mostly to do with your aperture
The 50mm 1.8 prime lens is also called a ‘nifty fifty’ because of how nifty or useful it is to photographers. It's light, cheap and almost every camera company makes it. It's also a fast lens, (lenses with wider apertures are called fast lenses) which means you can shoot at higher shutter speeds, and you don’t need to bump up the ISO too much. In terms of quality, the nifty fifty is best bang for your buck.
Here are a few reasons why we think it’s a great lens.
The nifty 50 is the personification of “good things in small packages”
It’s Light and Easy to Carry
Weighing between 150 to 200 grams, the 50mm 1.8 will have your shoulders thanking you for it. It fits right in to any camera bag, and you can take it anywhere without attracting much attention. If you had to pick one lens to travel with - this would be the one.
It’s Versatile
The nifty 50 is the Johnny Depp of camera lenses. It can practically be used in every genre of photography. Portraits - check. Landscapes - check. If you’re into street photography, it’ll be hard to top the functionality of this lens.
Everything Looks Right
A 50mm lens is also called a normal lens. At a focal length of 50mm, its field of view is similar to what the human eyes perceive. Everything looks as it should, there’s not much distortion like in the case of wide lenses or the feeling of distance when you take a photograph using a telephoto lens.
It’s a Fast Lens
Like we mentioned earlier, fast lenses allow you to shoot using high shutter speeds - which means less camera shake resulting in sharper photographs. You can shoot in low light conditions easily. So feel free to step-out past 6 pm and photograph as much as you want, and the next time your friends come over for a party and whip out their samsung, tell them to put it aside because you have them covered.
It’ll Give You That D-SLR Look.
Chin up. You’ll finally get that D-SLR look you’re after. By that we mean pictures that have a shallower depth of field, where the subject is separated from its background to a greater degree. We all love those blurred backgrounds, don’t we? Well, the depth of field depends on your aperture and it isn’t a trick some photographer came up with.
Increased Sharpness
The 50mm lens is incredibly sharp. If you’ve been shooting with zoom lenses, the sharpness you’ll get from a prime lens will surprise you.
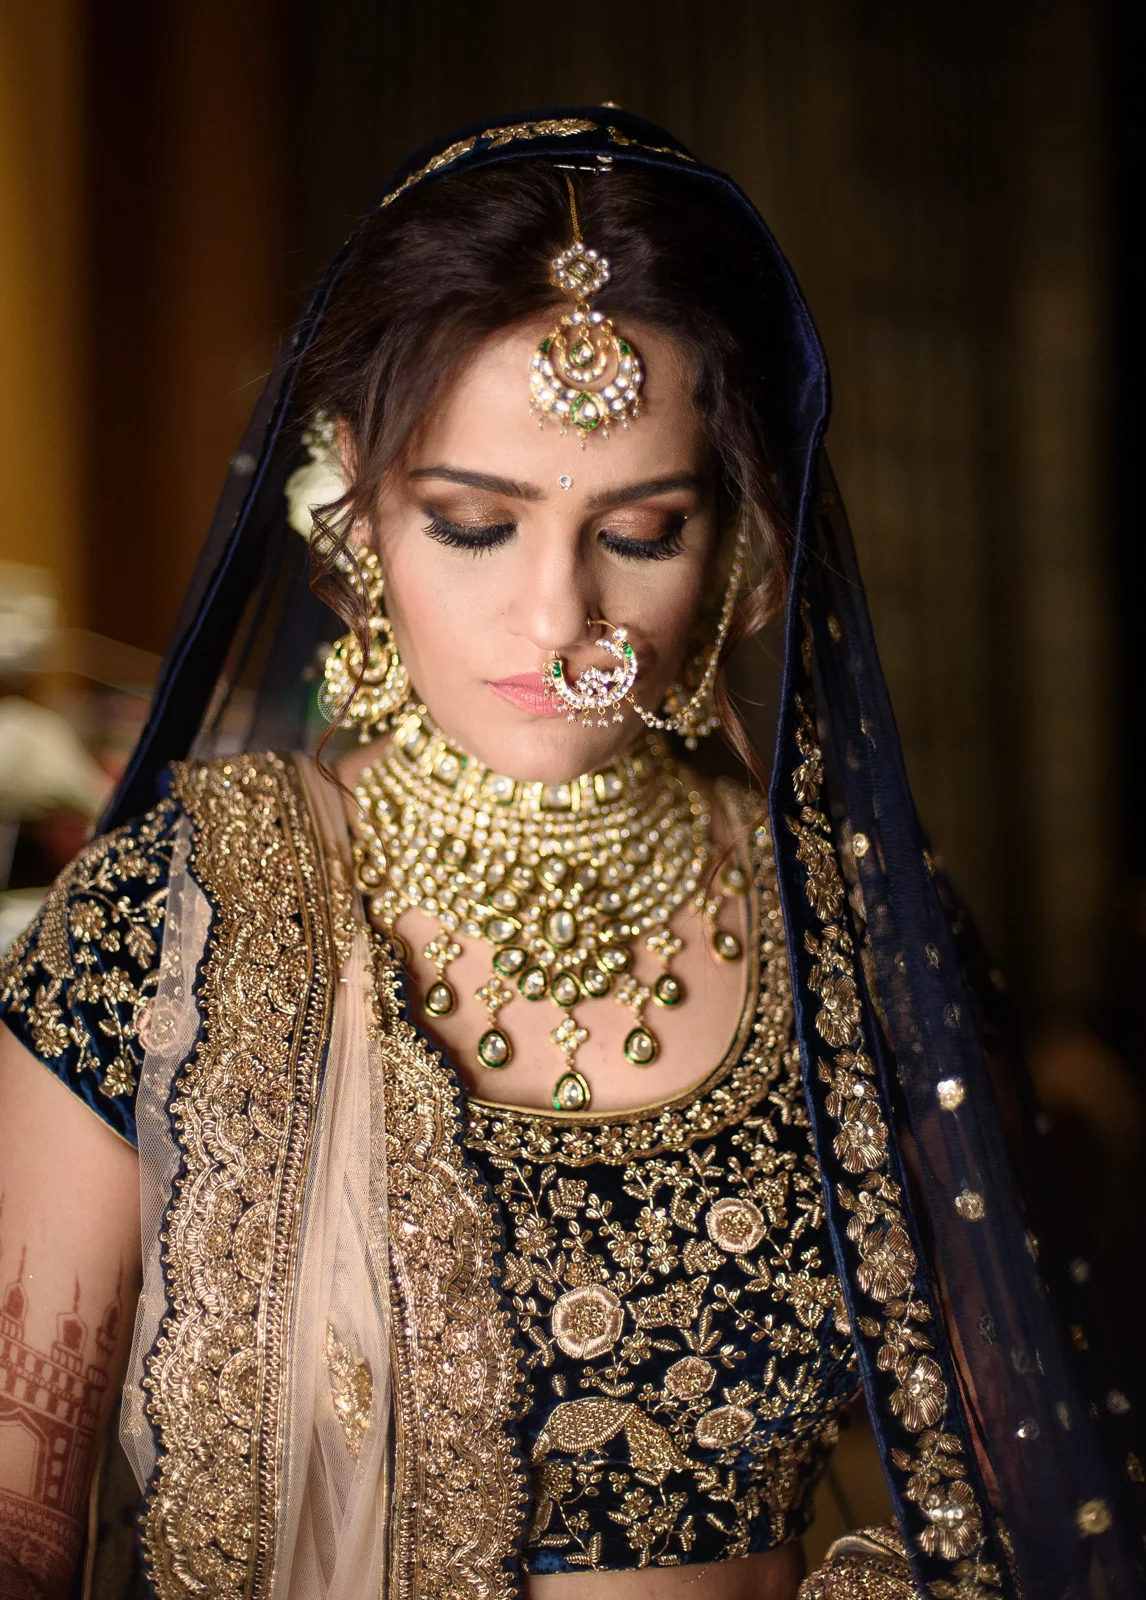
You'll have no trouble taking fashion or commercial shots with the 50mm 1.8 lens.
It’ll Make You a Better Photographer
Yes that's correct. If you’re used to taking photographs with a zoom lens, it’s quite possible that the constant zooming in and out might have pampered you a little bit. Because you can zoom in or out whenever you want you don’t work as hard, like you would with a prime lens that has a fixed focal length.
A prime lens isn’t a wide lens and it isn’t a telephoto lens. It’s somewhere in between. Which means you’ll have to travel back and forth to frame your subject correctly. This will teach you how to compose, get creative and think out of the box.
Photograph by Himanshu Singh Gurjar
If you’re still not convinced - check out this video on the nifty 50. It’s quite likely that it’ll become your favorite lens in the world too. Leave us a comment if you have any questions.
How to shoot a panorama
With the help of proper techniques and post-processing software, anybody can get near-perfect panoramic shots.
You’re out with your friends, and you’re standing on top of a mountain from where the view seems great. But your camera just won’t cover it all. There’s also no space to go back, and you’re not carrying a wide angle lens. This is where panoramas come in handy. They allow you to photograph an entire scene and not just part of it.
In the old days, photographers would create panoramas on manually by panning across a scene and taking a couple of exposures on film, then printing and stitching them in a lab. Or you got yourself one of those super expensive panorama cameras like the Hasselblad X-Pan.
It was far from ideal, and it was far from easy.
Panorama on film is very tough to achieve
But now, with the help of proper technique and post-processing software, you can get near-perfect panoramic shots. Some photographers stitch over a hundred photographs to create gigapixel panoramas.
WHAT IS A PANORAMA?
Panorama, or panoramic photography is wide-format photography in which you take multiple exposures and merge them together to create a massive picture, sometimes 180 degrees or more. Panorama was introduced by early painters who wanted to give a wider view of the scenes they were trying to project in their paintings.
Panoramic Painting By Maerten van Heemskerck
HOW DO YOU SHOOT A PANORAMA?
A panorama is created in two parts
Photographing the scene via your camera
Using post-processing software for e.g. Adobe Lightroom to merge them together
EQUIPMENT
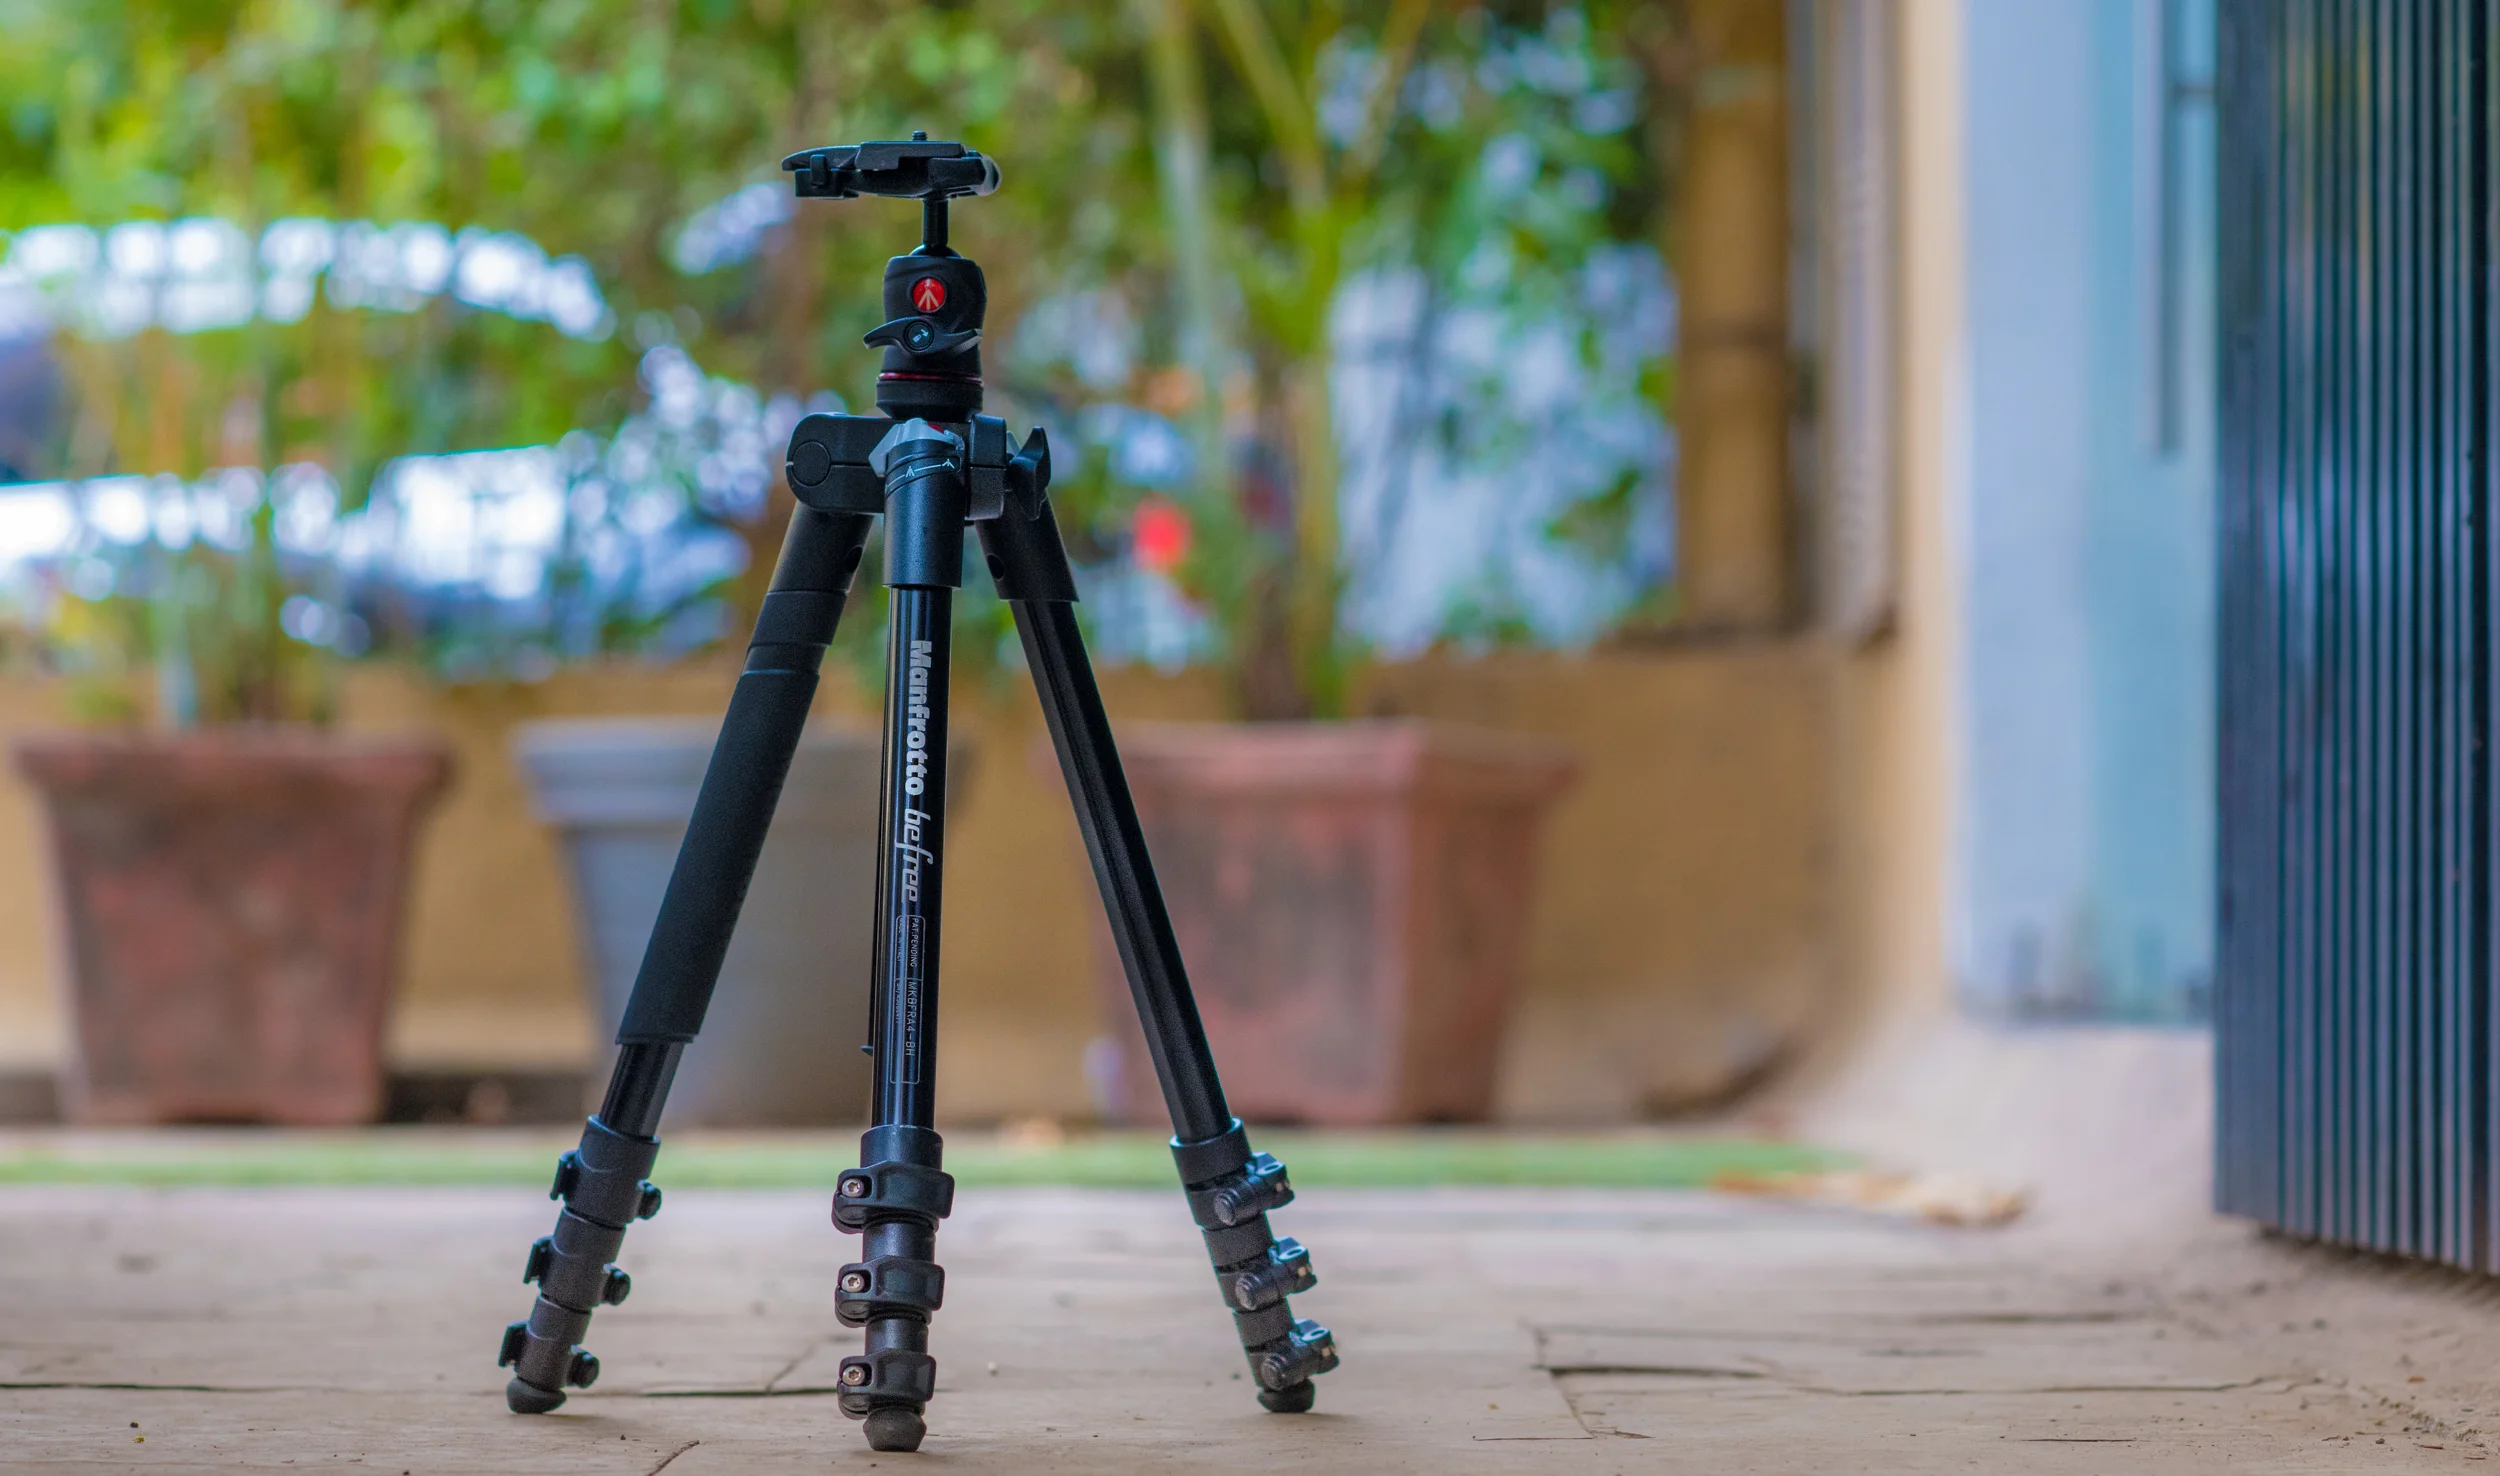
While there are people who can shoot a panorama handheld, a tripod will allow you shoot images along one horizontal plane easily. You can also get a panoramic head or an L bracket if you’re into real estate or architectural photography. But for our purposes, a tripod should do just fine.
With a tripod, your images will remain level and steady
SETTINGS
Making a panorama look like one photograph is the hard part. Which is why you have to adjust settings manually. The computer in your camera doesn’t know that you’re trying to shoot a panorama, and will expose each shot differently if you left the job of setting the exposure to it.
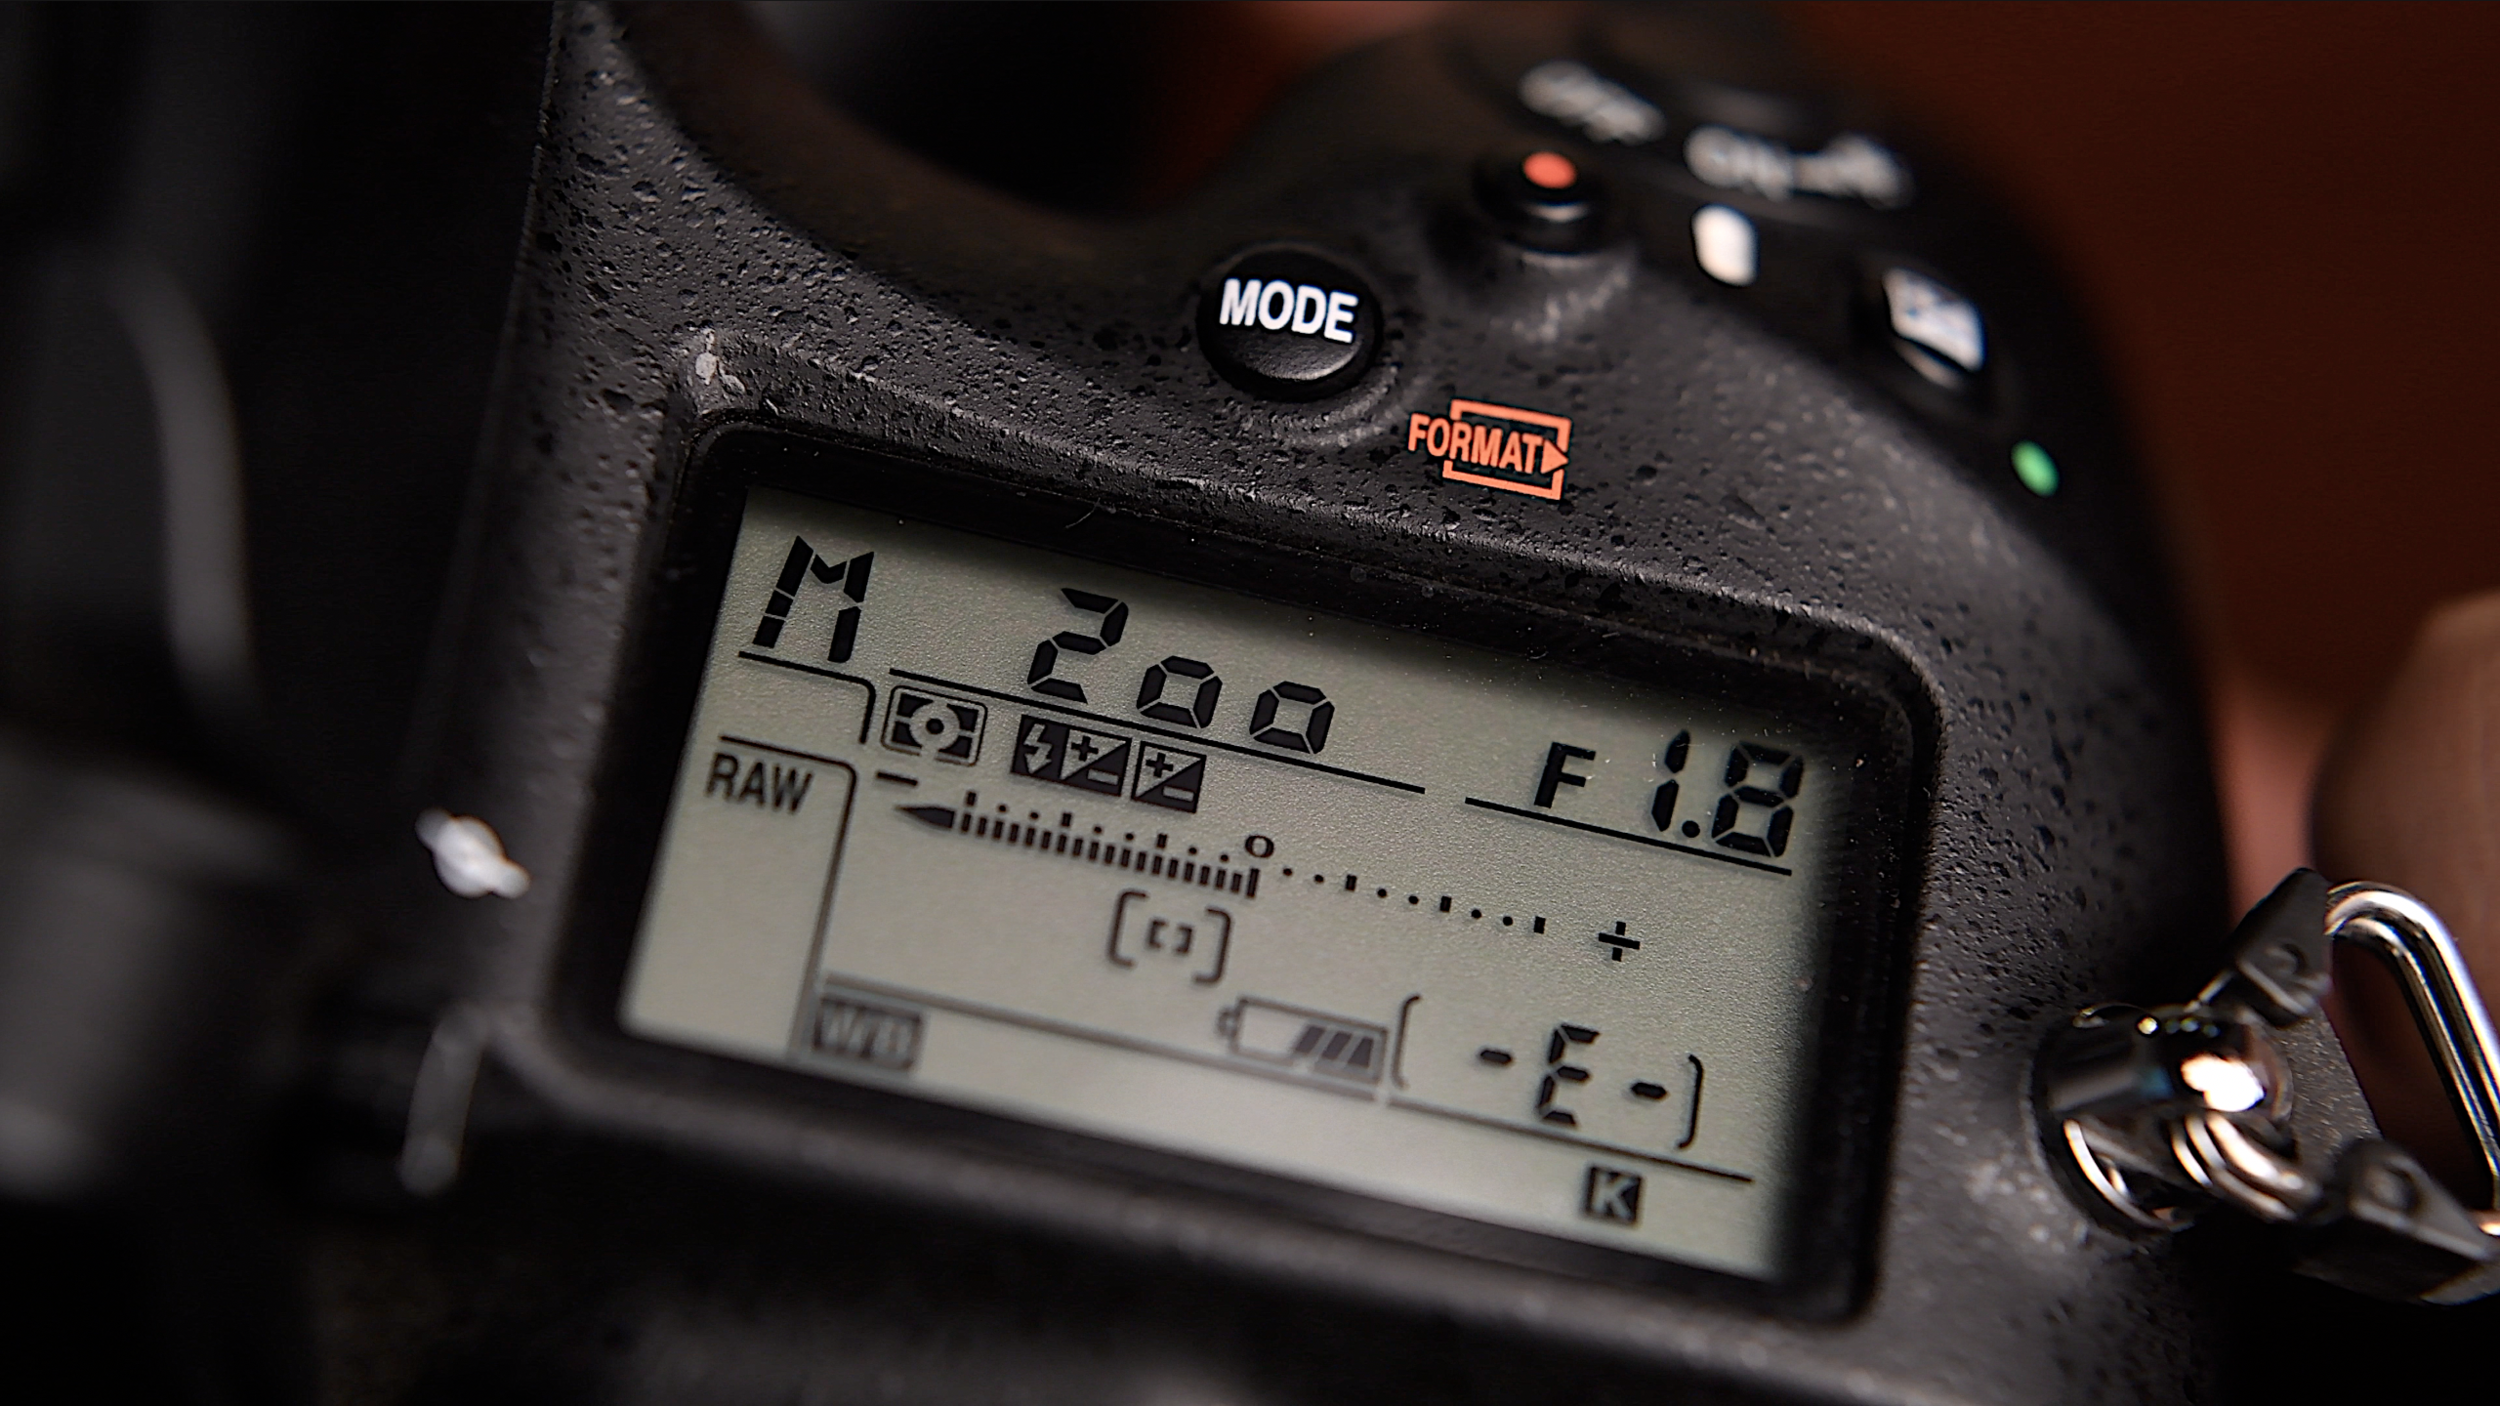
Switch your camera to manual mode and set the exposure manually to avoid varying exposures in every photograph
Focus
Focusing should also be done manually. Your focus should be set to a distant object that you're photographing or at infinity. This way, your camera won't change focus each time you take a picture.
Aperture
Because we want everything in focus, the aperture should be set to a higher f-stop, preferably f.8 or above.
Shutter Speed
Try to find a sweet spot in the center of the photograph using your camera's metering options. Take a few pictures to ensure the bright and dark areas of the photograph are exposed to your liking and not based on the automatic values suggested by your camera.
ISO
Set your ISO manually and use the same ISO for each picture.
White Balance
Because light reflects off each object differently, auto white balance could make your photograph look like a shade chart. Set and lock the white balance manually, like you did for your focus.
Shoot In RAW
Set your file format to raw, so it’s easier to correct exposure and color in post-processing. To fully understand the possibilities of shooting with a RAW file format, click here.
PHOTOGRAPHING THE SCENE
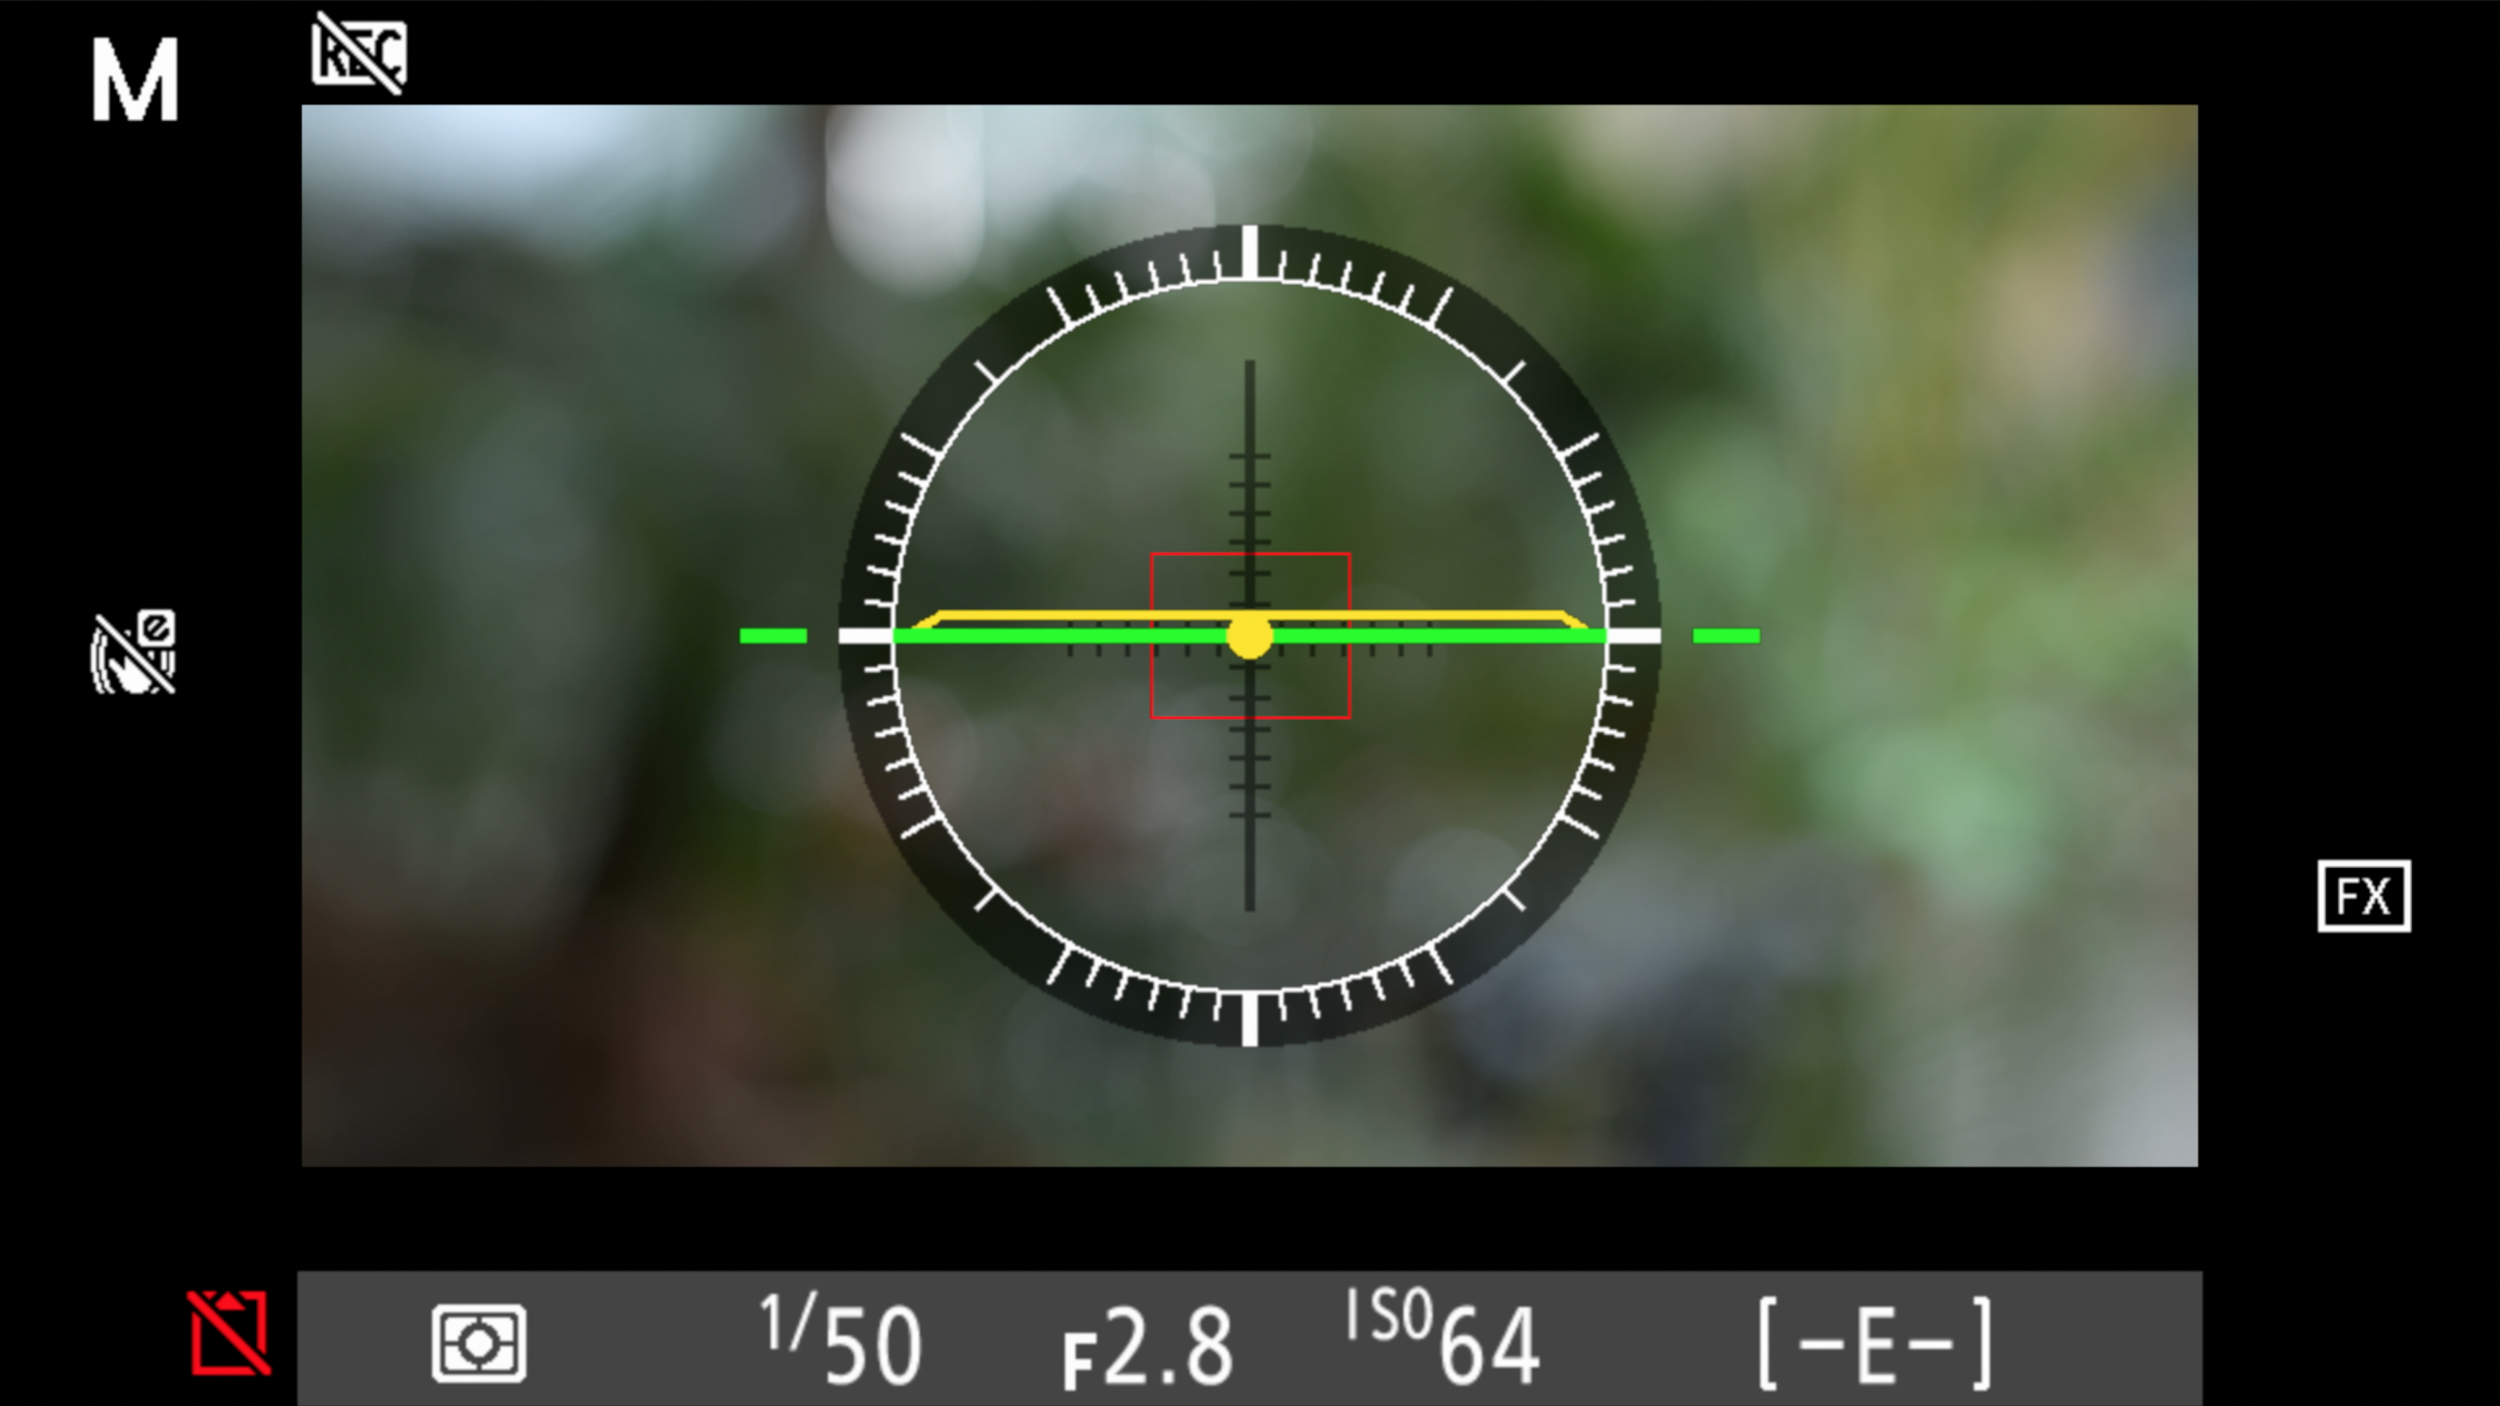
The next bit is taking the photographs. Once you’ve mounted your camera on the tripod, make sure the horizon is aligned correctly in your viewfinder.
A leveled horizon brings you a step closer to getting the perfect panorama
Simply pan the camera across the scene you want to photograph and click a few pictures. Make sure that each image overlaps the other by 30% to maintain focus across the entire picture, and to make your panorama look like one image.
Watch out for wind and moving objects when taking pictures. It can spoil the evenness of your panorama. Half of it will look like it’s moving while the other half might be still.
PROCESSING THE IMAGE
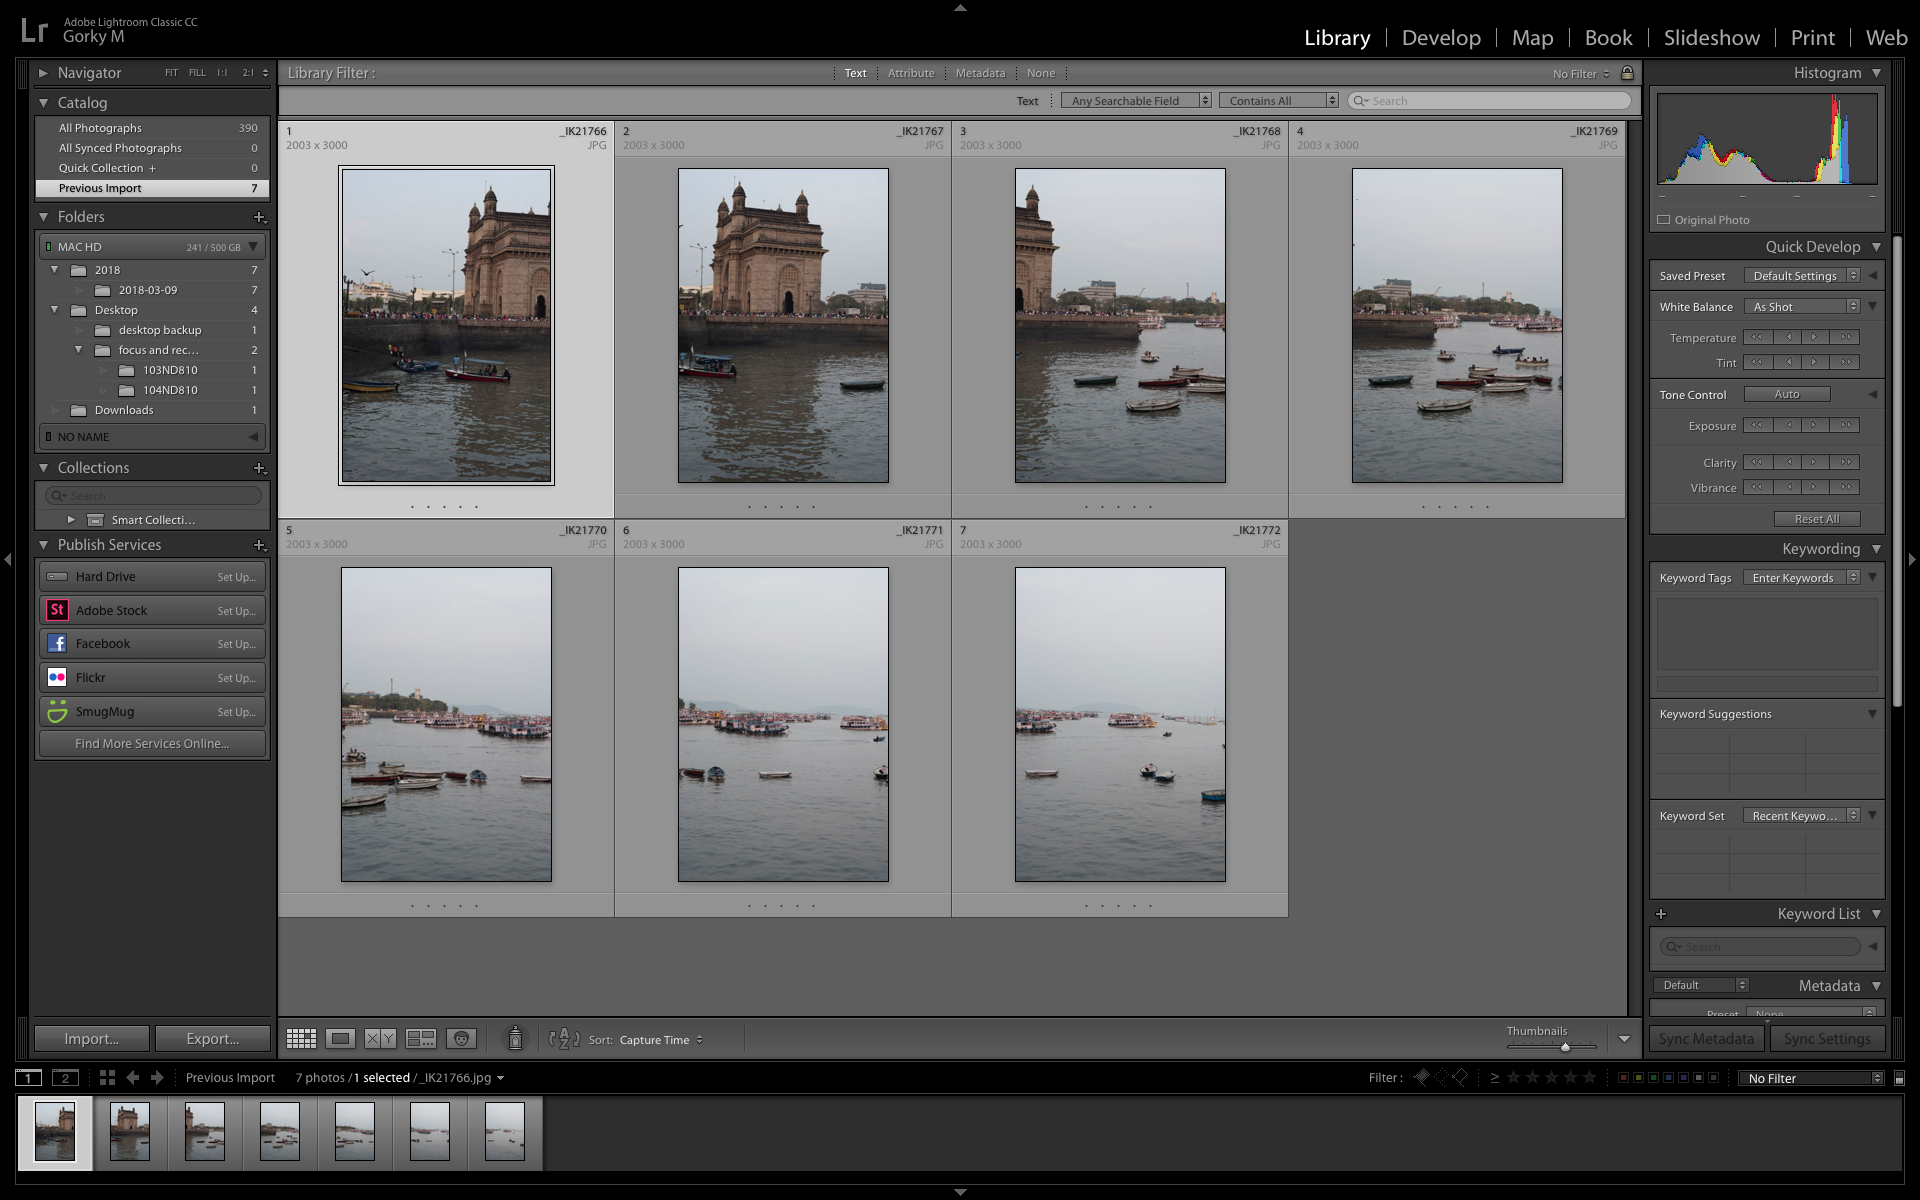
The second part of creating a panorama is the processing. There are tons of free software on the web for panoramic photography such as Hugin and Image composite editor, but we personally use Adobe Lightroom to stitch the images together.
One image has to overlap the other by at least 30% for maintaining focus and seamlessness
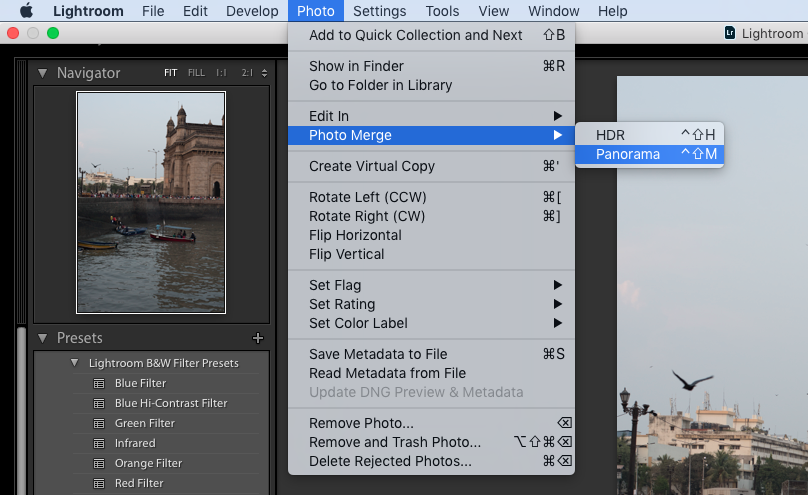
Open the images in Adobe Lightroom, then click on the ‘photo’ option and merge the images together.
You can straighten it a bit more, or crop it to your liking and that’s about it.
A panorama of the Gateway Of India
If you’d like an in-depth tutorial on how to create the perfect panorama, click on the video below.
Using Black Rapid Camera Strap with Arca Swiss plate
How to use Black Rapid Camera Strap with Arca Swiss base plate
The problem
Using Black Rapid Strap with Arca Swiss plate.
If you are a fan of Black Rapid camera straps like me and use an Arca Swiss compatible ball head as well - then you might think that you have a problem. I really wanted to use the Black Rapid strap with my Arca Swiss plate without going though the trouble of removing the plate each time. I never though it would be possibleAt least, until I came across the Acratech Swift Clamp, which lets me use both together.
using the black rapid strap with arca swiss plate
The solution
It is a beautifully crafted clamp that lets you use your Black Rapid camera strap with any Arca Swiss compatible ball head without changing the plate. The link being the Arca Swiss camera plate that fits on both.
So I can use my Black Rapid strap with my Arcatech ball head as well. It was making me very uneasy to think that I would have to give up using either one of them because changing the camera base plate in the middle of a shoot just does not make sense.
The Acratech Swift Clamp is so wonderfully crafted that one almost does not feel like using it. It is true craftsmanship but it comes with a price and I mean literally. At about 150 USD it is not a cheap buy but I am very happy with my purchase.
The Acratech swift clamp
Following is a short video to demonstrate how both of them work together. I hope to put up a video of it in the field pretty soon. Take a look.
Please share this article with your friends if you found it useful.


