Nikon Firmware Update Enables Raw Video, Eye AF And CF Express Cards On Z7 And Z6
Nikon just dropped this news. This is going to change the mirrorless game.
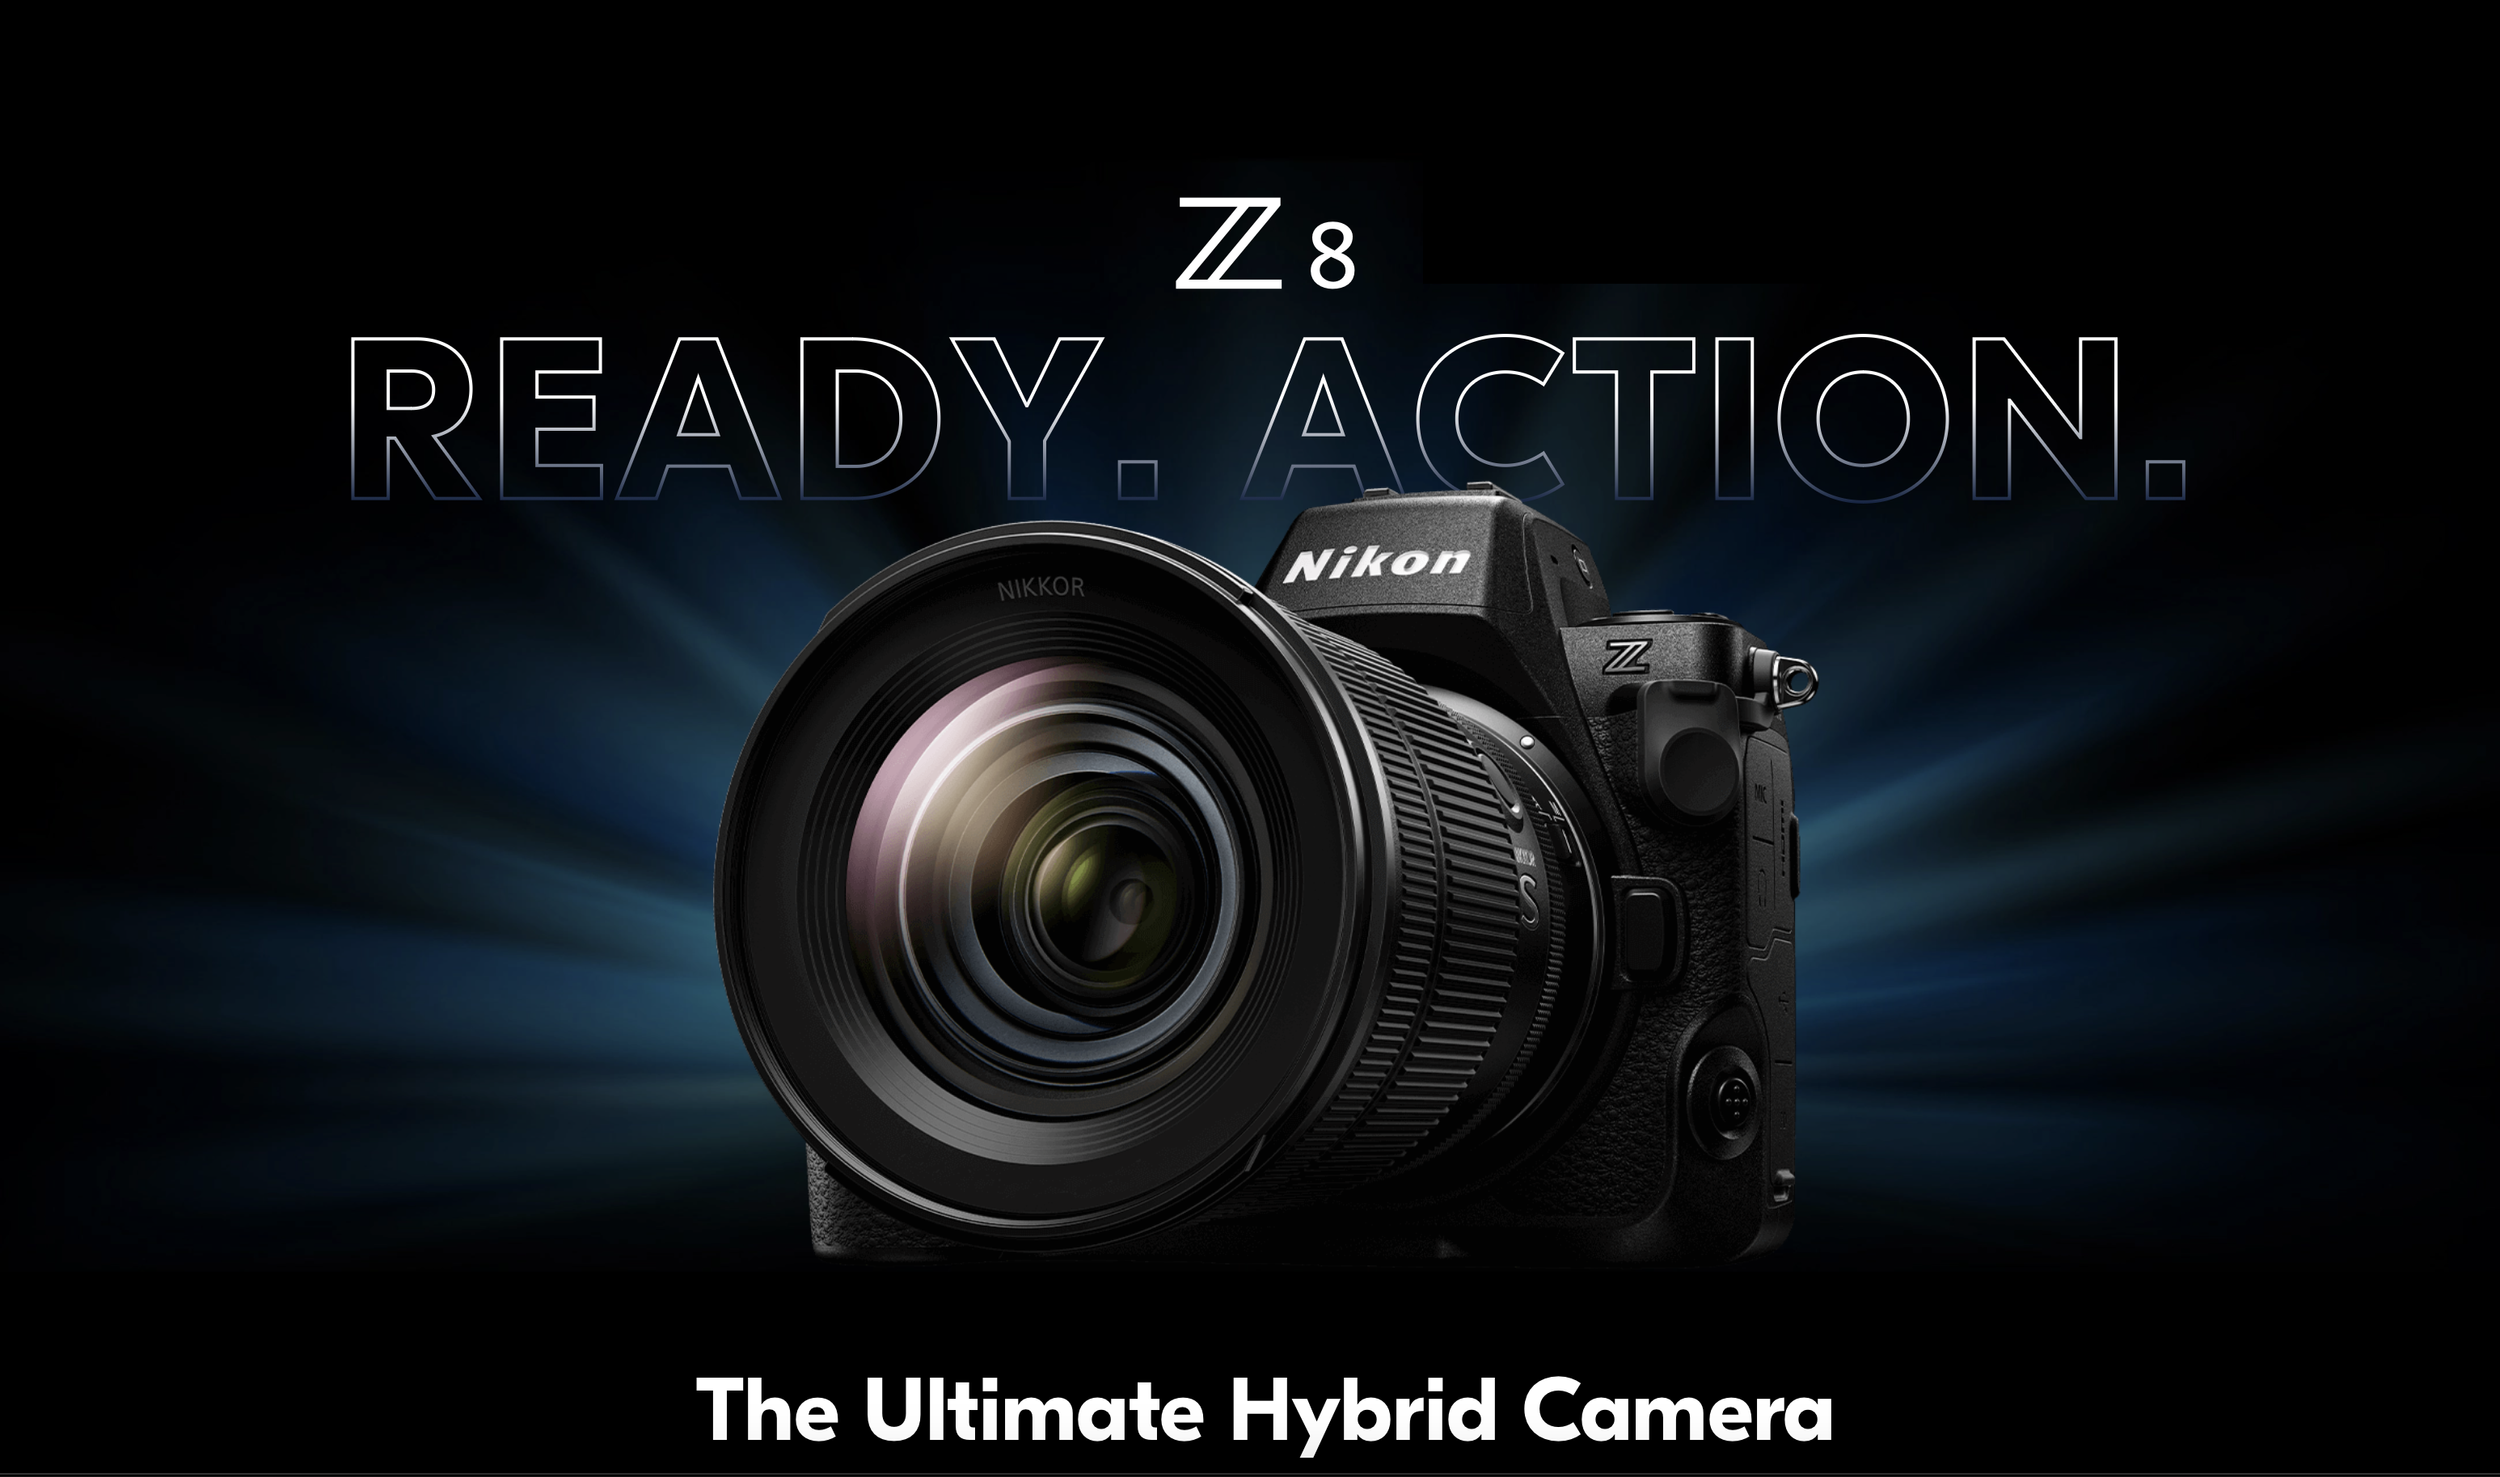
Nikon has announced a firmware update that will enable raw video output to an external recorder, Eye AF and CF Express card compatibility.
Apple ProsRes RAW Output
On the second day of the CES 2019, Atomos’ CEO Jeromy Young announced that the new Atomos Ninja V is compatible to record ProRes RAW with the new Nikon Z6 and Nikon Z7.
“Atomos is excited to work with Nikon on the development of ProRes RAW recording from Nikon’s Z series. This expands ProRes RAW to Ninja V and is the world’s first true full frame mirrorless to give raw video output. The combination will enhance content creation at all levels, from Social, through Pro Video and into Entertainment.”
- Atomos Global
According to Atomos, the Nikon Z6 and the Nikon Z7 output a stream of RAW data via a HDMi cable to the Ninja V. Capturing Apple ProsRes RAW with the Ninja V will unlock wider and complete control of the video image at highest quality possible.
Some believe that Atomos is using a closed loop protocol with-in the HDMi, which basically means that they are taking all the pixels and rearranging them.
Nikon’s new mirrorless cameras, the Z6 and Z7 will be more than capable of outputting a RAW signal to the Atomos Ninja V, it’s not unrealistic to expect that more cameras will be capable of doing this in the near future. We wouldn’t expect that we are likely to see either Canon or Sony enable a RAW output to be recorded from their cameras.
Eye AF
With this new firmware update Nikon intends to announce its long awaited Eye auto-focus feature in their mirrorless cameras like the Z6 and the Z7. The Eye AF is a very good helping-hand when it comes to taking pictures such as portraits, event or street photography scenario.
“Our much-anticipated Eye AF function that is currently in development for the Z7 and Z6 can effectively detect your subject’s eyes, making focusing so much easier! You’ll capture stunning shots where focus has been clearly acquired on the subject's eyes - good news for portrait and streetphotographers!”
-Nikon Global
According to Nikon, the technology/feature is in its last and final implementation phase. In the demonstration video below, you can see it acquires the eye as fast as a Sony/Fujifilm has been able to do with their mirrorless technology. The only difference being that the area of the box seems to be much larger than that of Sony’s or Fujifilm’s Eye AF.
Source: Nikon Europe YouTube Channel
It will be possible to select which eye to focus on if there are multiple subjects in the frame, in which case, this makes it easier for the shooter to prioritise the particular subject.
We expect the Nikon’s Eye AF to be as efficient as Sony’s or Fujifilm’s.
As of now, Nikon has not released an official date about when we can expect this new firmware upgrade, but we believe it will be soon.
If you would like to know further please visit:
CF Express Card
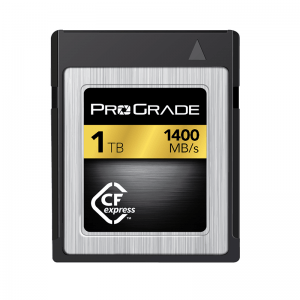
Nikon has also announced that their new mirrorless cameras will be compatible with the new CF express cards after the firmware update. These cards use the same form-factors as the XQD cards which are the only data transfer interface used in the Z6 and Z7.
What’s really surprising is that Sony was the first one to introduce XQD cards and yet they have not incorporated the technology to any of their camera devices.
In a recent statement given by Pro Grade Digital states that they will be introducing a 1 terabyte CF Express card demonstrated 1,400 MB/s read speed and over 700 MB/s burst write speed.
Source: ProGrade Digital Website
“ProGrade Digital is delighted to be participating in this exciting technology demonstration highlighting the speed of the ProGrade Digital 1TB CFexpress card and Thunderbolt™ 3.0 in the digital workflow,”
-Wes Brewer, founder and CEO of ProGrade Digital.
“With read speeds up to 1400MB/s, this technology provides peak performance for offloading cinema-quality, video and still image files at speeds that are at least three times faster than ever before.”
- ProGrade Digital Global
If you would like to know further, please visit:
https://progradedigital.com/2019/01/08/prograde-digital-cfexpress-1-0-demonstrated-at-ces-show/
Atomos Announces Raw Video Recording With Ninja V and Nikon Z7 and Z6
Photographers have long known about the benefits of RAW for stills, now Nikon Z series users will be able to get the same power of RAW in video.
Just when we thought that the dust had settled on the flurry of announcements that 2018 brought, Atomos has announced that it will enable raw video recording for the Nikon Mirrorless Z7 and Nikon Z6 cameras with Atomos Ninja V.
“Photographers have long known about the benefits of RAW for stills, now Nikon Z series users will be able to get the same power of RAW in video. Capturing Apple ProRes RAW video with the Ninja V unlocks complete control of the video image at the highest quality possible. The maximum dynamic range, color accuracy and detail is preserved, while at the same time every aspect of the video image can be controlled with precision for maximum creativity. Colors can be easily matched and the extra information means footage can be easily be manipulated in post-production, which is especially useful for grading and VFX shots. – read more about ProRes RAW. ”
“2019 is all about taking content creation to the next level. Video makers everywhere are looking to add that elusive cinematic quality to their work, whether that be on social media, YouTube or on TV. To answer those needs, Atomos today unveils the next revolution in digital imaging - RAW video output and capture from Nikon’s full frame mirrorless cameras. The Nikon Z 7 and Z 6 full-frame mirrorless cameras will work together with the Atomos Ninja V 4K HDR monitor/recorder to record Apple’s ProRes RAW video format.”
As per Atomos, the 4K data input from the Nikon Z6 and Z7 mirrorless cameras in the Ninja V is transformed into Apple’s ProRes format once recorded via a detachable SSD drive. When the SSD drive is connected to a computer, the footage is then decrypted for editing that gives you the highest quality control. ProRes is also able to keep the RAW data from the cameras into smaller, more manageable file sizes that makes them easier to transfer; having them on a universal format also makes them future proof.
Much more is said to be revealed at CES 2019 in Vegas, but it appears that Atomos is able to achieve this by a “Closed-loop protocol” which essentially means that the ProRes rearranges the pixels from the output of these cameras into a more practical, less-heavy solution for RAW footage. And by using ProRes as the standard, it gives more camera companies to work with RAW because everybody can make use of ProRes RAW without having their processing details handed over.
CREDIT: ENGADGET.COM
Atomos also mentioned on their Instagram that Atomos and Nikon will be unveiling a ‘filmmaker’s kit’ for video creators; the Nikon Z6 being at the center of that kit; along with the Atomos Ninja V and some accessories necessary for professional video shooting and photography. There’s much more to come from CES 2019, but this seems like a great start to the new year.
How to shoot a panorama
With the help of proper techniques and post-processing software, anybody can get near-perfect panoramic shots.
You’re out with your friends, and you’re standing on top of a mountain from where the view seems great. But your camera just won’t cover it all. There’s also no space to go back, and you’re not carrying a wide angle lens. This is where panoramas come in handy. They allow you to photograph an entire scene and not just part of it.
In the old days, photographers would create panoramas on manually by panning across a scene and taking a couple of exposures on film, then printing and stitching them in a lab. Or you got yourself one of those super expensive panorama cameras like the Hasselblad X-Pan.
It was far from ideal, and it was far from easy.
Panorama on film is very tough to achieve
But now, with the help of proper technique and post-processing software, you can get near-perfect panoramic shots. Some photographers stitch over a hundred photographs to create gigapixel panoramas.
WHAT IS A PANORAMA?
Panorama, or panoramic photography is wide-format photography in which you take multiple exposures and merge them together to create a massive picture, sometimes 180 degrees or more. Panorama was introduced by early painters who wanted to give a wider view of the scenes they were trying to project in their paintings.
Panoramic Painting By Maerten van Heemskerck
HOW DO YOU SHOOT A PANORAMA?
A panorama is created in two parts
Photographing the scene via your camera
Using post-processing software for e.g. Adobe Lightroom to merge them together
EQUIPMENT
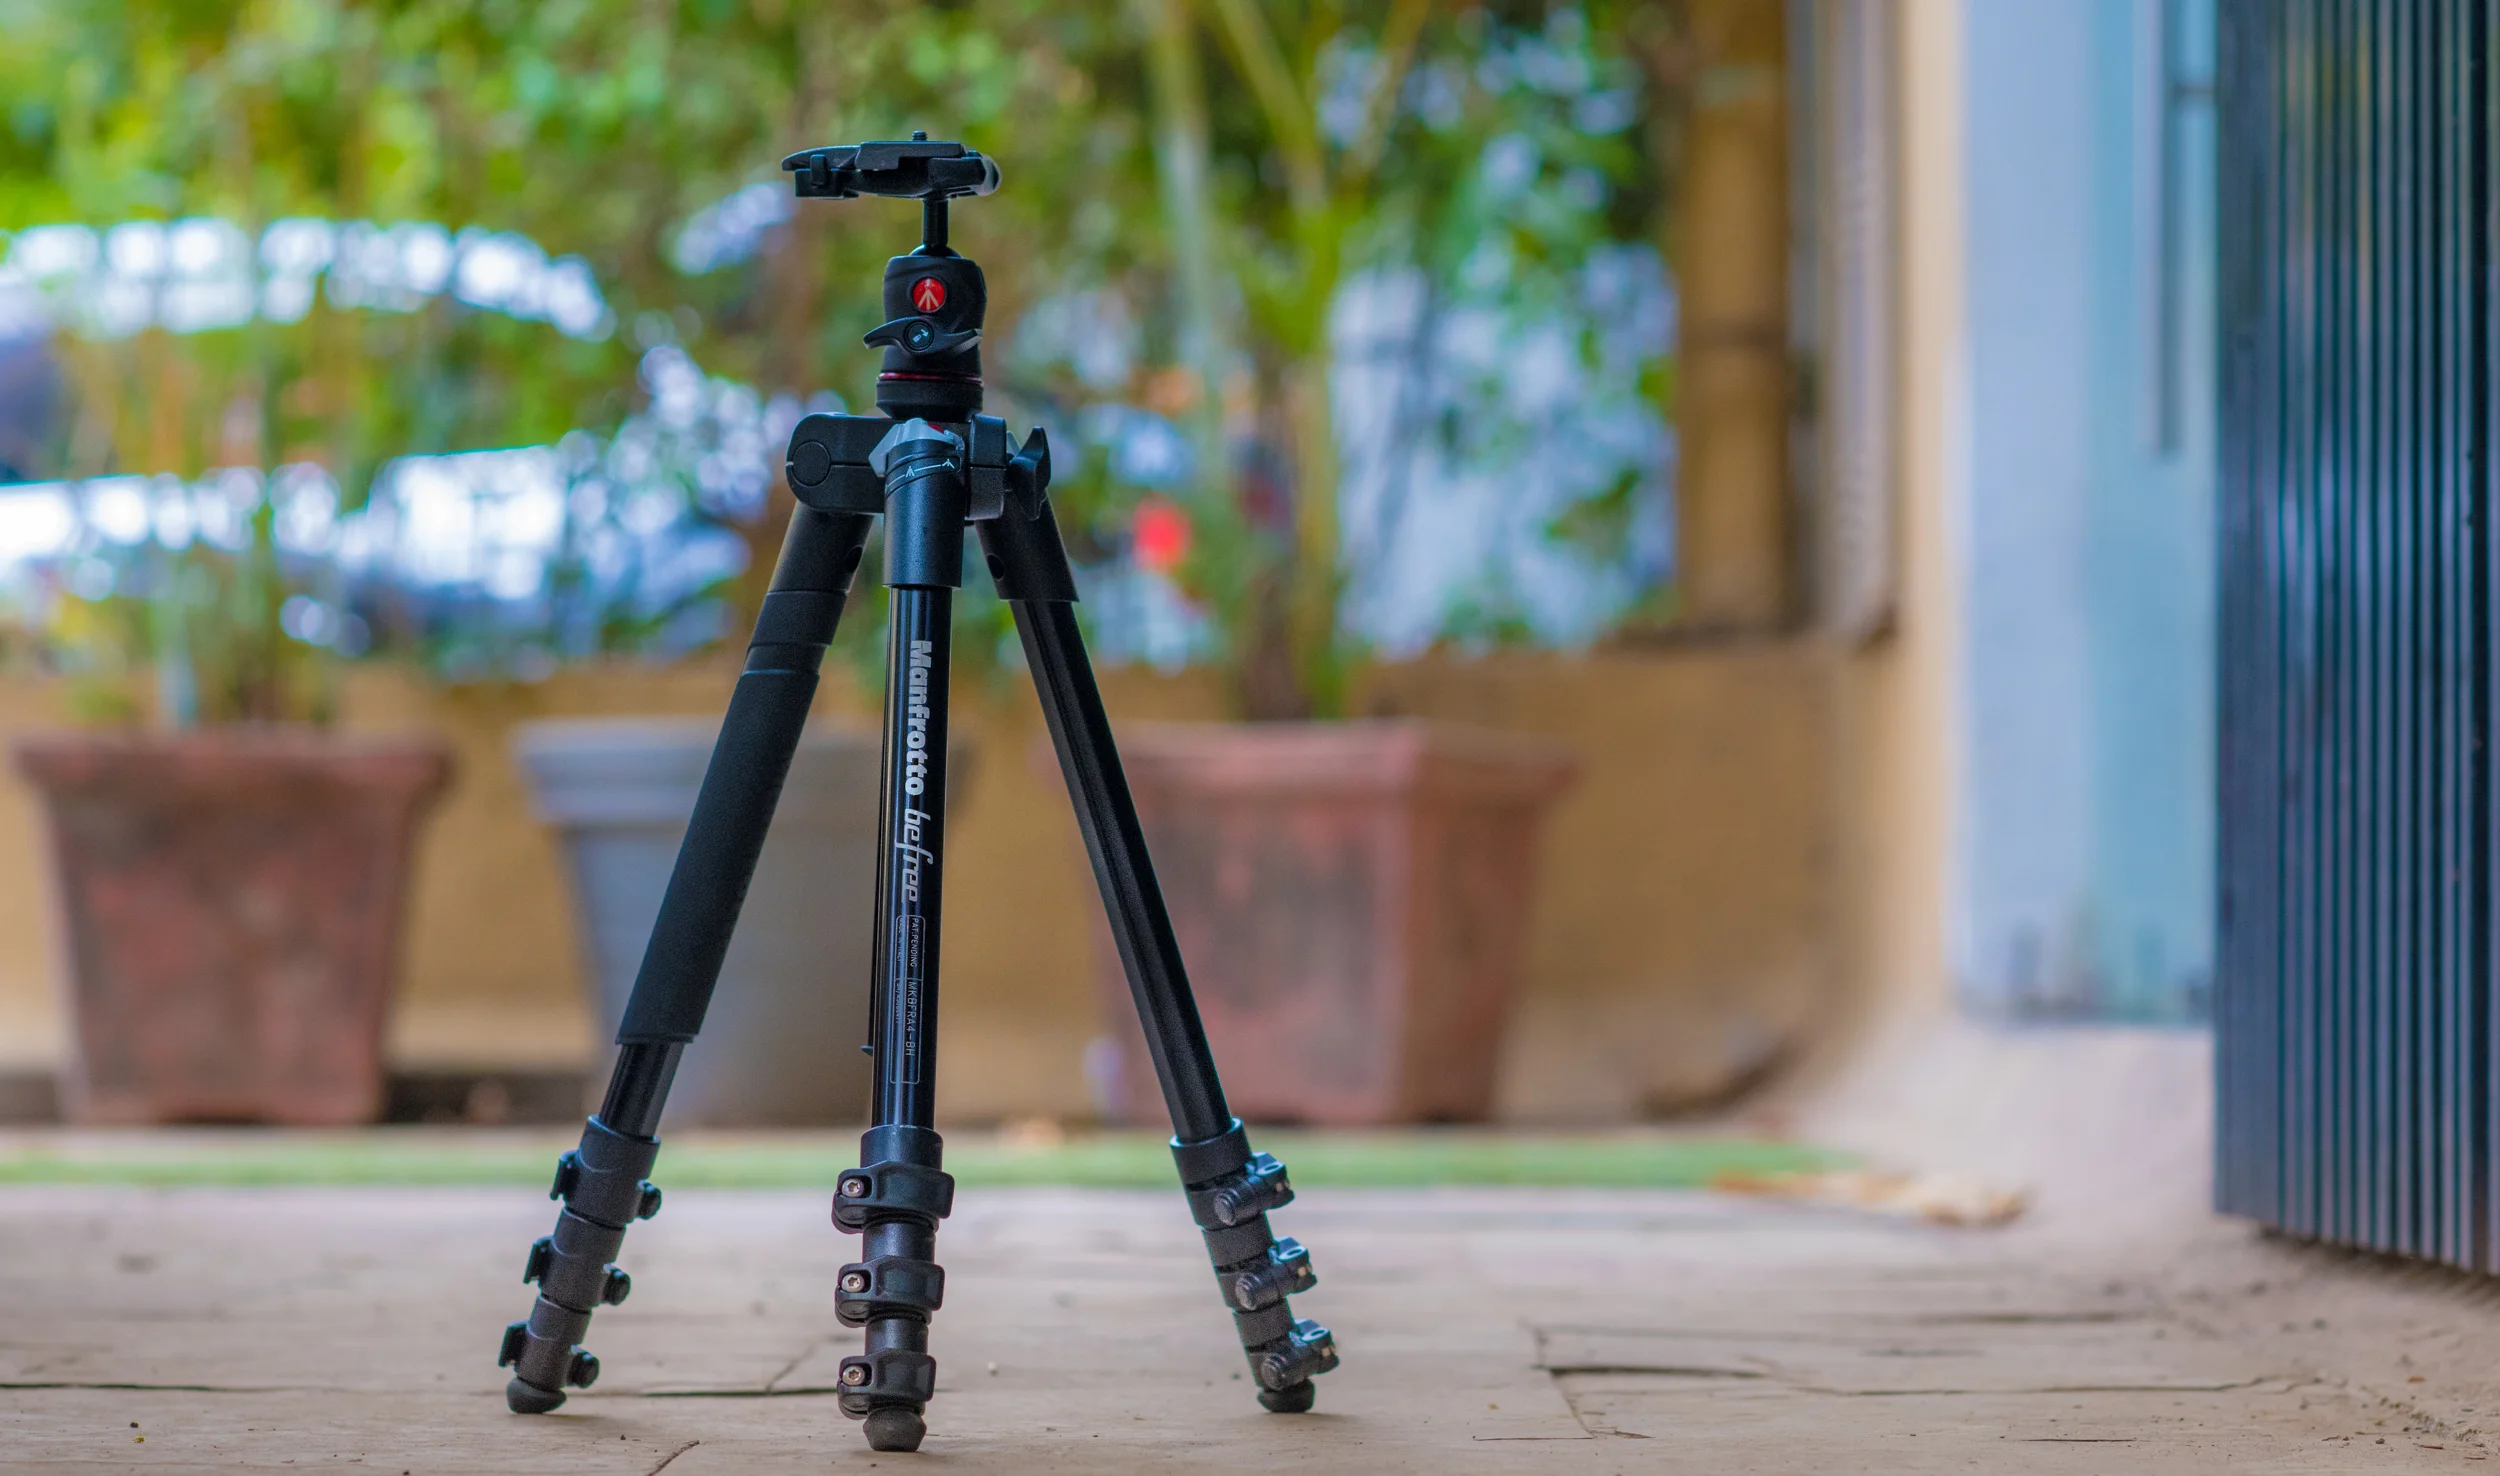
While there are people who can shoot a panorama handheld, a tripod will allow you shoot images along one horizontal plane easily. You can also get a panoramic head or an L bracket if you’re into real estate or architectural photography. But for our purposes, a tripod should do just fine.
With a tripod, your images will remain level and steady
SETTINGS
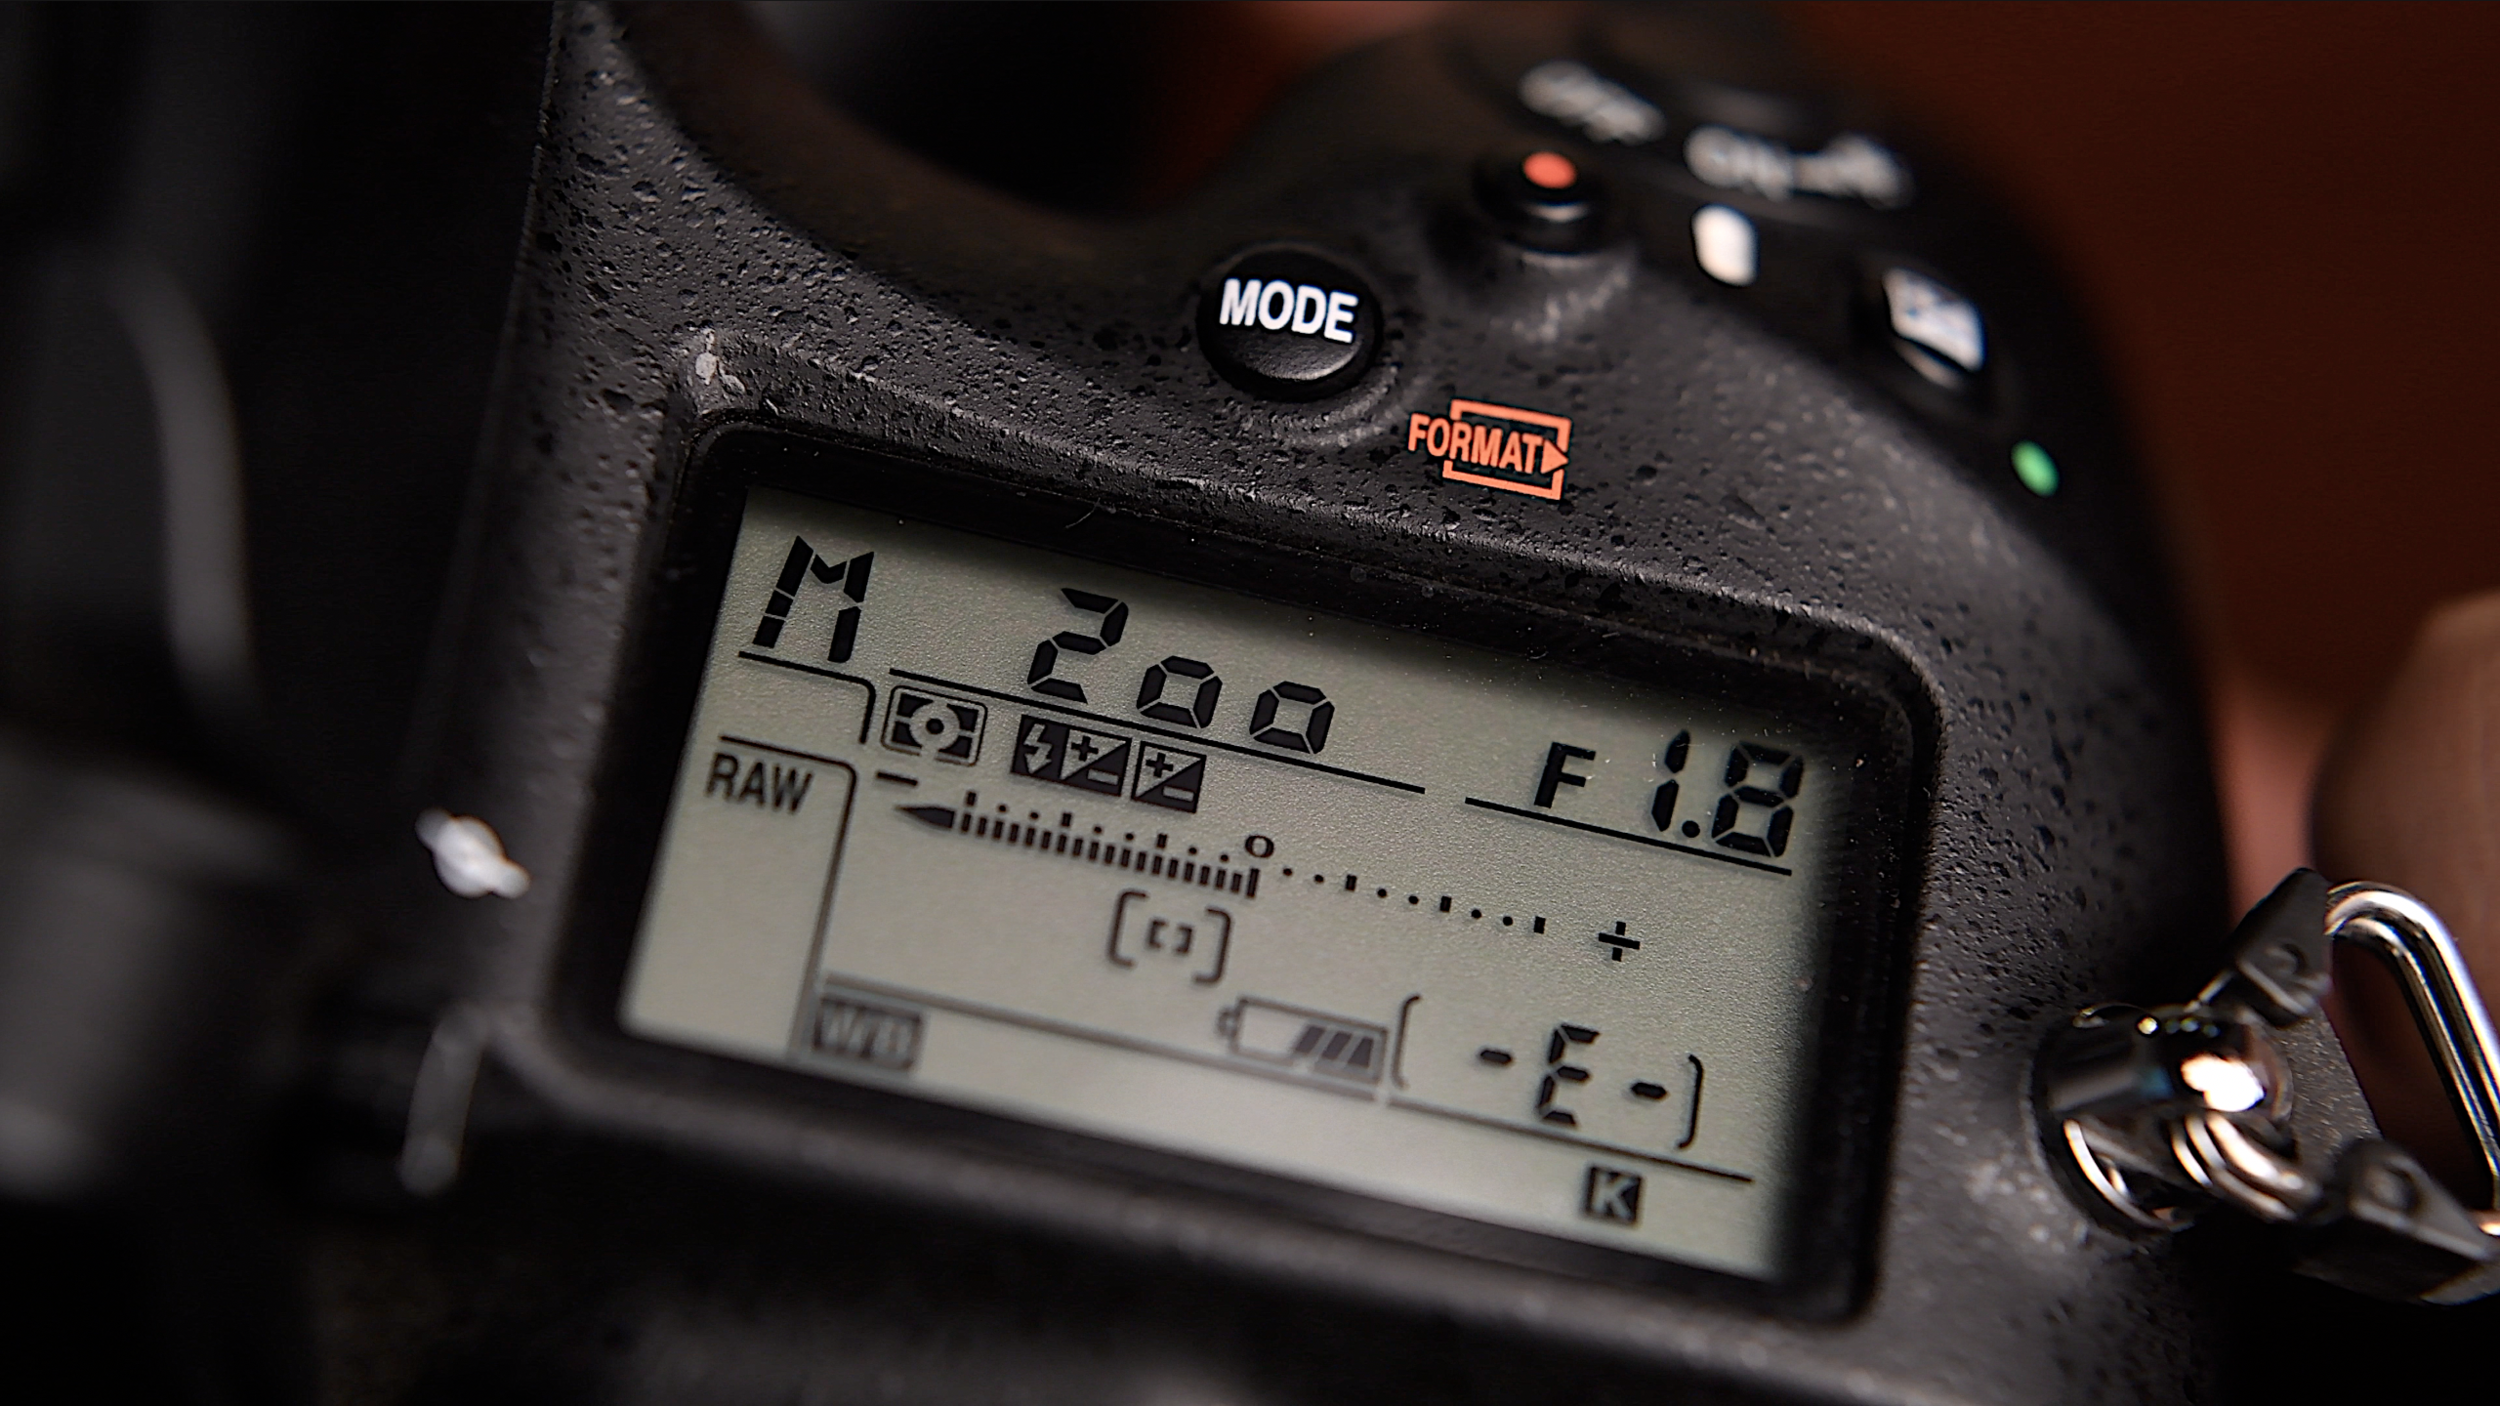
Making a panorama look like one photograph is the hard part. Which is why you have to adjust settings manually. The computer in your camera doesn’t know that you’re trying to shoot a panorama, and will expose each shot differently if you left the job of setting the exposure to it.
Switch your camera to manual mode and set the exposure manually to avoid varying exposures in every photograph
Focus
Focusing should also be done manually. Your focus should be set to a distant object that you're photographing or at infinity. This way, your camera won't change focus each time you take a picture.
Aperture
Because we want everything in focus, the aperture should be set to a higher f-stop, preferably f.8 or above.
Shutter Speed
Try to find a sweet spot in the center of the photograph using your camera's metering options. Take a few pictures to ensure the bright and dark areas of the photograph are exposed to your liking and not based on the automatic values suggested by your camera.
ISO
Set your ISO manually and use the same ISO for each picture.
White Balance
Because light reflects off each object differently, auto white balance could make your photograph look like a shade chart. Set and lock the white balance manually, like you did for your focus.
Shoot In RAW
Set your file format to raw, so it’s easier to correct exposure and color in post-processing. To fully understand the possibilities of shooting with a RAW file format, click here.
PHOTOGRAPHING THE SCENE
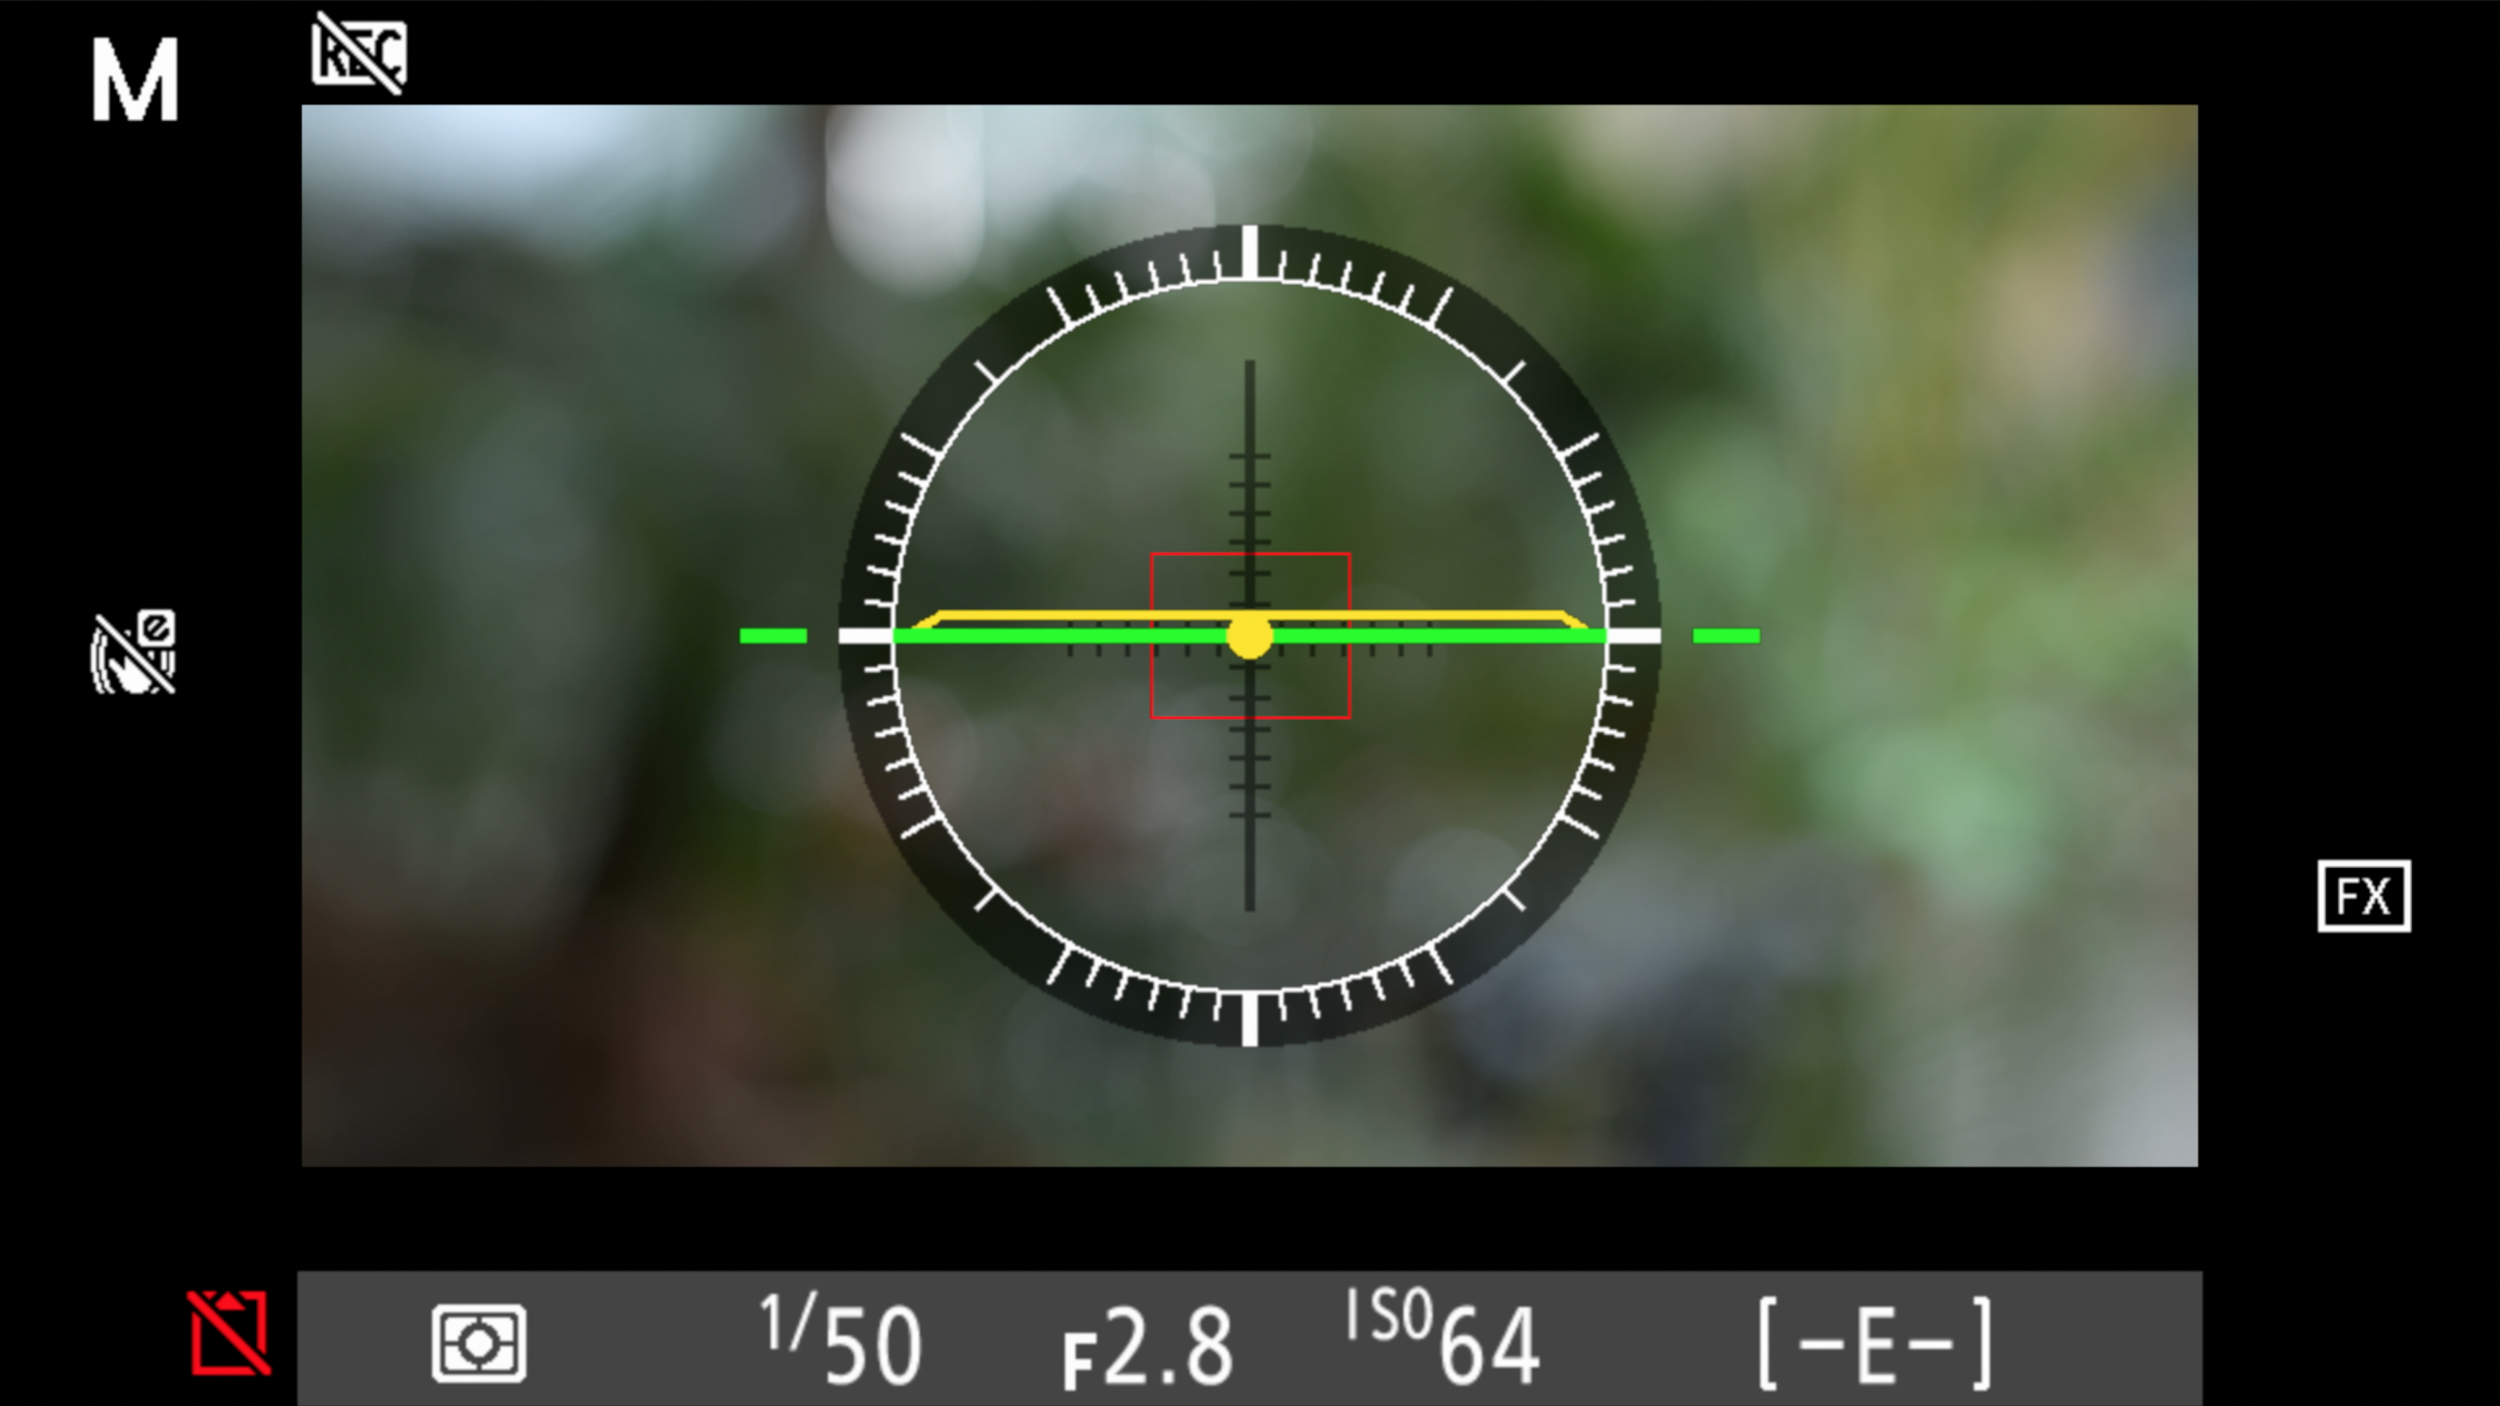
The next bit is taking the photographs. Once you’ve mounted your camera on the tripod, make sure the horizon is aligned correctly in your viewfinder.
A leveled horizon brings you a step closer to getting the perfect panorama
Simply pan the camera across the scene you want to photograph and click a few pictures. Make sure that each image overlaps the other by 30% to maintain focus across the entire picture, and to make your panorama look like one image.
Watch out for wind and moving objects when taking pictures. It can spoil the evenness of your panorama. Half of it will look like it’s moving while the other half might be still.
PROCESSING THE IMAGE
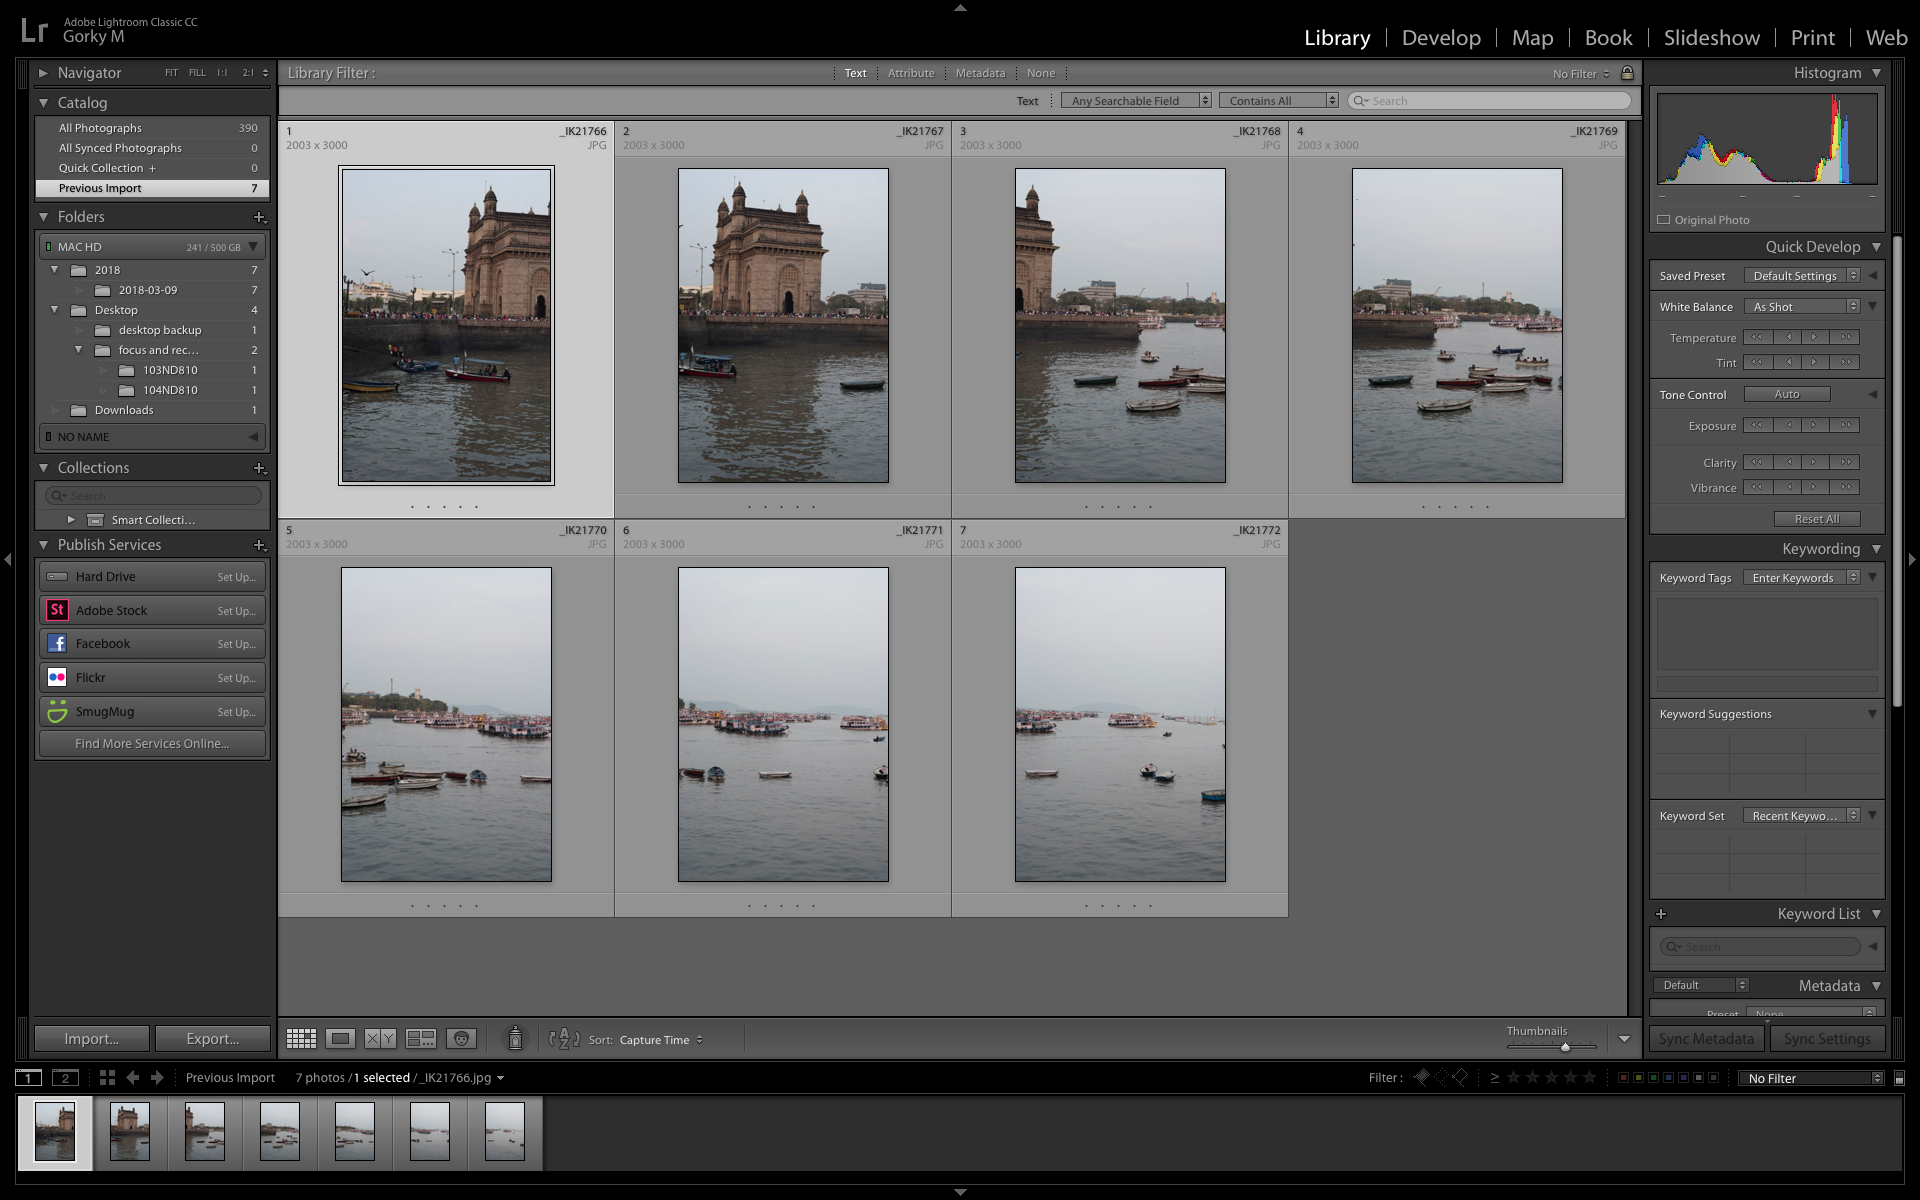
The second part of creating a panorama is the processing. There are tons of free software on the web for panoramic photography such as Hugin and Image composite editor, but we personally use Adobe Lightroom to stitch the images together.
One image has to overlap the other by at least 30% for maintaining focus and seamlessness
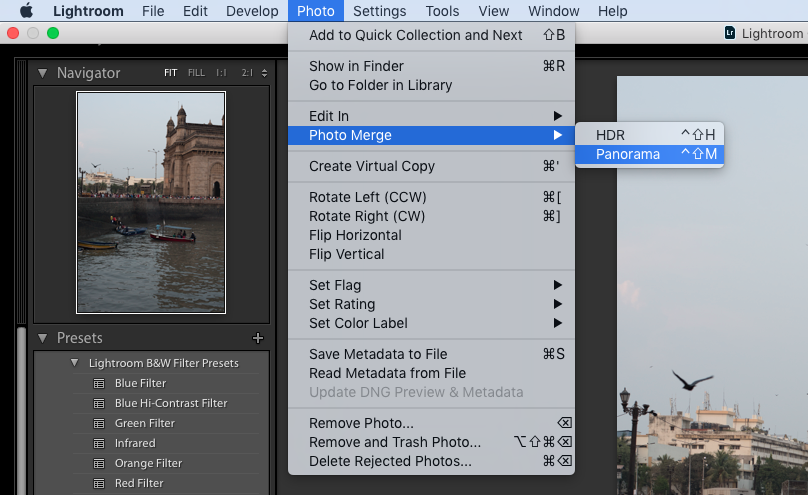
Open the images in Adobe Lightroom, then click on the ‘photo’ option and merge the images together.
You can straighten it a bit more, or crop it to your liking and that’s about it.
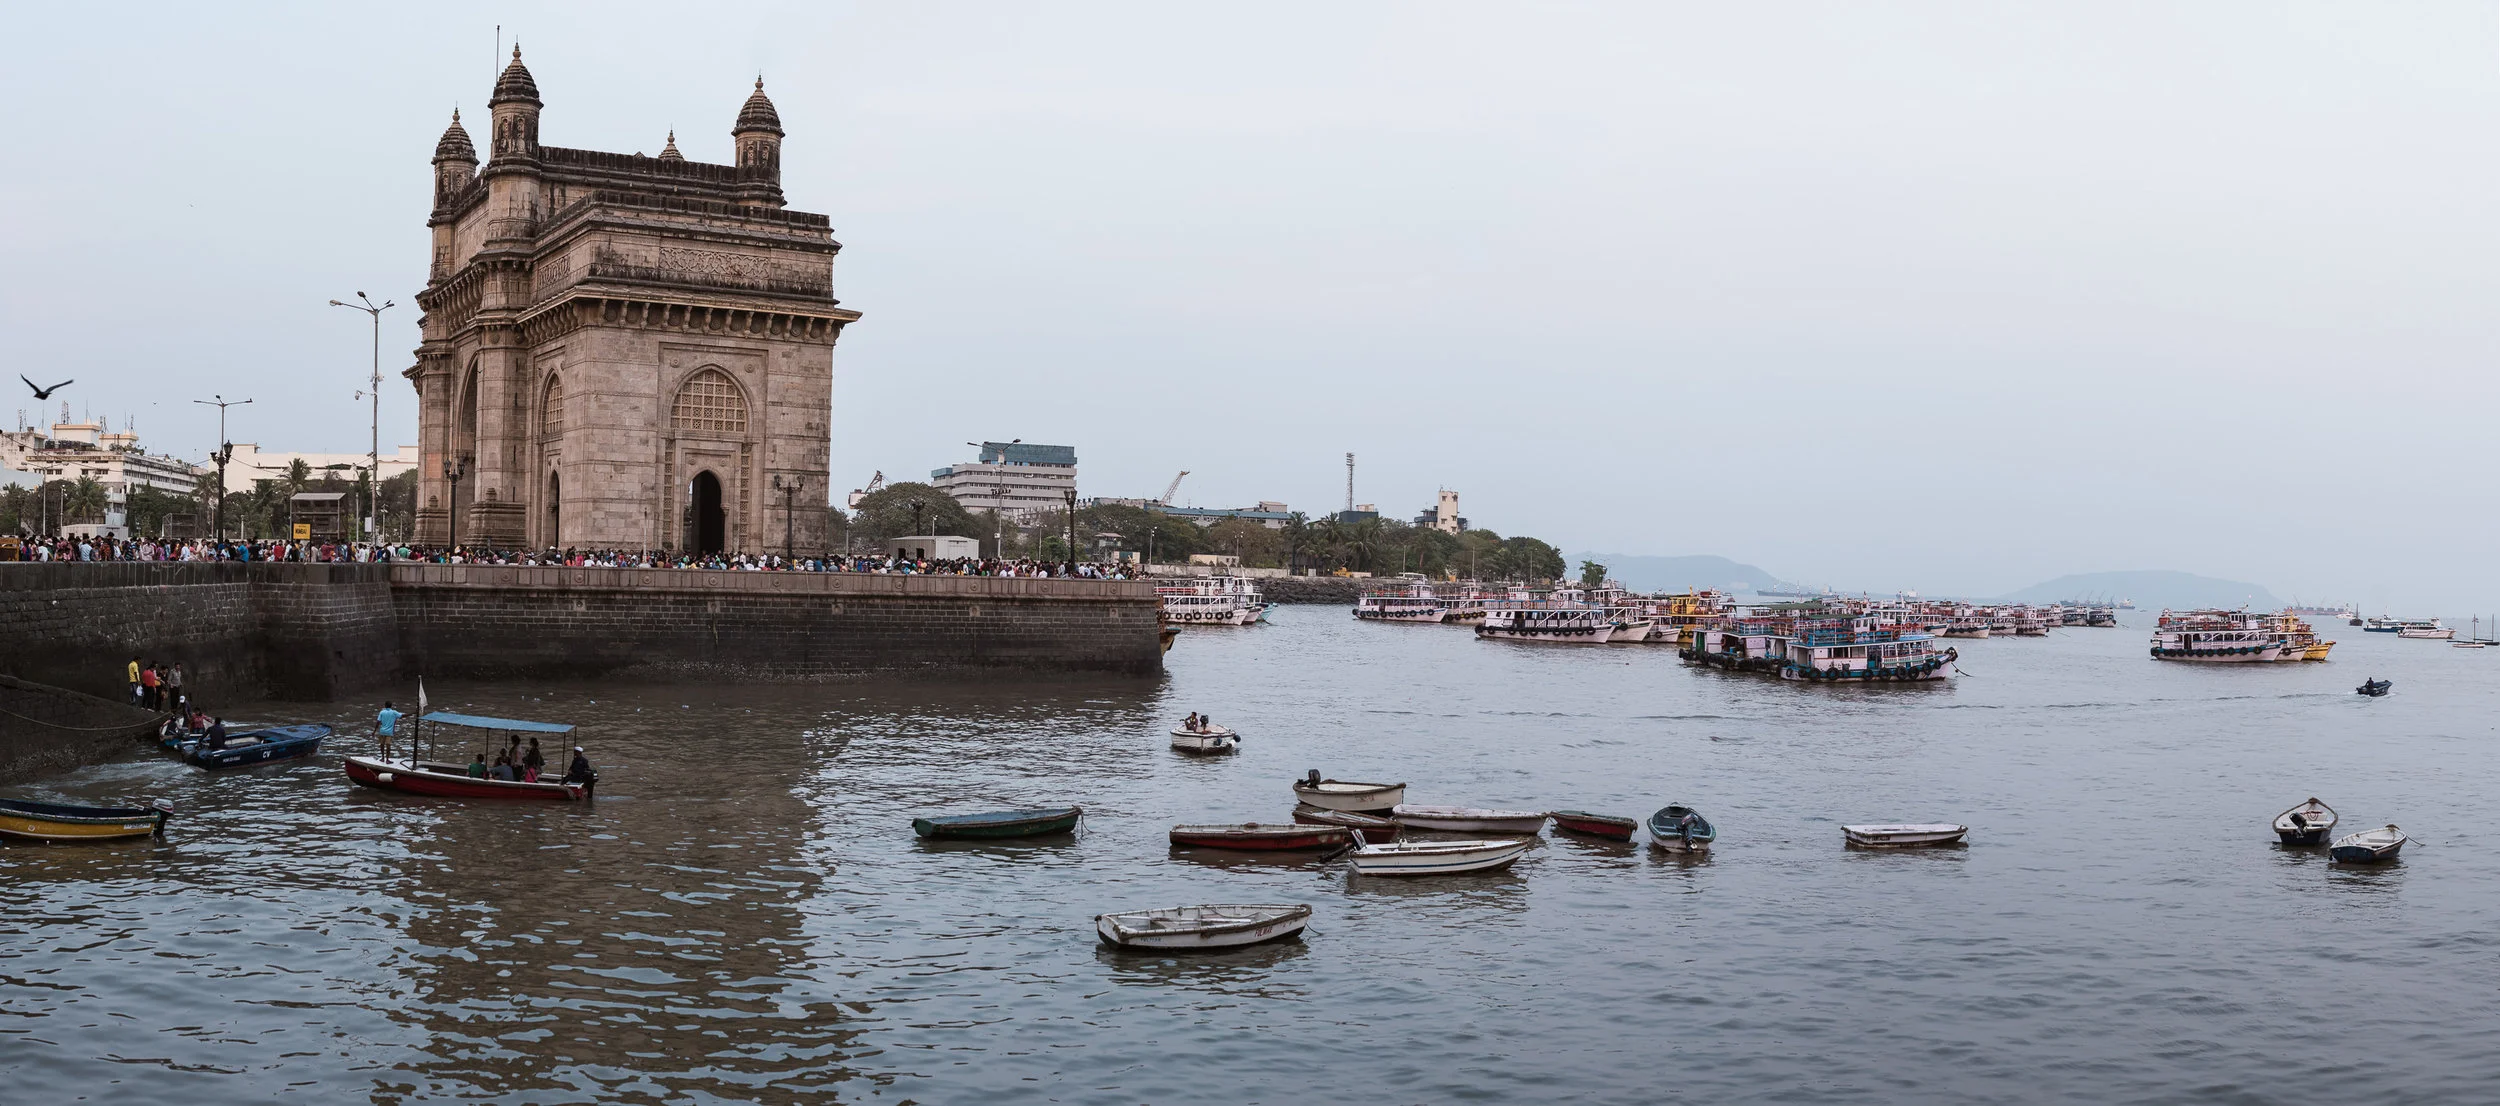
A panorama of the Gateway Of India
If you’d like an in-depth tutorial on how to create the perfect panorama, click on the video below.
Colour correction and colour grading in video
To give a professional look to your shot footage, some amount of colour (color for Americans) correction and colour grading is important. Though quite a few people use both the terms, colour correction and colour grading interchangeably - they are in fact, two different processes altogether. So what is the difference between colour correction and colour grading in video, film or photography?

Image 1: Footage as captured. Flat and raw. Notice the low contrast and saturation.
Colour correction is the process by which you ensure that all the shots in your film or video have the right white balance, contrast and tone in every scene so that there is no major visual jump in between shots and scenes and they look like a part of the same production and not different shots assembled from different sources. The final outcome of the colour correction process is to often make the shot footage look as natural or real as possible - more so because more and more people and cameras shoot in a "flat" picture style which might not look very pleasing to the eye. In one sense, colour correction is an essential part of preparing your footage for colour grading.

Image 2: Colour corrected footage. Nice punchy contrast and saturation.
Colour grading is applied after colour correction and is referred to the process of giving different colour tones and hues to your footage so that it creatively conveys the theme on which the film or video is based. It is largely a creative process where the creator of the piece decides that his film will look better with such a tonality. Colour grading is more about conveying a mood that suits the film and it involves manipulation of highlights, midtones and shadows to give the entire footage a different tone altogether.
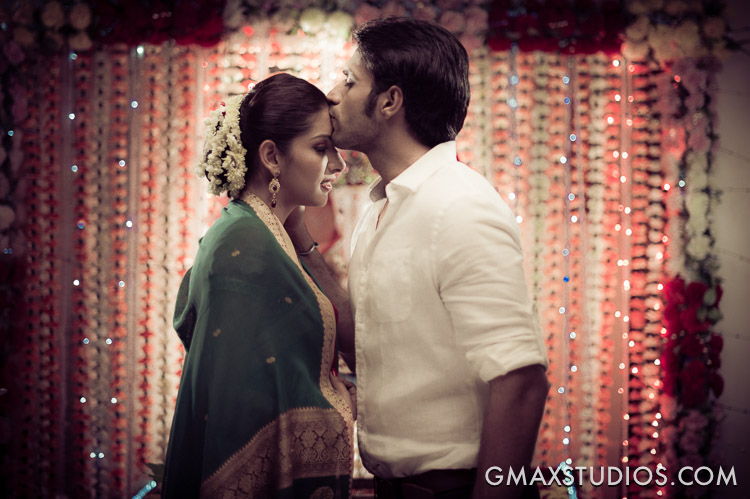
Image 3: Colour graded. Faded out the colours and diffused the highlights. Since this was a part of a scene where the protagonist is remembering his dead wife the grading helped give the footage a dreamy feel.
Correction before grading is a nice way to remember the difference between the two and while on the subject, take a look at out video below that is perhaps the easiest, quickest and cheapest way to colour correct and grade your footage. Take a look and leave a comment if you have further questions. Also, please subscribe to our YouTube Channel by clicking here.
http://youtu.be/ScLaTzbm_xk


