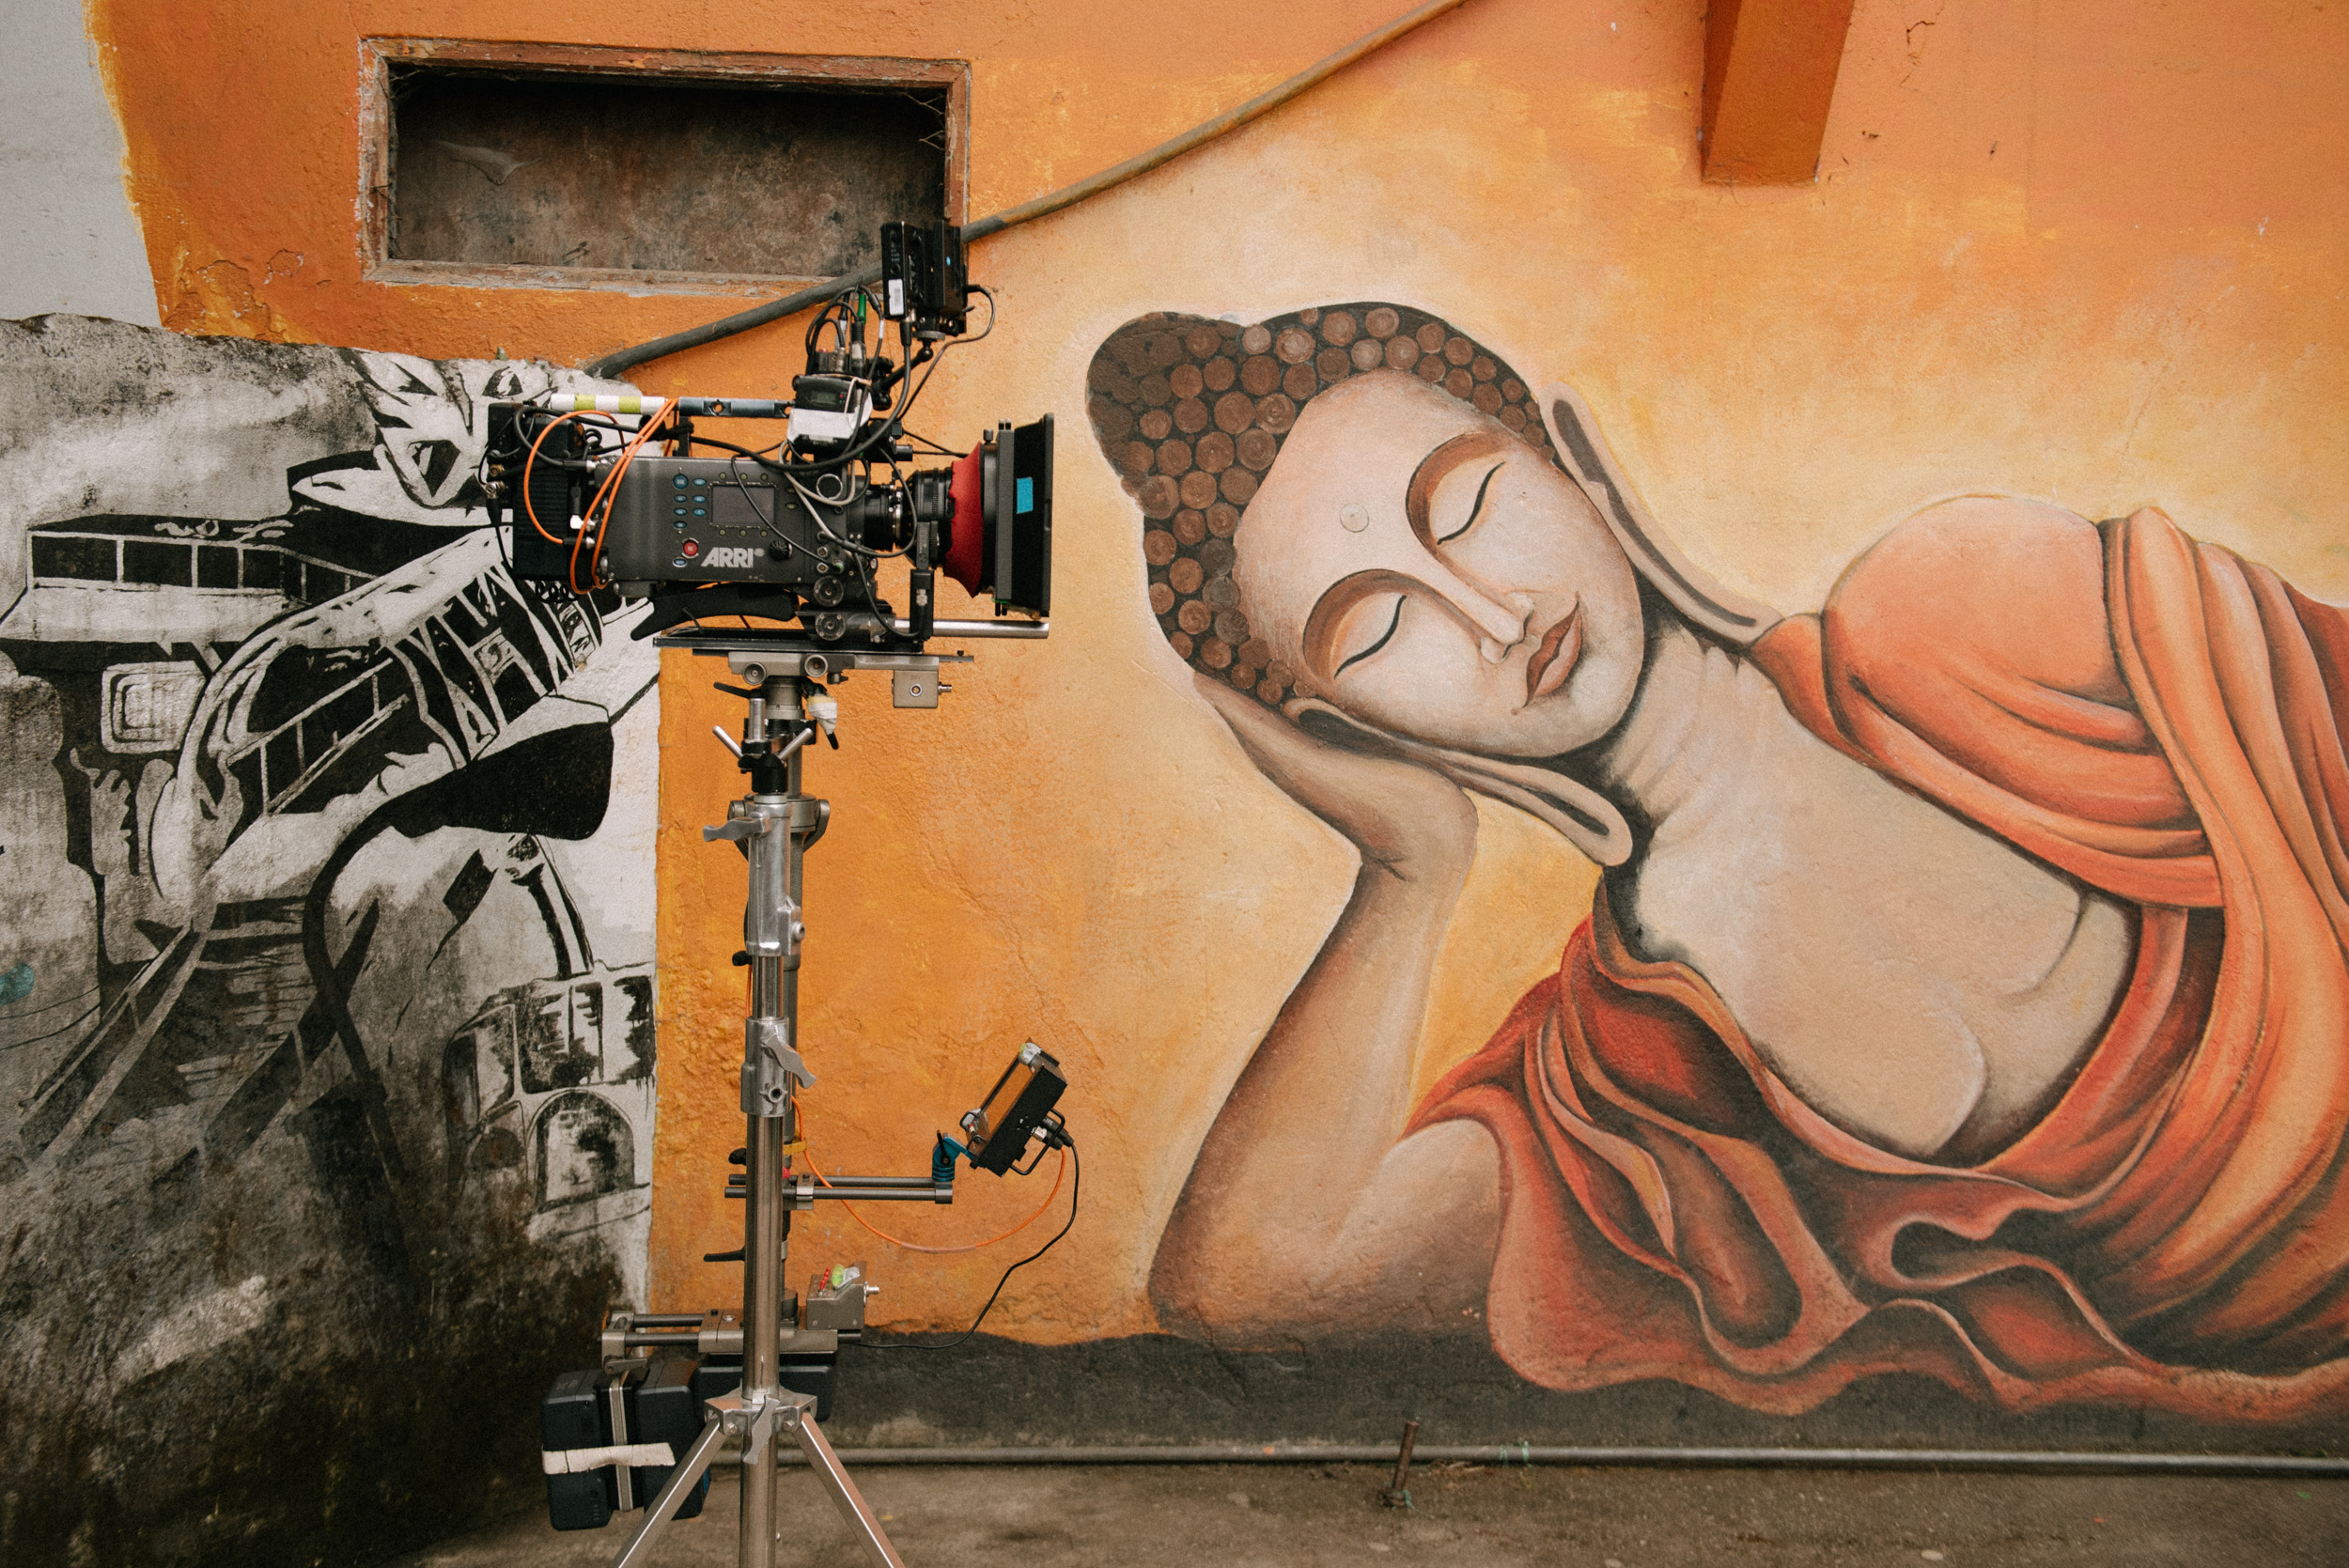
5 Amazing Documentaries on Photography
Watch these photography documentaries to get inspired.
Photographers play a major role in documenting the everyday life. Whether its war, vanity or wildlife, the frozen frame defines the moment and the expression of the subject which gives you an escape from your reality. Here are some documentaries we would like to recommend that release the same emotion.
FINDING VIVIAN MAIER
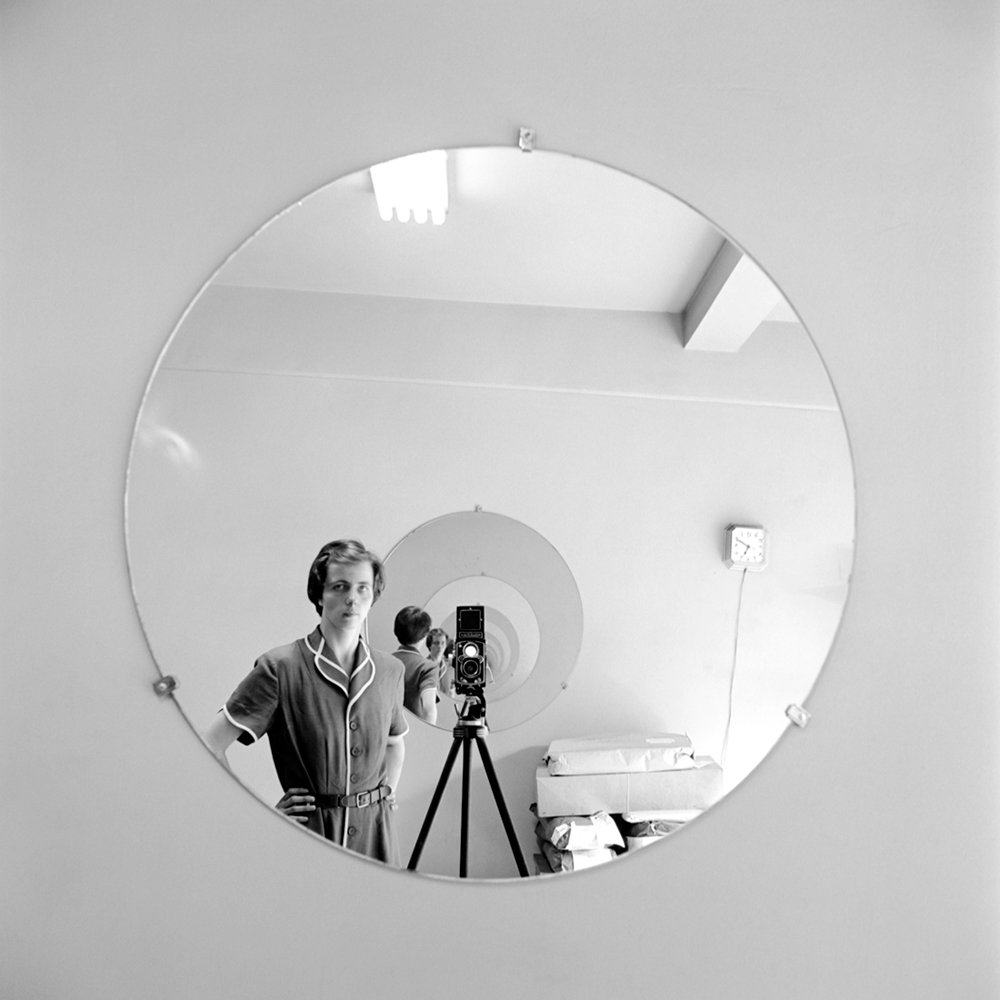
This Oscar nominated, critically acclaimed documentary is about a nanny, who was a part-time nanny as well as a ghost street photographer who took almost 100,000 photographs which were hidden away in a storage locker and were discovered decades later. The negatives that were found later were developed and processed and what came after that was broadcasted around the world were some never before seen photographs that broke the 20th century.
From directors John Maloof and Charlie Siskel, Vivian Maier is reborn and how her work has made an impact on the world and changed the life of a man who championed her work and showcased it to the public eye.
CHASING ICE
Q. What else can you expect from a national geographic photographer risking his life to capture images to help tell the story of the Earth’s changing climate?
A. Absolutely mind-awakening images that will change your perspective about life itself.
Photographer Jason Balog, is on a mission to change the tide of history by gathering undeniable evidence of our changing planet. It all started in the North Atlantic, in a small island named Iceland. Jason Balog wants to document to unfold a powerful piece of history. The initial goal was to put out 25 cameras for three years and shoot every hour as long as it was daylight which would show how the landscape would change.
MCCULLIN
Don McCullin is considered to be the best war photographer and cited as an inspiration for today’s generation of photojournalists. McCullin speaks about his career and how he covered wars and humanitarian disasters all over the globe, photographing what is now defined a historic moments. McCullin became what the French call a baroudeur, a man obsessively drawn to combat, but not in an exploitative, sensationalist way.
Annie Leibovitz - A Life Through A Lens
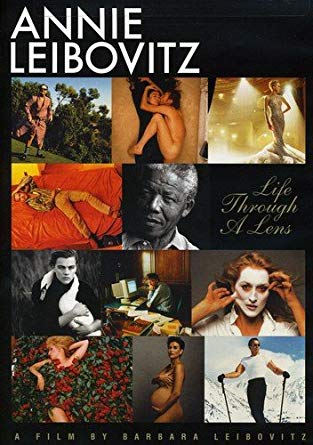
This documentary will definitely help you understand her. This film basically defines the arc of Annie’s photography career, her aspirations to artistry and how she grew as a artist, photographer and a human being. Barbara Leibovitz's attempt to portray her elder sister doesn’t only just pay off but it defines Annie as more than a person behind a camera. It closes with her reflections on life, children, and the the wake of her relationship with Susan Sontag. The archival material presented here is invaluable for framing an understanding of this immeasurably influential visual artist.
THE MEXICAN SUITCASE
In 1997 a Mexican filmmaker by the name of Benjamin Tarver discovered, in the possessions of his late aunt, three battered boxes of negatives. They had once belonged to her friend General Francisco Aguilar González, the Mexican ambassador to the Vichy government in 1941–42 and they would turn out to be one of the most exciting photographic rediscoveries of the 21st century, containing 4,500 negatives by Spanish Civil War photographers Robert Capa, Gerda Taro and David Seymour (better known as "Chim").
You can know more or get the documentaries use the links given below.
Finding Vivian Maier
Chasing Ice
McCullin
Annie Leibovitz - A Life Through A Lens
The Mexican Suitcase
__________________________
How to shoot video on DSLR and mirrorless cameras
All the settings and ideal frame rates for shooting video on your DSLR or mirrorless camera.
What is video?
Video is nothing but an optical illusion. When a series of images is played back to you quickly, due to persistence of vision, it seems that the object is moving seamlessly - and this is video!
What frame rate to shoot on?
The basic minimum frame rate required to create an illusion of seamless movement is 24 frames a second ( 24 fps) or 24 images in 1 second. So 24 fps is the standard frame rate at which modern motion pictures are shot. Any slower than this and the image will not appear to move seamlessly.
So if you are after that film look the 24fps setting on your camera is the one that you should use to shoot your videos.
Is 24 fps the best frame rate for video?
But is 24fps the best frame rate to shoot at? Well, for me, living in India or for anybody living in India, Europe, rest of the world except the Americas, Japan and a few other countries - the best frame rate in my opinion is 25 fps.
Why shoot 25 frames per second ?
Why 25fps? Well, for one, 25 FPS is very close to the film rate of 24 fps. So much so, that it is practically impossible to make out the difference between the two.
Secondly, if you are shooting at 25 fps in these countries - you can shoot outdoor and indoors without fear because if you're shooting indoor under domestic lights at any other frame rate like let's say 30fps you might encounter banding because the electricity in these countries is supplied at 50 Hertz.
Thirdly, the professional television broadcasting system followed in these countries is PAL which is based on the 25 fps frame rate. With lines between television and digital blurring, why would you want to rule out the possibility of your content or footage getting picked up by any major broadcaster?
What about 30 frames per second? When do I shoot that?
Well, if you live in the Americas, Japan or any other country that follows the NTSC system, the standard frame rate for you would be 30fps. Of course if you're shooting for digital (YouTube, Vimeo etc) and you are outdoor, you can choose between any frame rate whether it is 25, 24 or 30.
What is the best shutter speed to shoot your videos at?
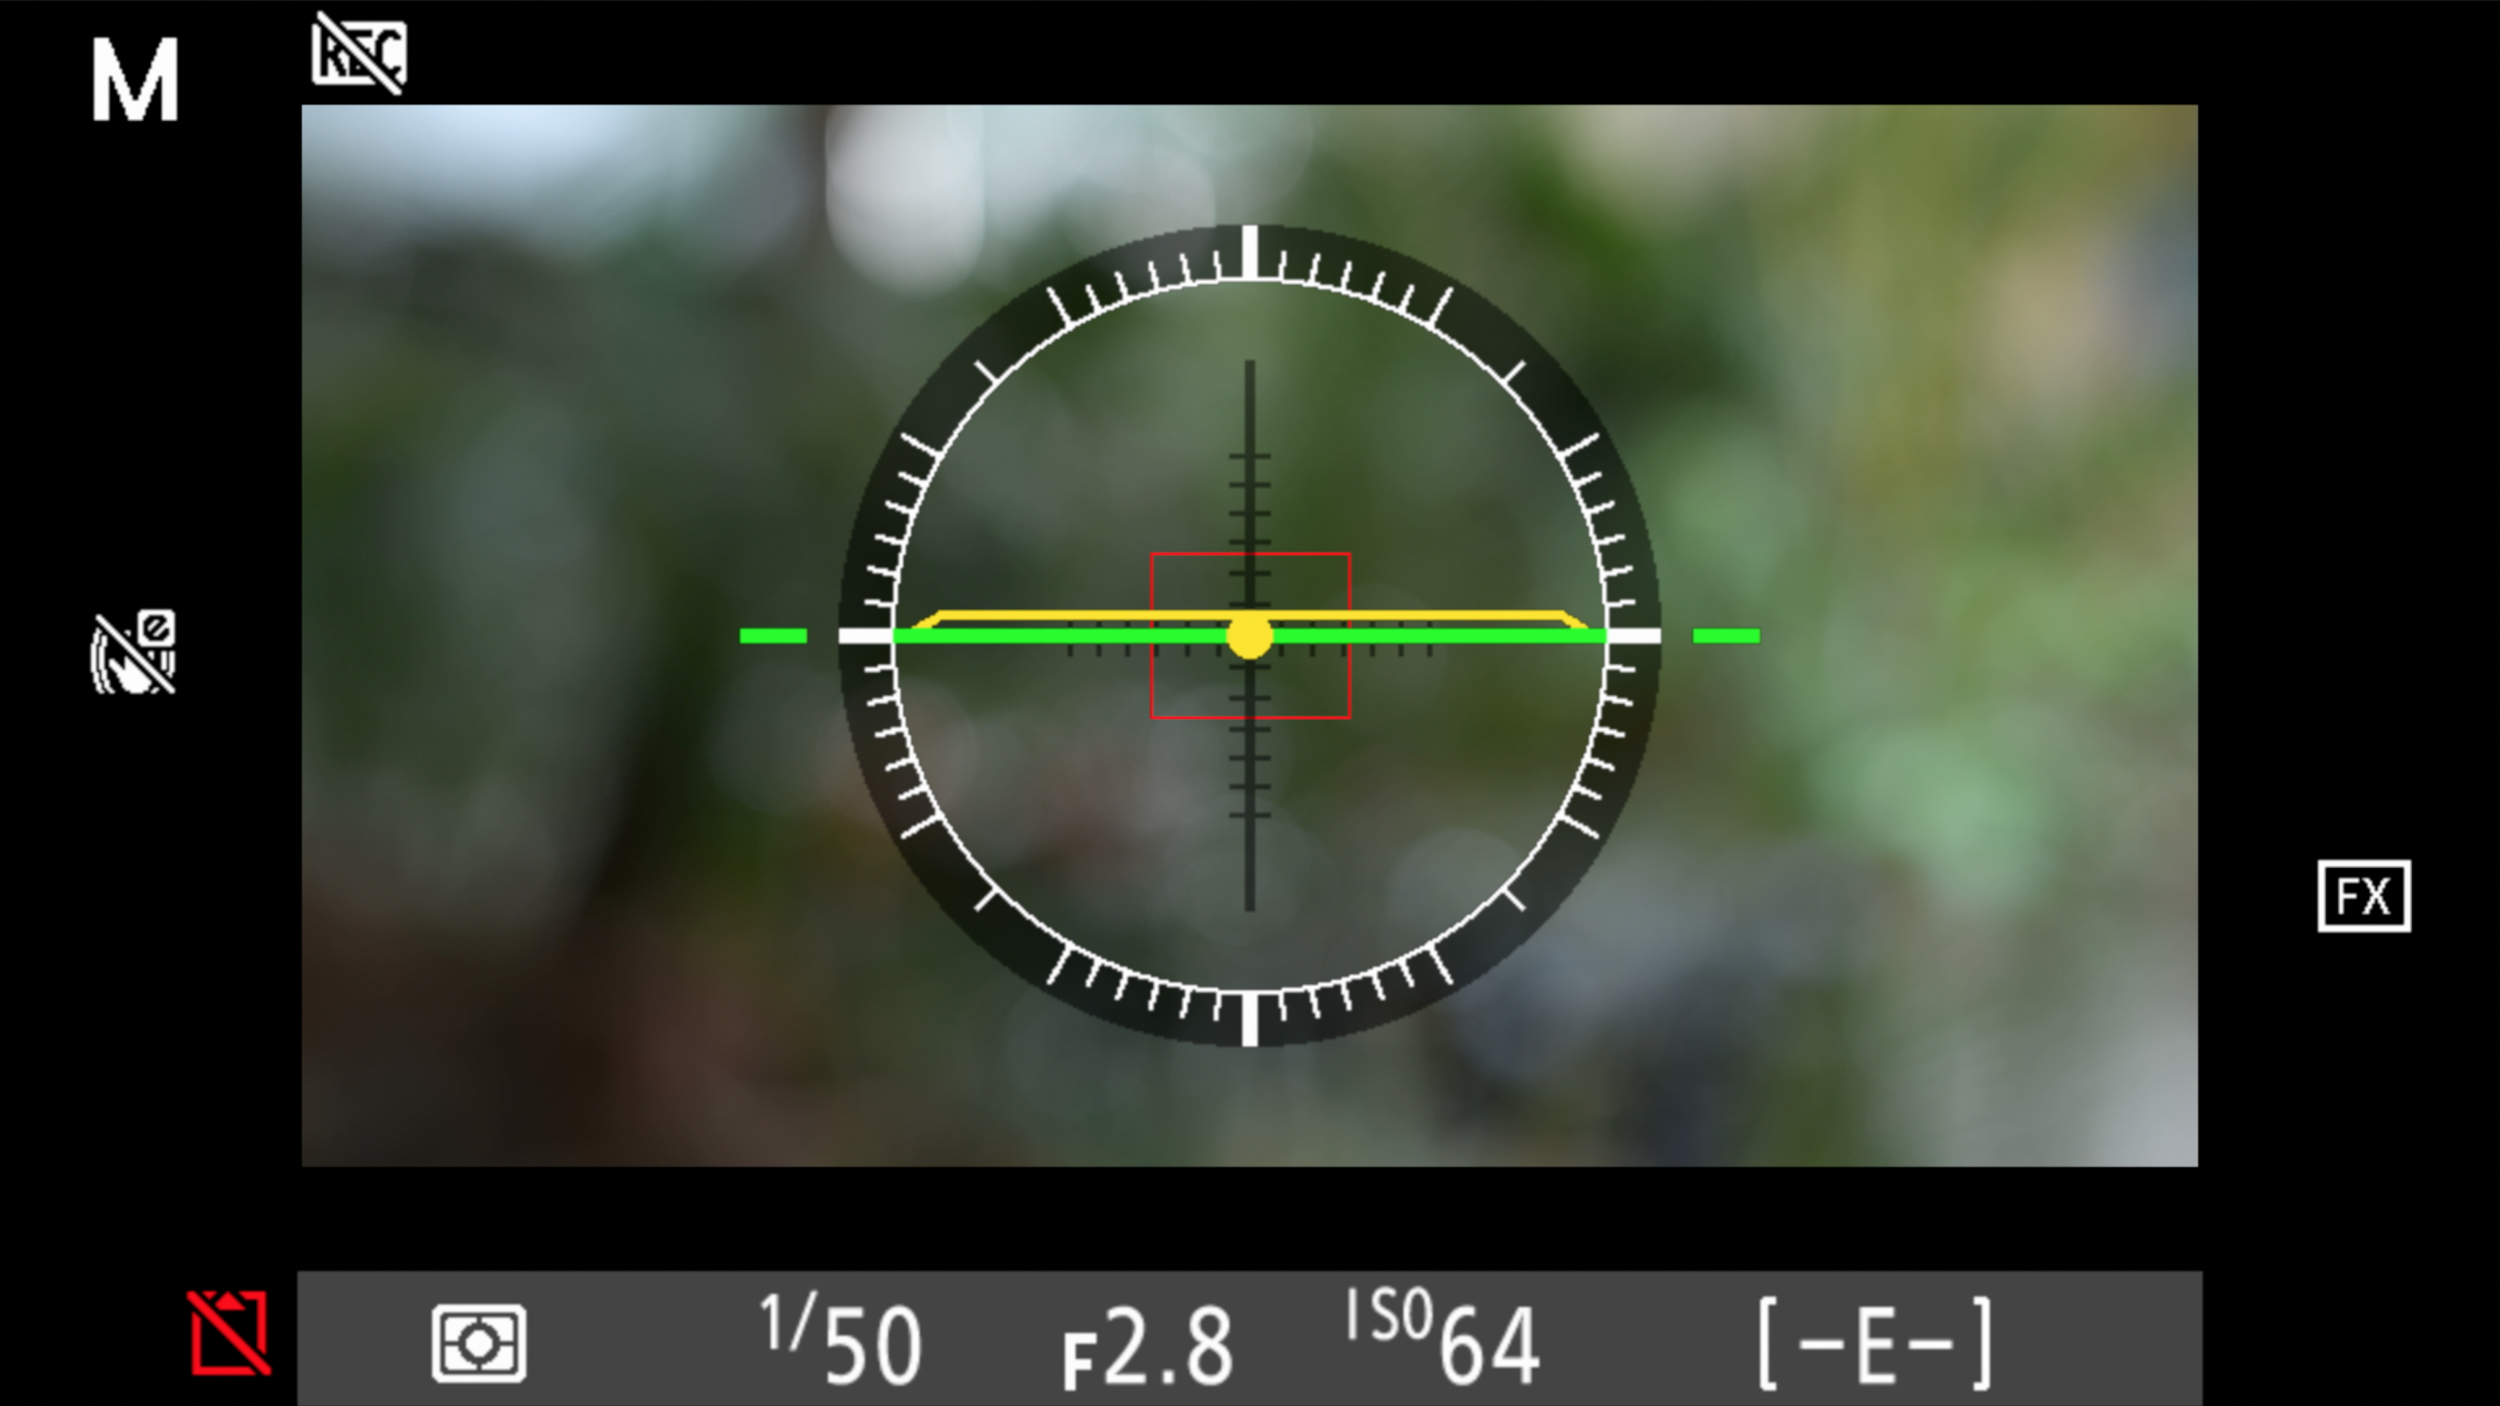
Well, our eyes are accustomed to a certain amount of motion blur in real life and in order to replicate that your shutter speed needs to be twice that of your frame rate. So, for example, if you are shooting at 24 fps your shutter speed will be 1/50th of a second since most cameras do not have an option of 1/48 shutter speed. Similarly, if you are shooting at 25 fps your shutter speed will still be 1/50th of a second and if you're shooting at 30fps your shutter speed will be 1/60th.
What happens if your shutter is faster or slower?
If your shutter speed is more or less than double the frame rate, the motion blur does not seem quite natural.
What should my aperture be?
The cinematic look of video has largely been associated with a shallow depth-of-field, and in order to achieve this you need a lens with a large aperture like the 50mm 1.8. If you don't have such a lens then you need to open the aperture on your existing lens as much as you can.
Now, opening the aperture comes with its own set of problems, especially if you're shooting in daylight. First, the shutter speed increases giving the video an unnatural look. In this case, you have no option but to use an ND filter on the lens to bring down your shutter speed. Secondly, opening the aperture creates a very shallow depth of field which makes it very difficult to focus on moving objects. In this case, it might be wise or prudent to stop down your aperture to f/2.8, f/4 or f/5.6
What should my ISO be when shooting video?
The ISO should be as low as possible, e.g. ISO 100.
Should I focus manually, or use the autofocus while shooting video?
Well, the short and the long answer to this is that you manually focus because the autofocus system on most of the cameras except for some top and ones is not really good and even if it is good it is not really predictable. It is the last thing that you want while shooting a video is that your camera starts hunting for focus or focuses on the wrong subject.
So, if you want absolute creative control in terms of focus and timing - manual focus is the only way to go because this is the way it is done in even the biggest of films and television shows. In fact, the top end cine cameras like Reds and Arris do not have autofocus at all.
How do I get slow motion on my camera?
Now let's understand, what slow motion is. Slow motion is achieved by using a higher frame rate in the camera. The higher your frame rate is, the slower your footage will appear because the camera is trying to playback, let’s say 1000 frames in a single second. So, naturally, the footage appears very slowly in comparison to the more natural looking 24fps or 25fps. There are specialized slow motion cameras that capture slow motion footage up to 10,000 frames a second!
Speaking of mass market cameras like the dslr and mirrorless cameras, most cameras give you the option of shooting at 50fps, 60 fps or even 100 FPS. Many cinematographers believe that shooting at these high frame rates gives the footage a smoother look, but I kind of disagree. Even Peter Jackson shot "Hobbit" at 48 fps instead of 24 and the audience didn’t enjoy it, probably for the same reason that I do not like it, because it makes the footage look kind of unreal. But if we take the same footage say shot at 50 fps, lay it down in an editing software and play it back at the standard frame rate of 25 fps, it gives a beautiful slow-motion. The higher the frame rate, the slower the slow-motion will be. Remember: when shooting at a high frame rate, your shutter speed still needs to be twice the rate at which you are shooting. E.g: 100 fps = 1/200
A little more on frame rates
In some cameras you might have to switch between NTSC and PAL to access the other frame rates. Some cameras give you the option of shooting at 50i, 25p, ALL-l or IPB. These are nothing but the methods to control the quality and the file size of your video. So remember that “p” is better than “i” even though the file size might be larger and similarly ALL-I is better than IPB. There is still a lot more to talk about as far as shooting video is concerned like HD, full HD, UHD, 4K, bit rates and aspect ratios but we will leave that for another time. If you have made it this far, please do subscribe to our channel GMax Studios on YouTube.
FOLLOW US ON INSTAGRAM
DJI Smart Controller for Drones
DJI has announced a new smart controller for drones.
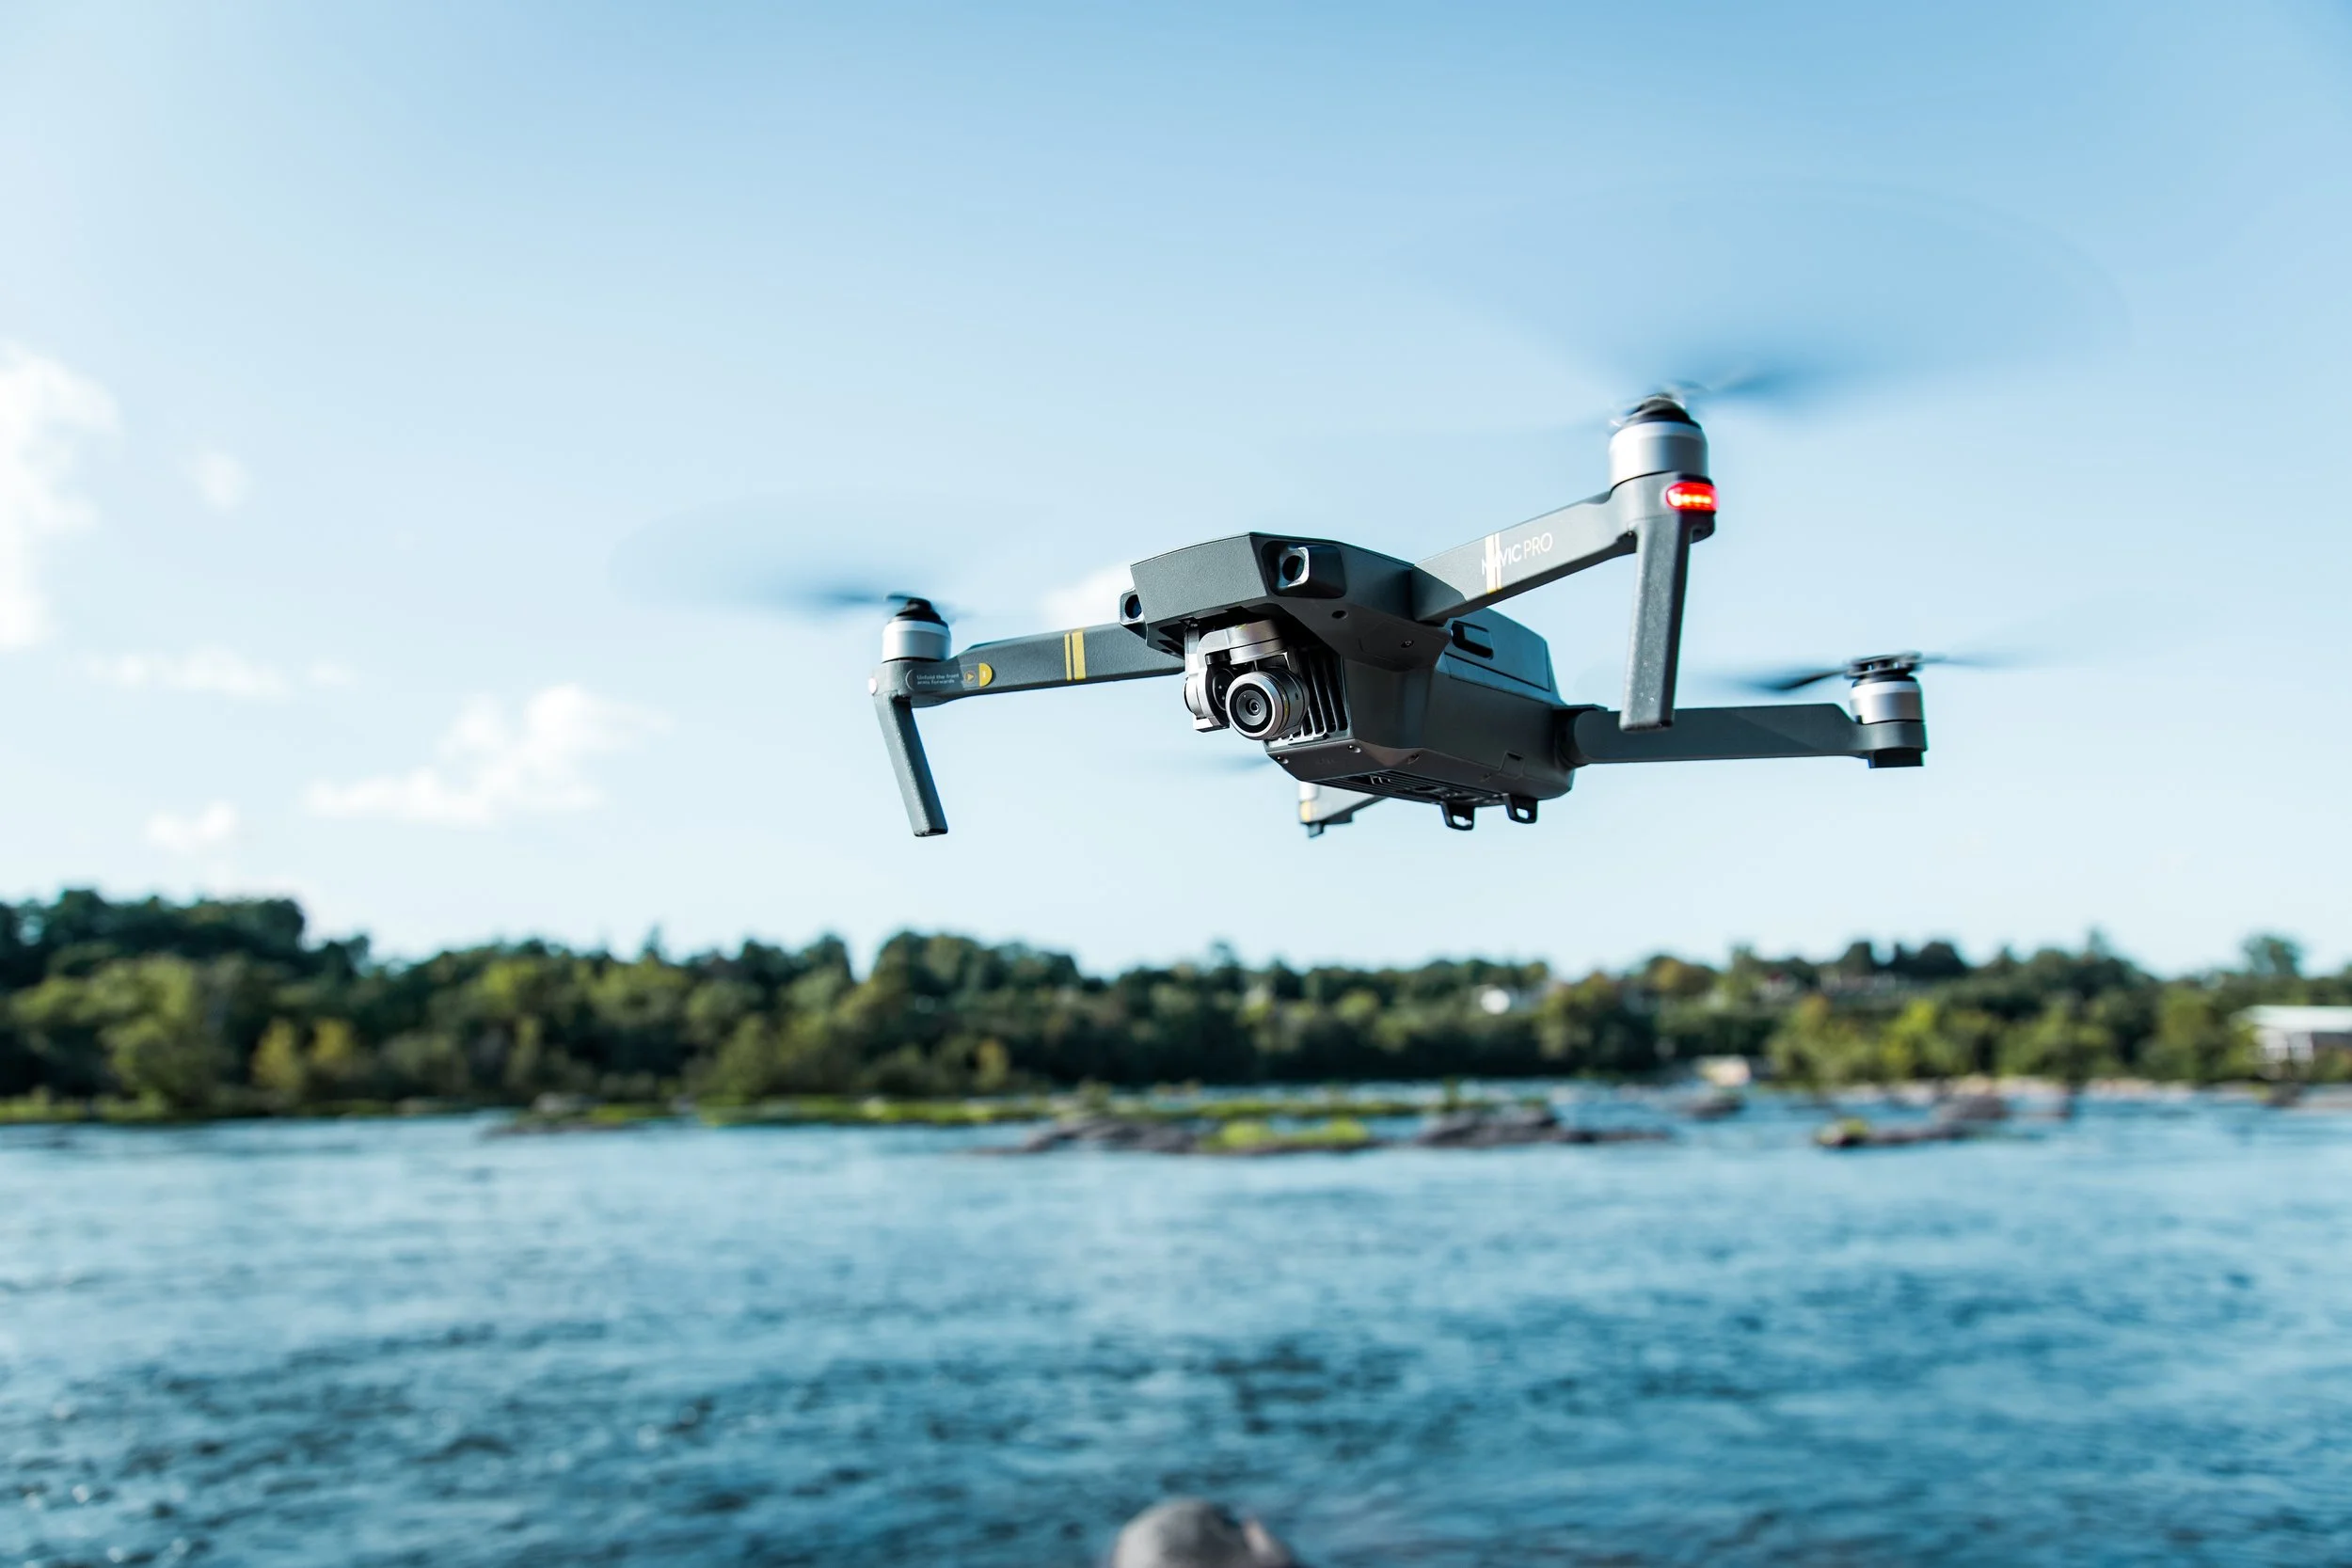
DJI has introduced a smart controller for some of the drones it makes. By some we mean the latest drones like the Mavic 2 Zoom and the Mavic 2 Pro.
DJI Smart Controller in the field.
The main features are:
5.5 inch 1080p screen
Ultra bright built- in screen at 1000 cd/m2
Ocusync 2.0 transmission
Video feed upto 8kms distance
Super fast setup speed of 30 seconds
Real time auto switching between 2.4 GHz and 5.8 GHz
4K 60p output via HDMI
Stable operation in temperatures ranging from -20°C to 40°C.
The 5000mAh battery gets fully charged in 2 hours and you can use it for up to 2.5 hours
Detachable control sticks
Also, the DJI Smart Controller comes with a built-in microphone and speaker for “expanded options” such as live streaming. It can also playback video through the HDMI output port at 4K with H.264 or H.265. Of course, wi-fi is required for live streaming.
The price of the Smart Controller is USD 649.
What do you think? Let us know in the comments.
According to DJI:
The DJI Smart Controller expands the ecosystem of accessories built around DJI's industry leading drone technology. Using a crisp 5.5” screen built into the controller itself, the Smart Controller allows pilots to quickly get their drone in the air without the need to connect a mobile device. It can be paired with DJI's newest drones including Mavic 2 Zoom and Mavic 2 Pro which use DJI's OcuSync 2.0 video transmission system, displaying vivid images in Full HD resolution. Drone pilots can take advantage of its compact, highly portable design that has been optimized for use in direct sunlight. It features an ultra-bright display with an output of 1000 cd/m2, twice the brightness of standard smart phones. A customizable Android dashboard supports DJI GO 4, DJI Pilot[2], along with various third-party apps such as editing programs. The DJI GO 4 app also touts several new features including SkyTalk, that allows pilots to livestream the drone’s camera feed to social channels including Facebook, Instagram and WeChat so that anyone can experience the thrill of flying a drone. Another new feature is DJI GO-Share which easily transfers imagery from the Controller to your mobile device. The DJI Smart Controller brings a new level of reliability when flying, with 2.5 hours of battery life and the ability to operate in adverse temperatures as cold as -4° Fahrenheit and as hot as 104° Fahrenheit.
Nikon Firmware Update Enables Raw Video, Eye AF And CF Express Cards On Z7 And Z6
Nikon just dropped this news. This is going to change the mirrorless game.
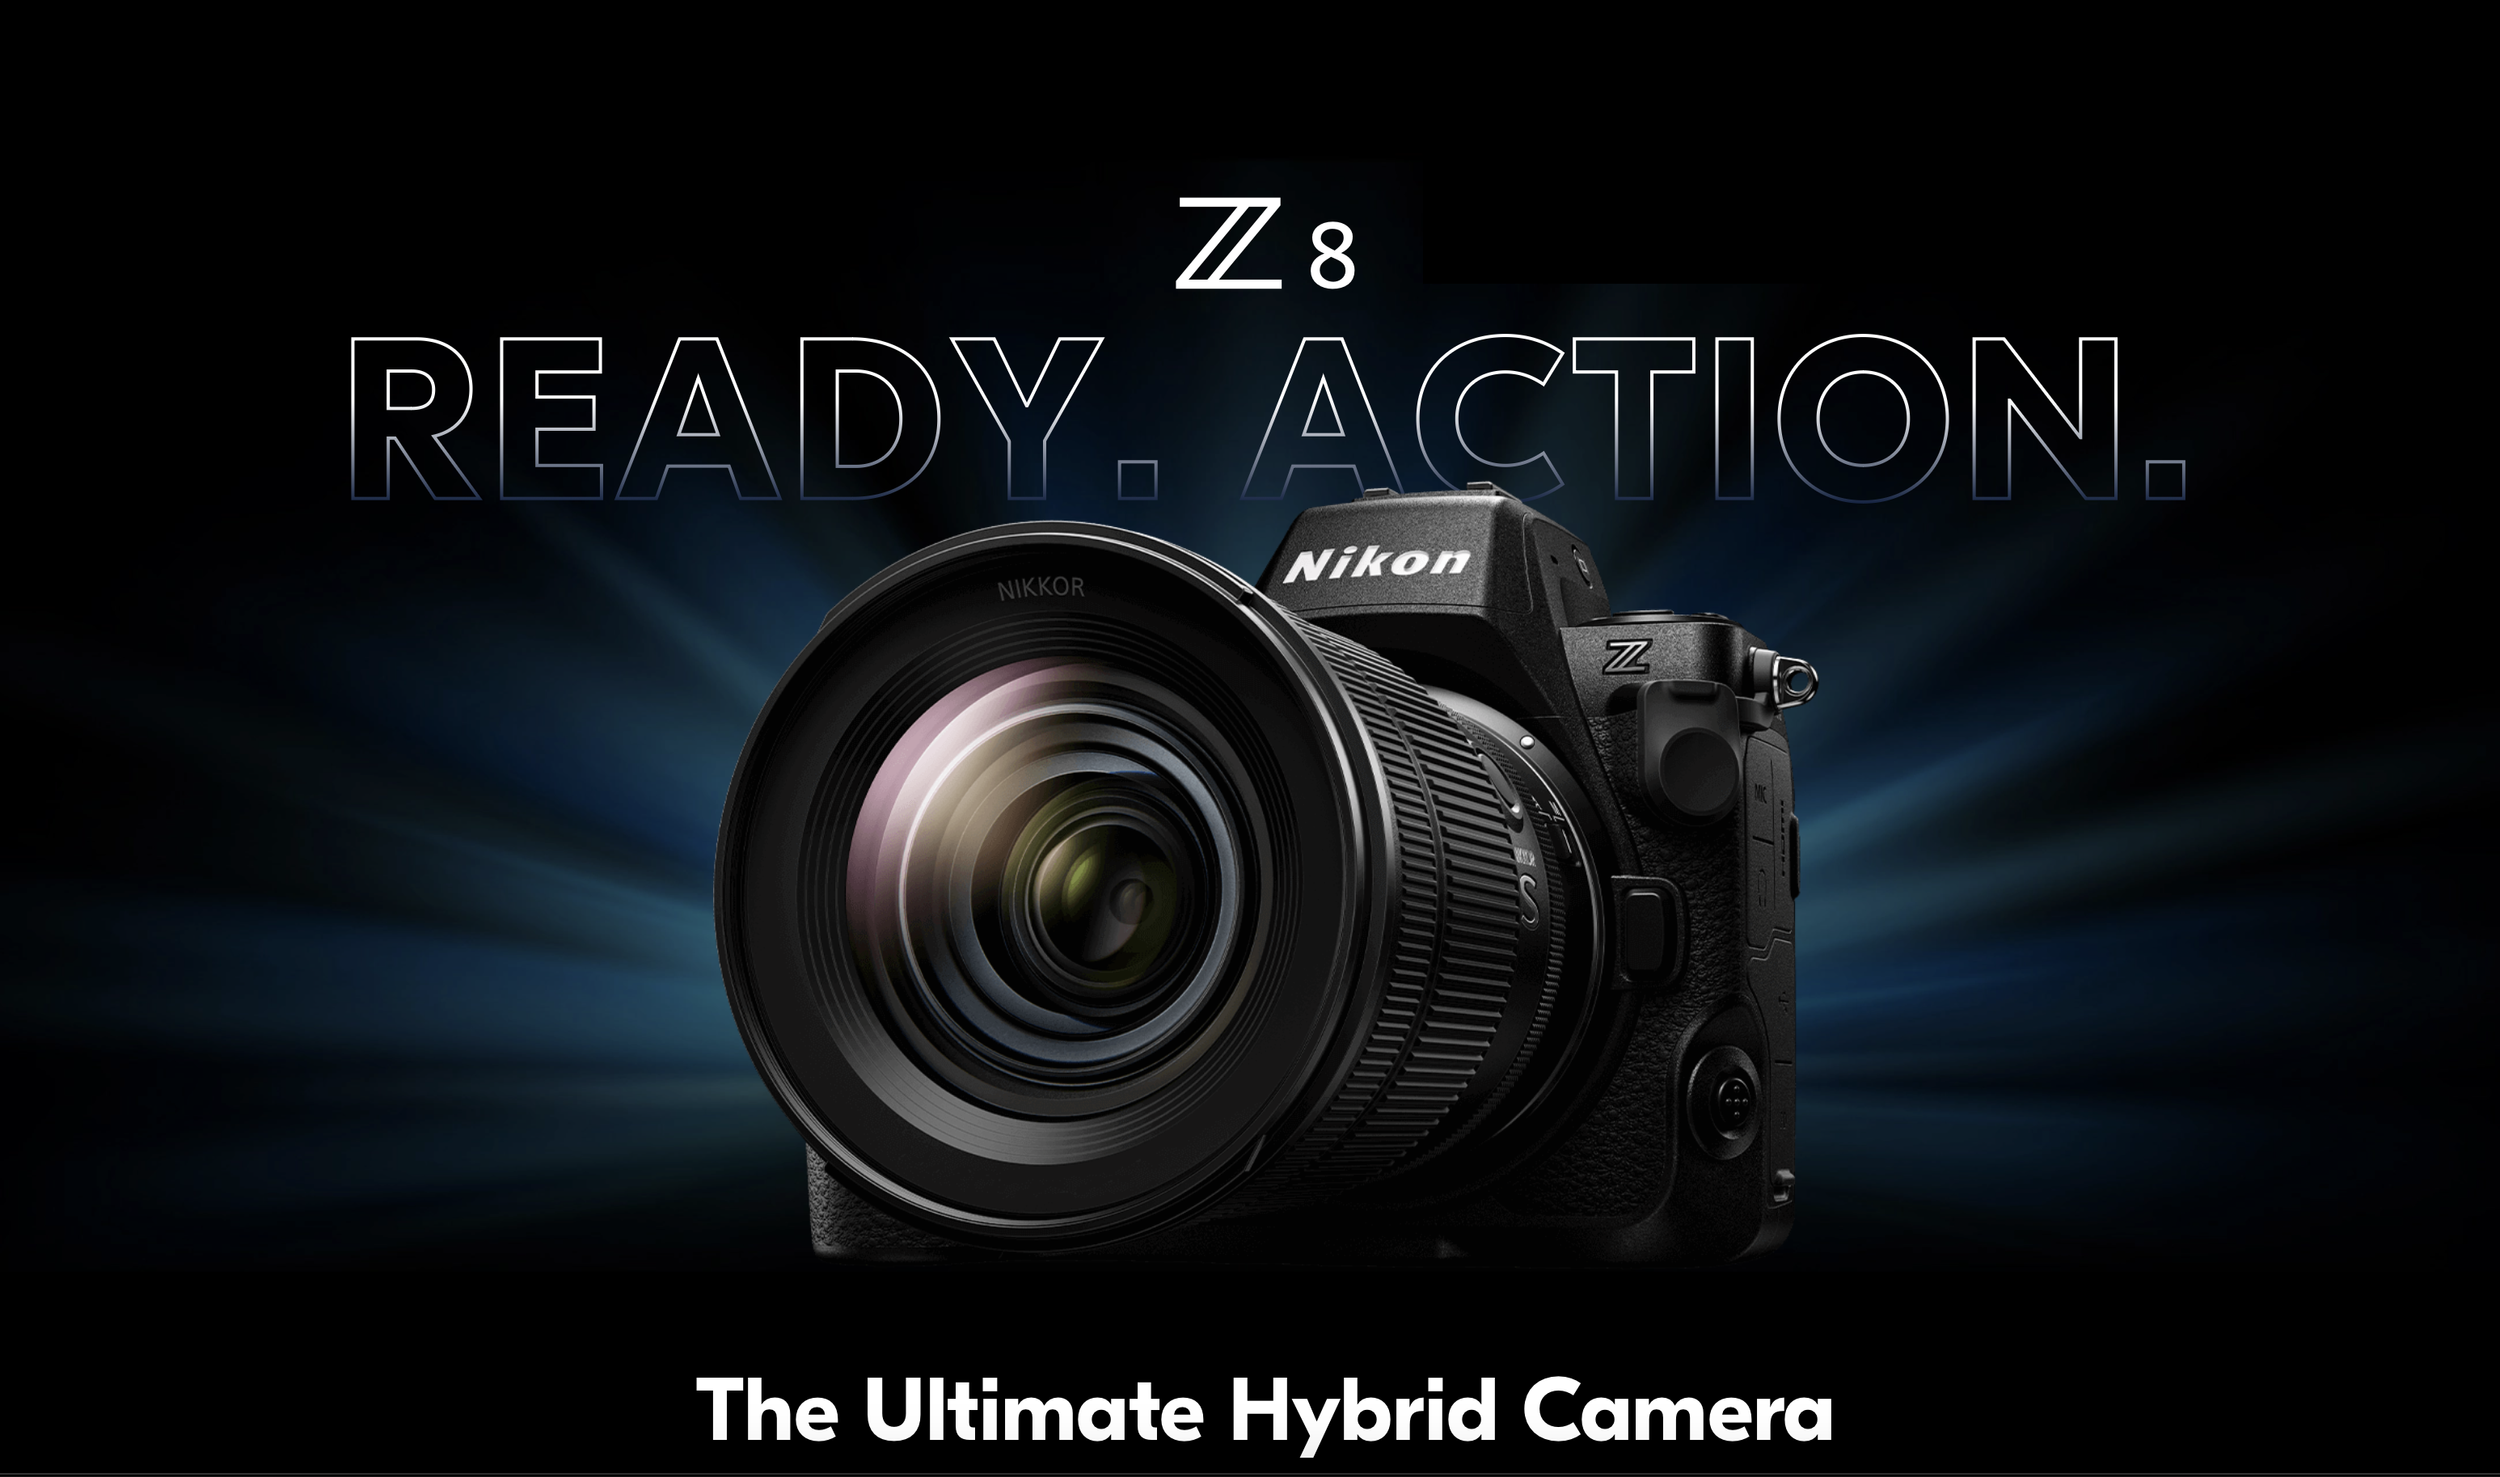
Nikon has announced a firmware update that will enable raw video output to an external recorder, Eye AF and CF Express card compatibility.
Apple ProsRes RAW Output
On the second day of the CES 2019, Atomos’ CEO Jeromy Young announced that the new Atomos Ninja V is compatible to record ProRes RAW with the new Nikon Z6 and Nikon Z7.
“Atomos is excited to work with Nikon on the development of ProRes RAW recording from Nikon’s Z series. This expands ProRes RAW to Ninja V and is the world’s first true full frame mirrorless to give raw video output. The combination will enhance content creation at all levels, from Social, through Pro Video and into Entertainment.”
- Atomos Global
According to Atomos, the Nikon Z6 and the Nikon Z7 output a stream of RAW data via a HDMi cable to the Ninja V. Capturing Apple ProsRes RAW with the Ninja V will unlock wider and complete control of the video image at highest quality possible.
Some believe that Atomos is using a closed loop protocol with-in the HDMi, which basically means that they are taking all the pixels and rearranging them.
Nikon’s new mirrorless cameras, the Z6 and Z7 will be more than capable of outputting a RAW signal to the Atomos Ninja V, it’s not unrealistic to expect that more cameras will be capable of doing this in the near future. We wouldn’t expect that we are likely to see either Canon or Sony enable a RAW output to be recorded from their cameras.
Eye AF
With this new firmware update Nikon intends to announce its long awaited Eye auto-focus feature in their mirrorless cameras like the Z6 and the Z7. The Eye AF is a very good helping-hand when it comes to taking pictures such as portraits, event or street photography scenario.
“Our much-anticipated Eye AF function that is currently in development for the Z7 and Z6 can effectively detect your subject’s eyes, making focusing so much easier! You’ll capture stunning shots where focus has been clearly acquired on the subject's eyes - good news for portrait and streetphotographers!”
-Nikon Global
According to Nikon, the technology/feature is in its last and final implementation phase. In the demonstration video below, you can see it acquires the eye as fast as a Sony/Fujifilm has been able to do with their mirrorless technology. The only difference being that the area of the box seems to be much larger than that of Sony’s or Fujifilm’s Eye AF.
Source: Nikon Europe YouTube Channel
It will be possible to select which eye to focus on if there are multiple subjects in the frame, in which case, this makes it easier for the shooter to prioritise the particular subject.
We expect the Nikon’s Eye AF to be as efficient as Sony’s or Fujifilm’s.
As of now, Nikon has not released an official date about when we can expect this new firmware upgrade, but we believe it will be soon.
If you would like to know further please visit:
CF Express Card
Nikon has also announced that their new mirrorless cameras will be compatible with the new CF express cards after the firmware update. These cards use the same form-factors as the XQD cards which are the only data transfer interface used in the Z6 and Z7.
What’s really surprising is that Sony was the first one to introduce XQD cards and yet they have not incorporated the technology to any of their camera devices.
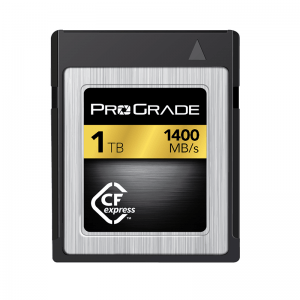
In a recent statement given by Pro Grade Digital states that they will be introducing a 1 terabyte CF Express card demonstrated 1,400 MB/s read speed and over 700 MB/s burst write speed.
Source: ProGrade Digital Website
“ProGrade Digital is delighted to be participating in this exciting technology demonstration highlighting the speed of the ProGrade Digital 1TB CFexpress card and Thunderbolt™ 3.0 in the digital workflow,”
-Wes Brewer, founder and CEO of ProGrade Digital.
“With read speeds up to 1400MB/s, this technology provides peak performance for offloading cinema-quality, video and still image files at speeds that are at least three times faster than ever before.”
- ProGrade Digital Global
If you would like to know further, please visit:
https://progradedigital.com/2019/01/08/prograde-digital-cfexpress-1-0-demonstrated-at-ces-show/
Atomos Announces Raw Video Recording With Ninja V and Nikon Z7 and Z6
Photographers have long known about the benefits of RAW for stills, now Nikon Z series users will be able to get the same power of RAW in video.
Just when we thought that the dust had settled on the flurry of announcements that 2018 brought, Atomos has announced that it will enable raw video recording for the Nikon Mirrorless Z7 and Nikon Z6 cameras with Atomos Ninja V.
“Photographers have long known about the benefits of RAW for stills, now Nikon Z series users will be able to get the same power of RAW in video. Capturing Apple ProRes RAW video with the Ninja V unlocks complete control of the video image at the highest quality possible. The maximum dynamic range, color accuracy and detail is preserved, while at the same time every aspect of the video image can be controlled with precision for maximum creativity. Colors can be easily matched and the extra information means footage can be easily be manipulated in post-production, which is especially useful for grading and VFX shots. – read more about ProRes RAW. ”
“2019 is all about taking content creation to the next level. Video makers everywhere are looking to add that elusive cinematic quality to their work, whether that be on social media, YouTube or on TV. To answer those needs, Atomos today unveils the next revolution in digital imaging - RAW video output and capture from Nikon’s full frame mirrorless cameras. The Nikon Z 7 and Z 6 full-frame mirrorless cameras will work together with the Atomos Ninja V 4K HDR monitor/recorder to record Apple’s ProRes RAW video format.”
As per Atomos, the 4K data input from the Nikon Z6 and Z7 mirrorless cameras in the Ninja V is transformed into Apple’s ProRes format once recorded via a detachable SSD drive. When the SSD drive is connected to a computer, the footage is then decrypted for editing that gives you the highest quality control. ProRes is also able to keep the RAW data from the cameras into smaller, more manageable file sizes that makes them easier to transfer; having them on a universal format also makes them future proof.
Much more is said to be revealed at CES 2019 in Vegas, but it appears that Atomos is able to achieve this by a “Closed-loop protocol” which essentially means that the ProRes rearranges the pixels from the output of these cameras into a more practical, less-heavy solution for RAW footage. And by using ProRes as the standard, it gives more camera companies to work with RAW because everybody can make use of ProRes RAW without having their processing details handed over.
CREDIT: ENGADGET.COM
Atomos also mentioned on their Instagram that Atomos and Nikon will be unveiling a ‘filmmaker’s kit’ for video creators; the Nikon Z6 being at the center of that kit; along with the Atomos Ninja V and some accessories necessary for professional video shooting and photography. There’s much more to come from CES 2019, but this seems like a great start to the new year.
Why is the 50mm 1.8 lens the best lens in the world and why should you buy it!
It’s been a while since you’ve had this DSLR but your photos just don’t stand out. They seem to be missing something. You can change that today.
It’s been a while since you’ve had this D-SLR but your photos just don’t stand out. They seem to be missing something. That finesse. That x factor. That punch.
That ‘D-SLR look’ you’ve seen on Instagram.
Mind you, If you’re not getting the kind of shots you want, it could make you fall out of love with photography. At the end of the day we do things to get results. And if you’re putting in the time and you don’t think it’s yielding anything substantial, it can turn you off big time.
Here’s what happens. You’re getting great natural light on your subject. You might even think that the picture has a kind of mood. You compose your shot, hold your breath and click the shutter release button. Nice.
Later, you see the image on your computer and you can’t believe it’s the same picture. It looks ordinary. You scratch your head and go, “I thought I’d get quality images with a D-SLR.”
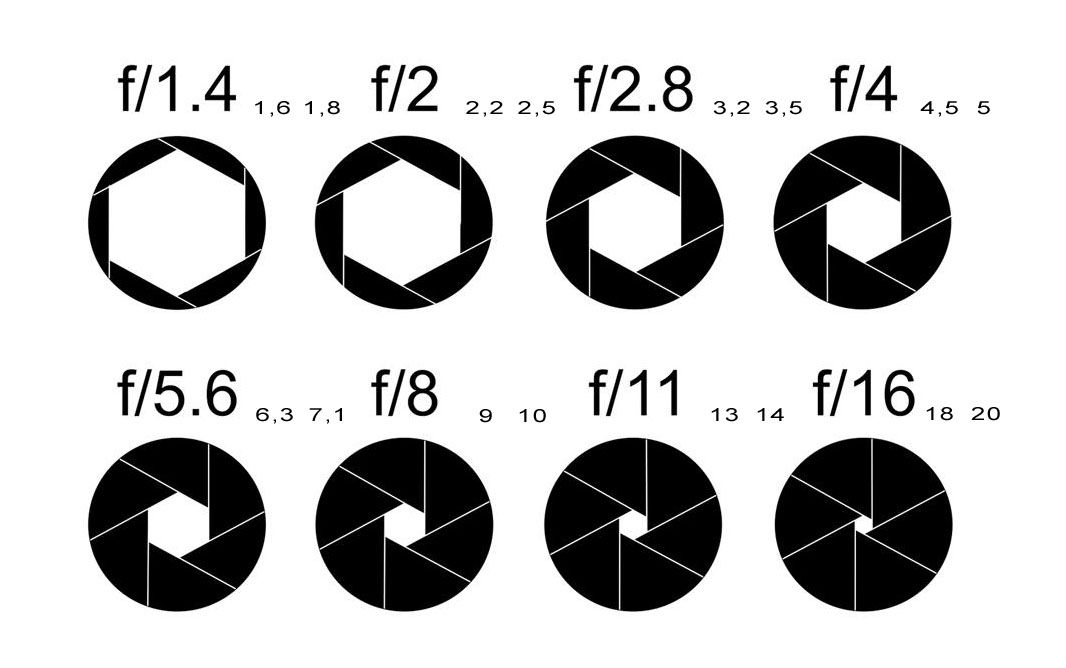
But here’s the thing. Image quality and sharpness often depends on the kind of lens you’re using and its aperture (aperture is the opening of the lens, which is denoted by the f number. For example, f.4 or 5.6.) The lower that f number is, the wider the aperture will be.
A wider aperture allows more light to enter the lens, and this allows your camera to render focus areas much better.
The 18-55 kit lens that comes “free” with your D-SLR may seem good enough to start with, but it has an aperture range between f/4 and f/5.6
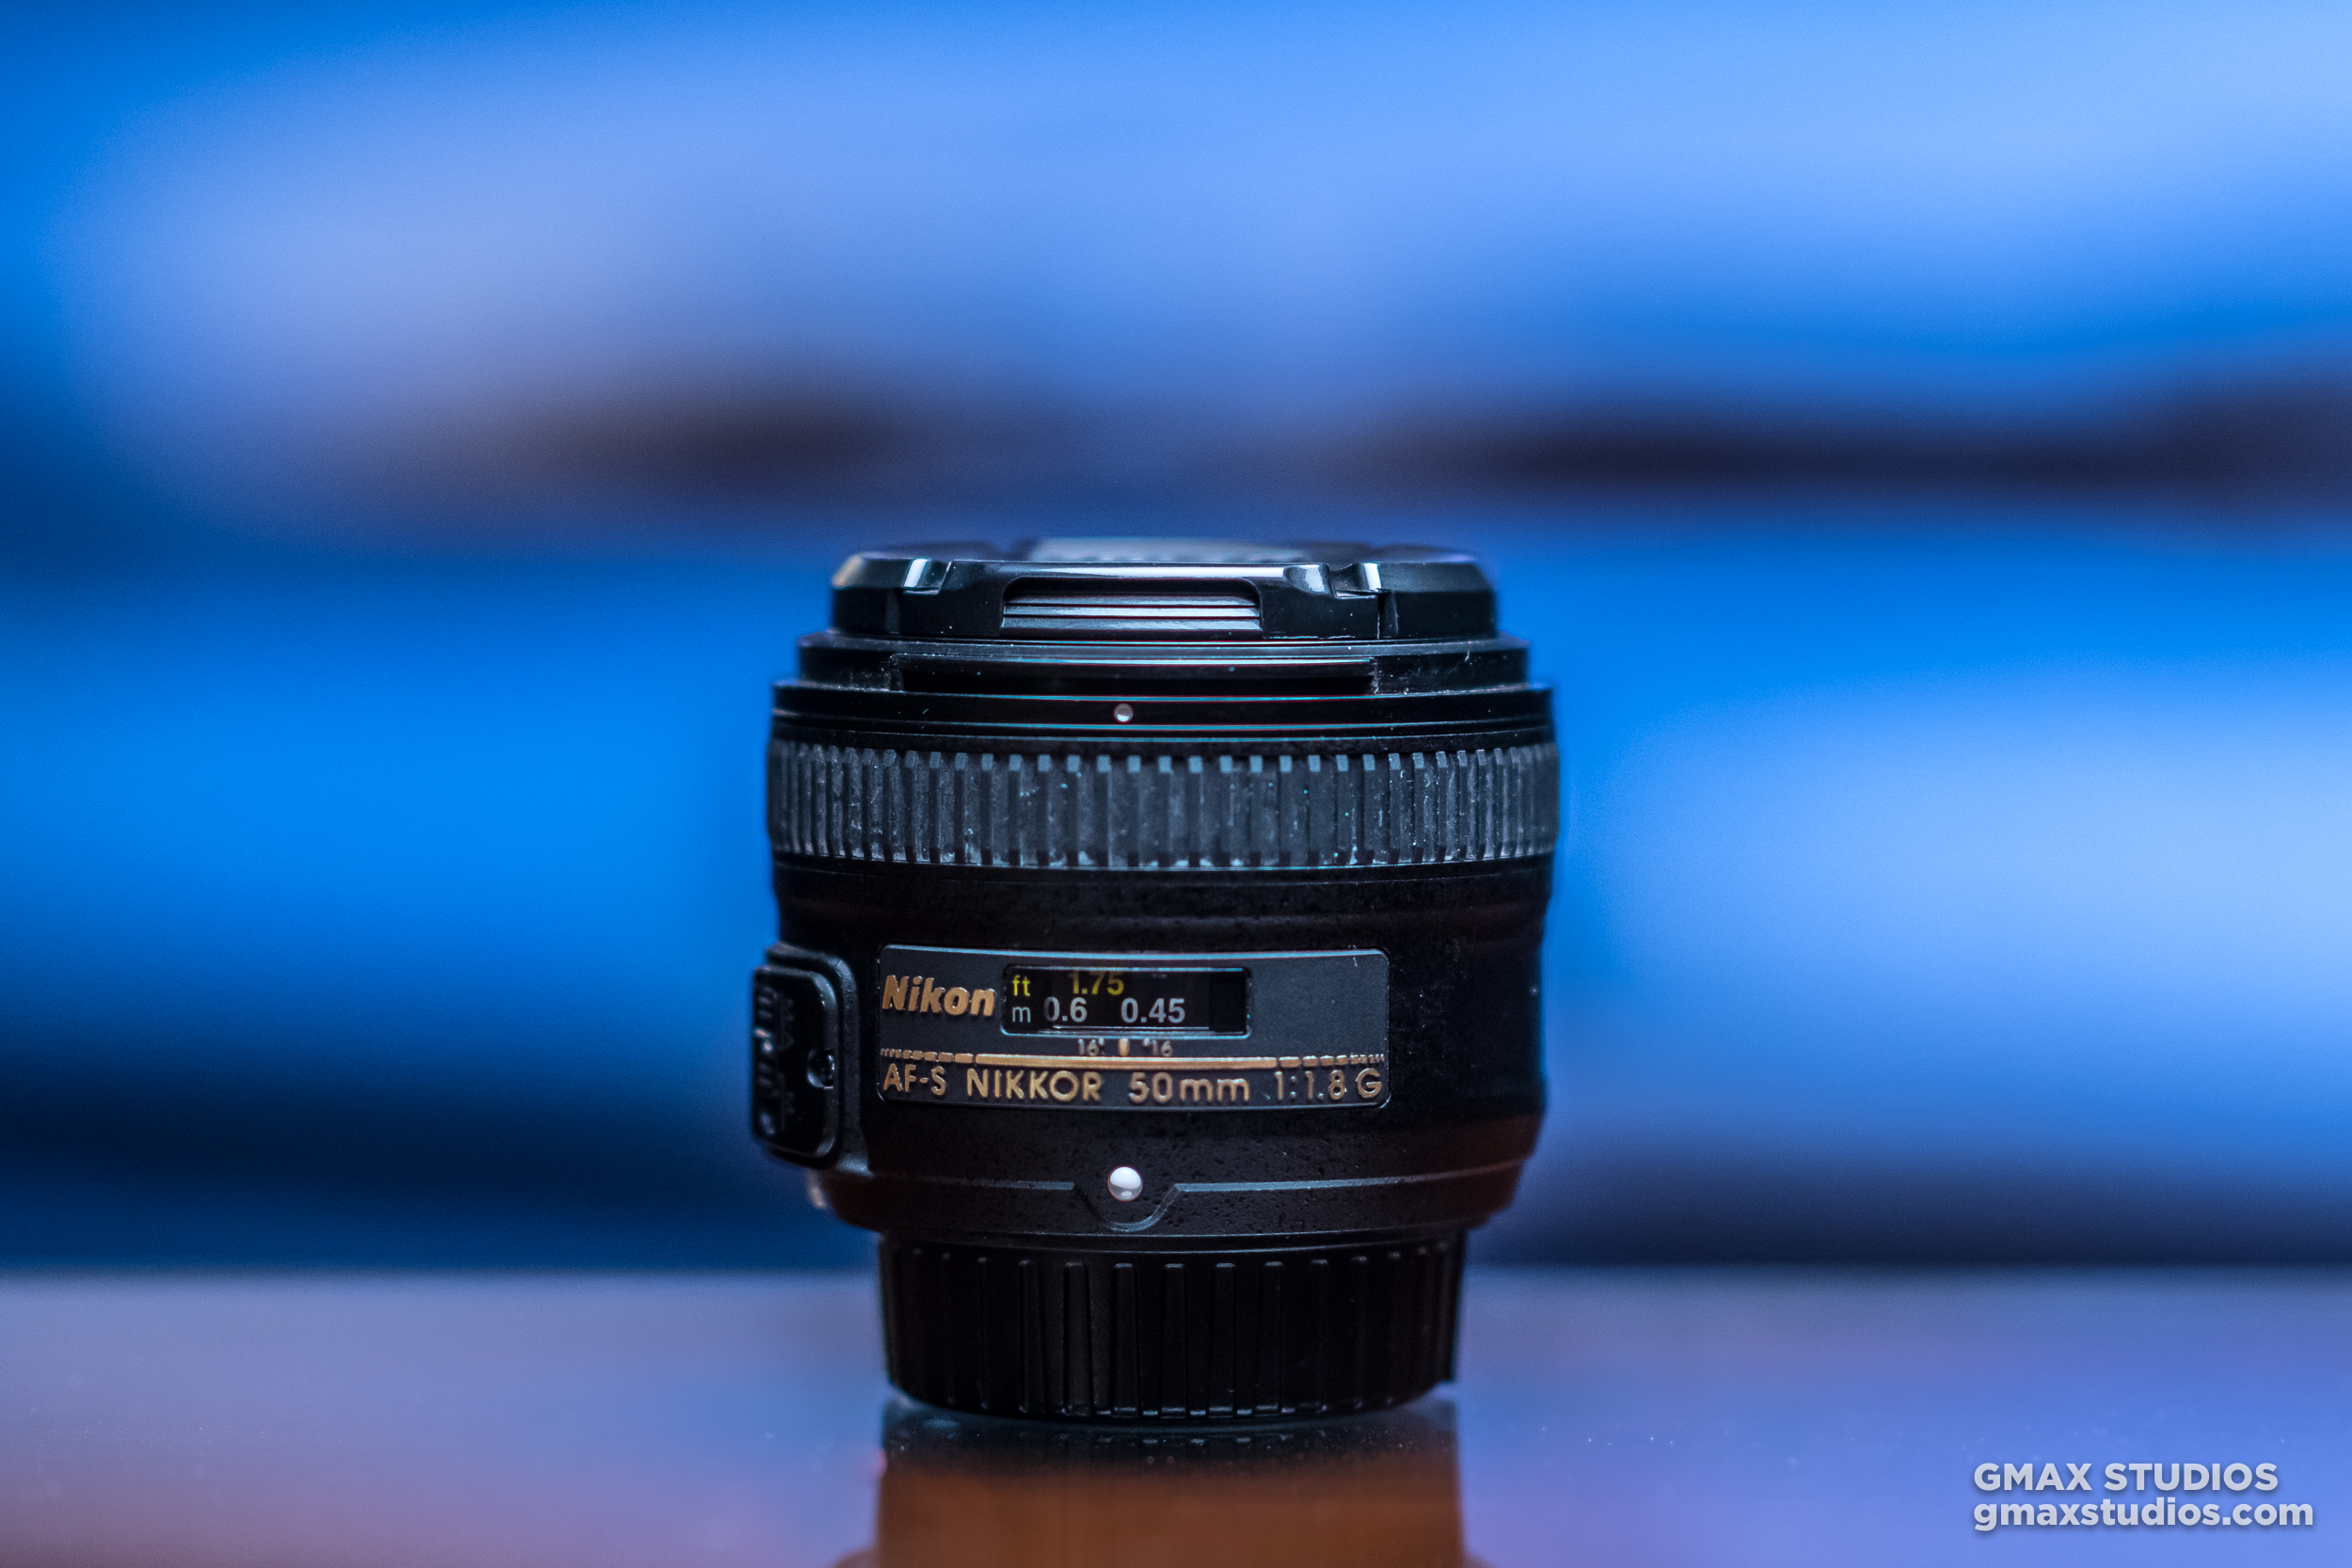
If you’re looking for beautiful bokeh, sharper image quality, a 50mm prime lens with a 1.8 aperture is a great lens to buy.
Background blur has mostly to do with your aperture
The 50mm 1.8 prime lens is also called a ‘nifty fifty’ because of how nifty or useful it is to photographers. It's light, cheap and almost every camera company makes it. It's also a fast lens, (lenses with wider apertures are called fast lenses) which means you can shoot at higher shutter speeds, and you don’t need to bump up the ISO too much. In terms of quality, the nifty fifty is best bang for your buck.
Here are a few reasons why we think it’s a great lens.
The nifty 50 is the personification of “good things in small packages”
It’s Light and Easy to Carry
Weighing between 150 to 200 grams, the 50mm 1.8 will have your shoulders thanking you for it. It fits right in to any camera bag, and you can take it anywhere without attracting much attention. If you had to pick one lens to travel with - this would be the one.
It’s Versatile
The nifty 50 is the Johnny Depp of camera lenses. It can practically be used in every genre of photography. Portraits - check. Landscapes - check. If you’re into street photography, it’ll be hard to top the functionality of this lens.
Everything Looks Right
A 50mm lens is also called a normal lens. At a focal length of 50mm, its field of view is similar to what the human eyes perceive. Everything looks as it should, there’s not much distortion like in the case of wide lenses or the feeling of distance when you take a photograph using a telephoto lens.
It’s a Fast Lens
Like we mentioned earlier, fast lenses allow you to shoot using high shutter speeds - which means less camera shake resulting in sharper photographs. You can shoot in low light conditions easily. So feel free to step-out past 6 pm and photograph as much as you want, and the next time your friends come over for a party and whip out their samsung, tell them to put it aside because you have them covered.
It’ll Give You That D-SLR Look.
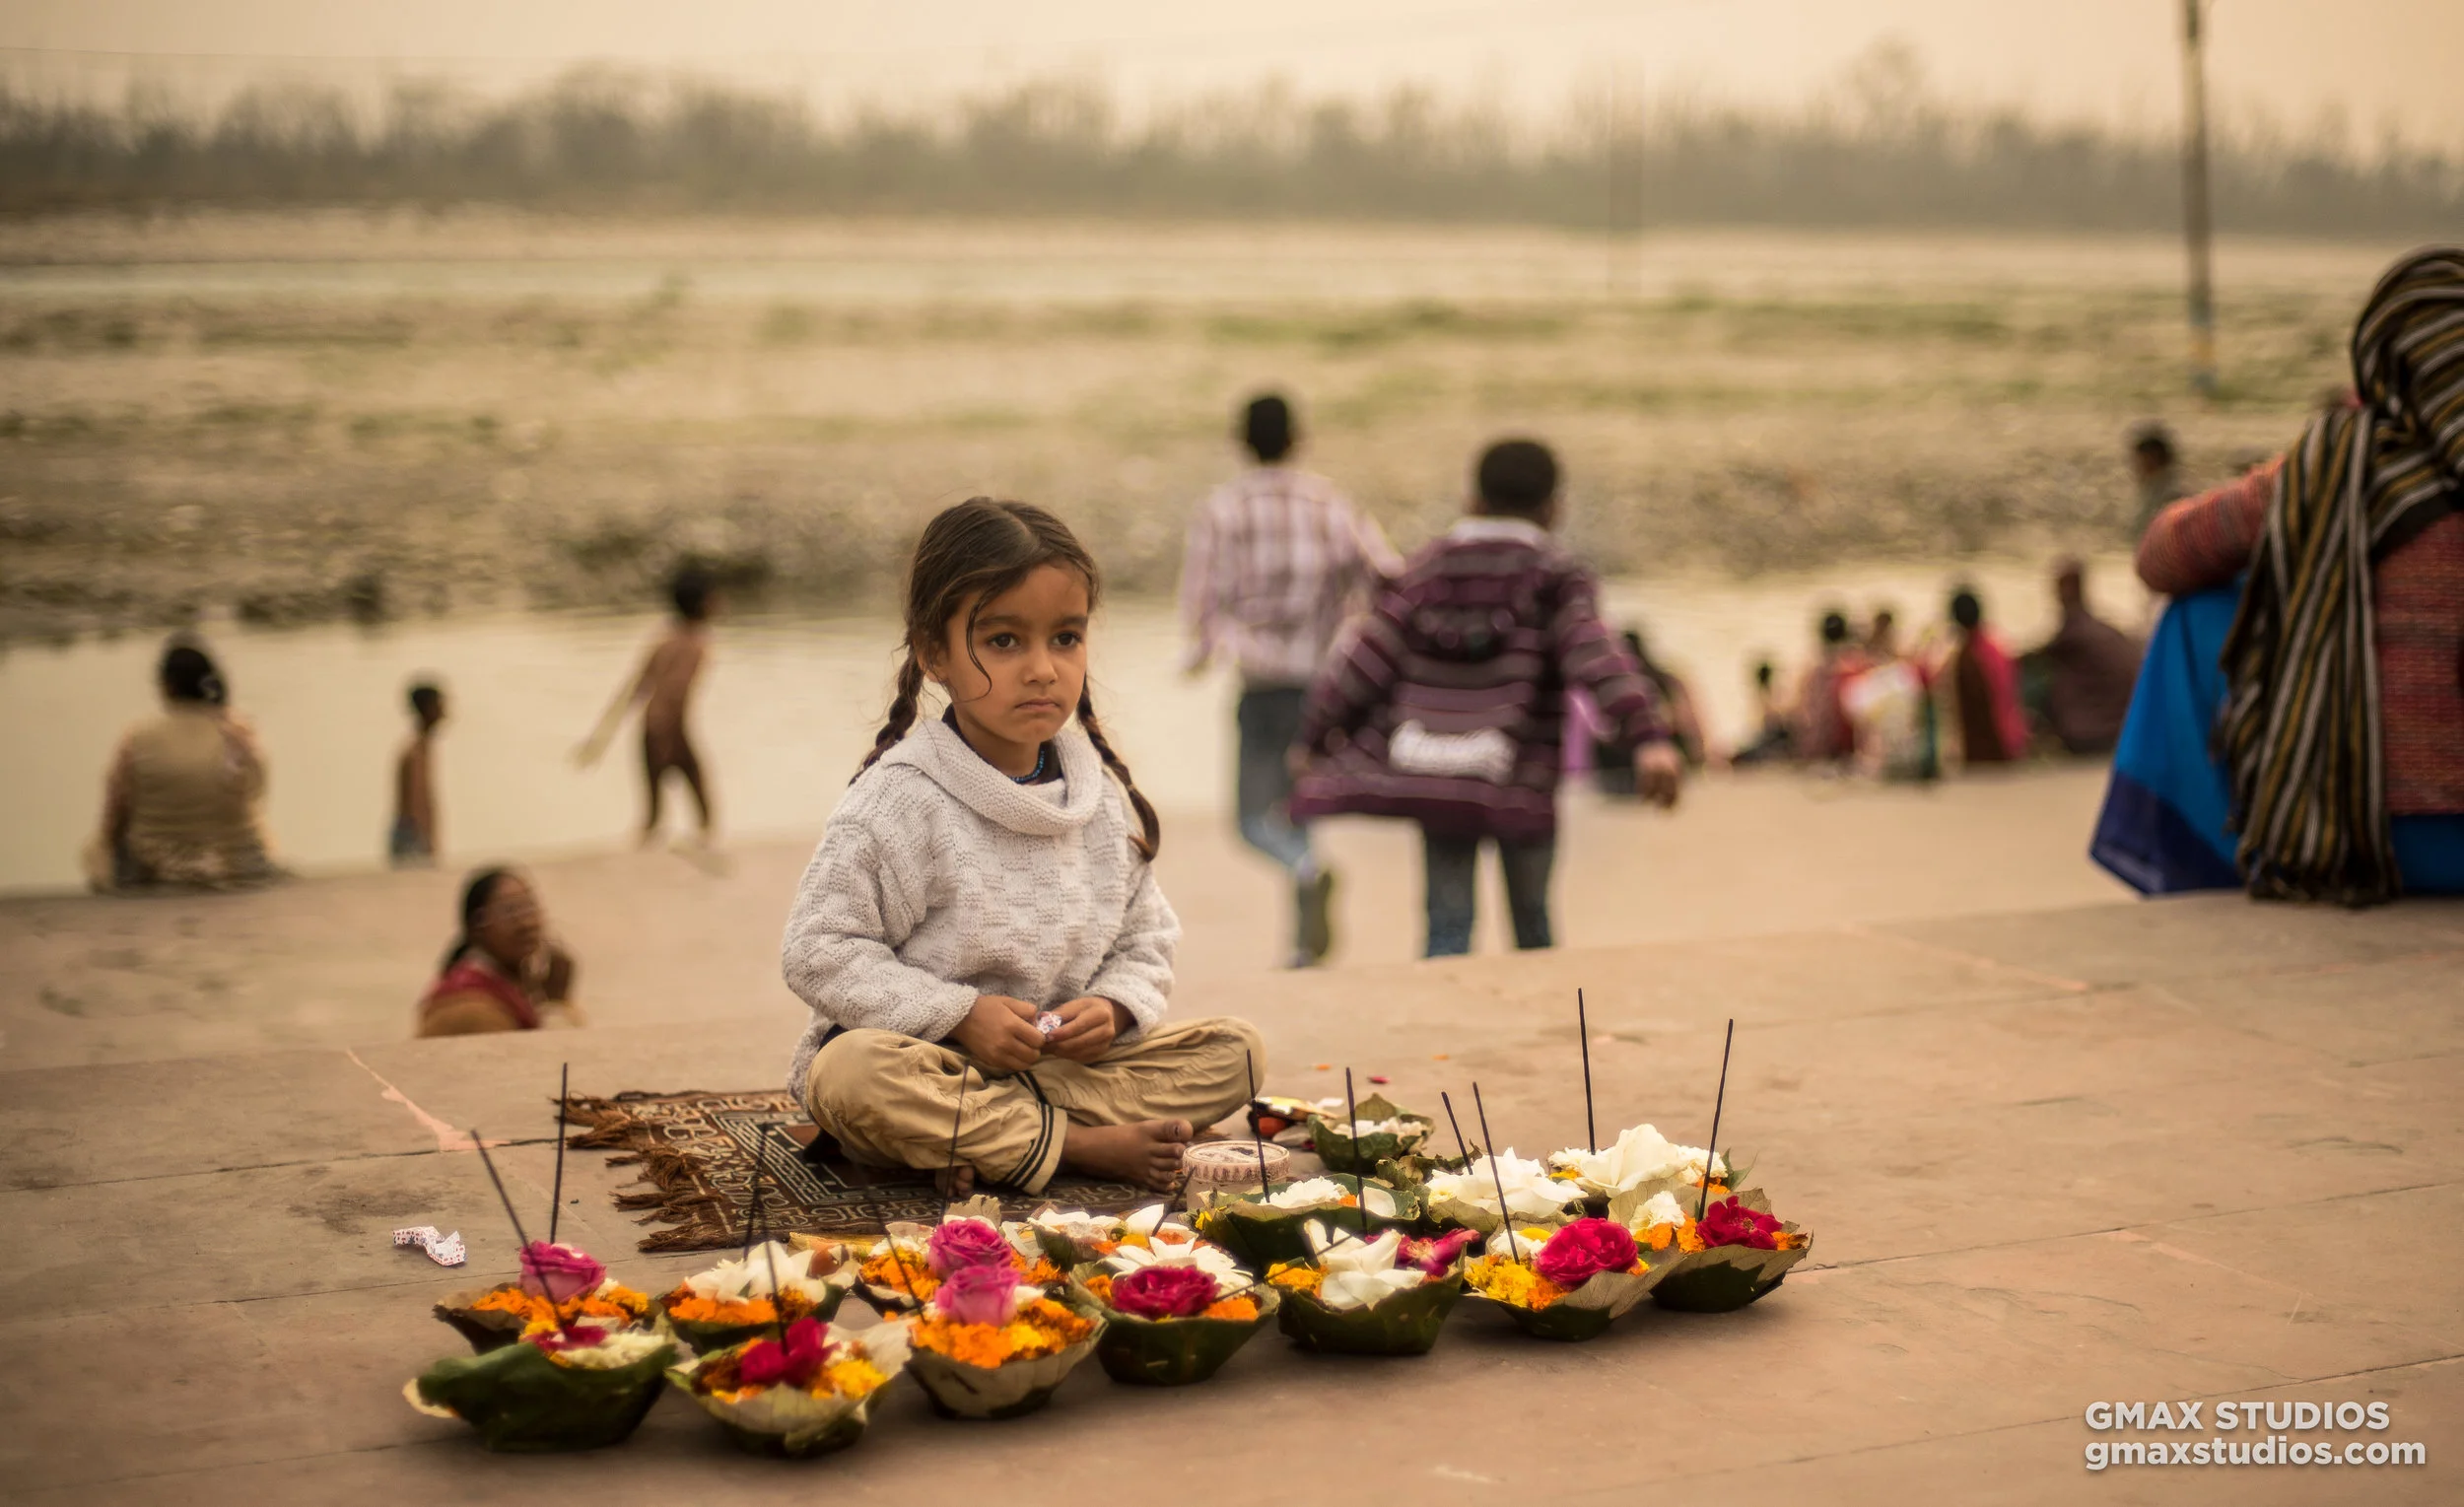
Chin up. You’ll finally get that D-SLR look you’re after. By that we mean pictures that have a shallower depth of field, where the subject is separated from its background to a greater degree. We all love those blurred backgrounds, don’t we? Well, the depth of field depends on your aperture and it isn’t a trick some photographer came up with.
Increased Sharpness
The 50mm lens is incredibly sharp. If you’ve been shooting with zoom lenses, the sharpness you’ll get from a prime lens will surprise you.
You'll have no trouble taking fashion or commercial shots with the 50mm 1.8 lens.
It’ll Make You a Better Photographer
Yes that's correct. If you’re used to taking photographs with a zoom lens, it’s quite possible that the constant zooming in and out might have pampered you a little bit. Because you can zoom in or out whenever you want you don’t work as hard, like you would with a prime lens that has a fixed focal length.
A prime lens isn’t a wide lens and it isn’t a telephoto lens. It’s somewhere in between. Which means you’ll have to travel back and forth to frame your subject correctly. This will teach you how to compose, get creative and think out of the box.
Photograph by Himanshu Singh Gurjar
If you’re still not convinced - check out this video on the nifty 50. It’s quite likely that it’ll become your favorite lens in the world too. Leave us a comment if you have any questions.
How to shoot a panorama
With the help of proper techniques and post-processing software, anybody can get near-perfect panoramic shots.
You’re out with your friends, and you’re standing on top of a mountain from where the view seems great. But your camera just won’t cover it all. There’s also no space to go back, and you’re not carrying a wide angle lens. This is where panoramas come in handy. They allow you to photograph an entire scene and not just part of it.
In the old days, photographers would create panoramas on manually by panning across a scene and taking a couple of exposures on film, then printing and stitching them in a lab. Or you got yourself one of those super expensive panorama cameras like the Hasselblad X-Pan.
It was far from ideal, and it was far from easy.
Panorama on film is very tough to achieve
But now, with the help of proper technique and post-processing software, you can get near-perfect panoramic shots. Some photographers stitch over a hundred photographs to create gigapixel panoramas.
WHAT IS A PANORAMA?
Panorama, or panoramic photography is wide-format photography in which you take multiple exposures and merge them together to create a massive picture, sometimes 180 degrees or more. Panorama was introduced by early painters who wanted to give a wider view of the scenes they were trying to project in their paintings.
Panoramic Painting By Maerten van Heemskerck
HOW DO YOU SHOOT A PANORAMA?
A panorama is created in two parts
Photographing the scene via your camera
Using post-processing software for e.g. Adobe Lightroom to merge them together
EQUIPMENT
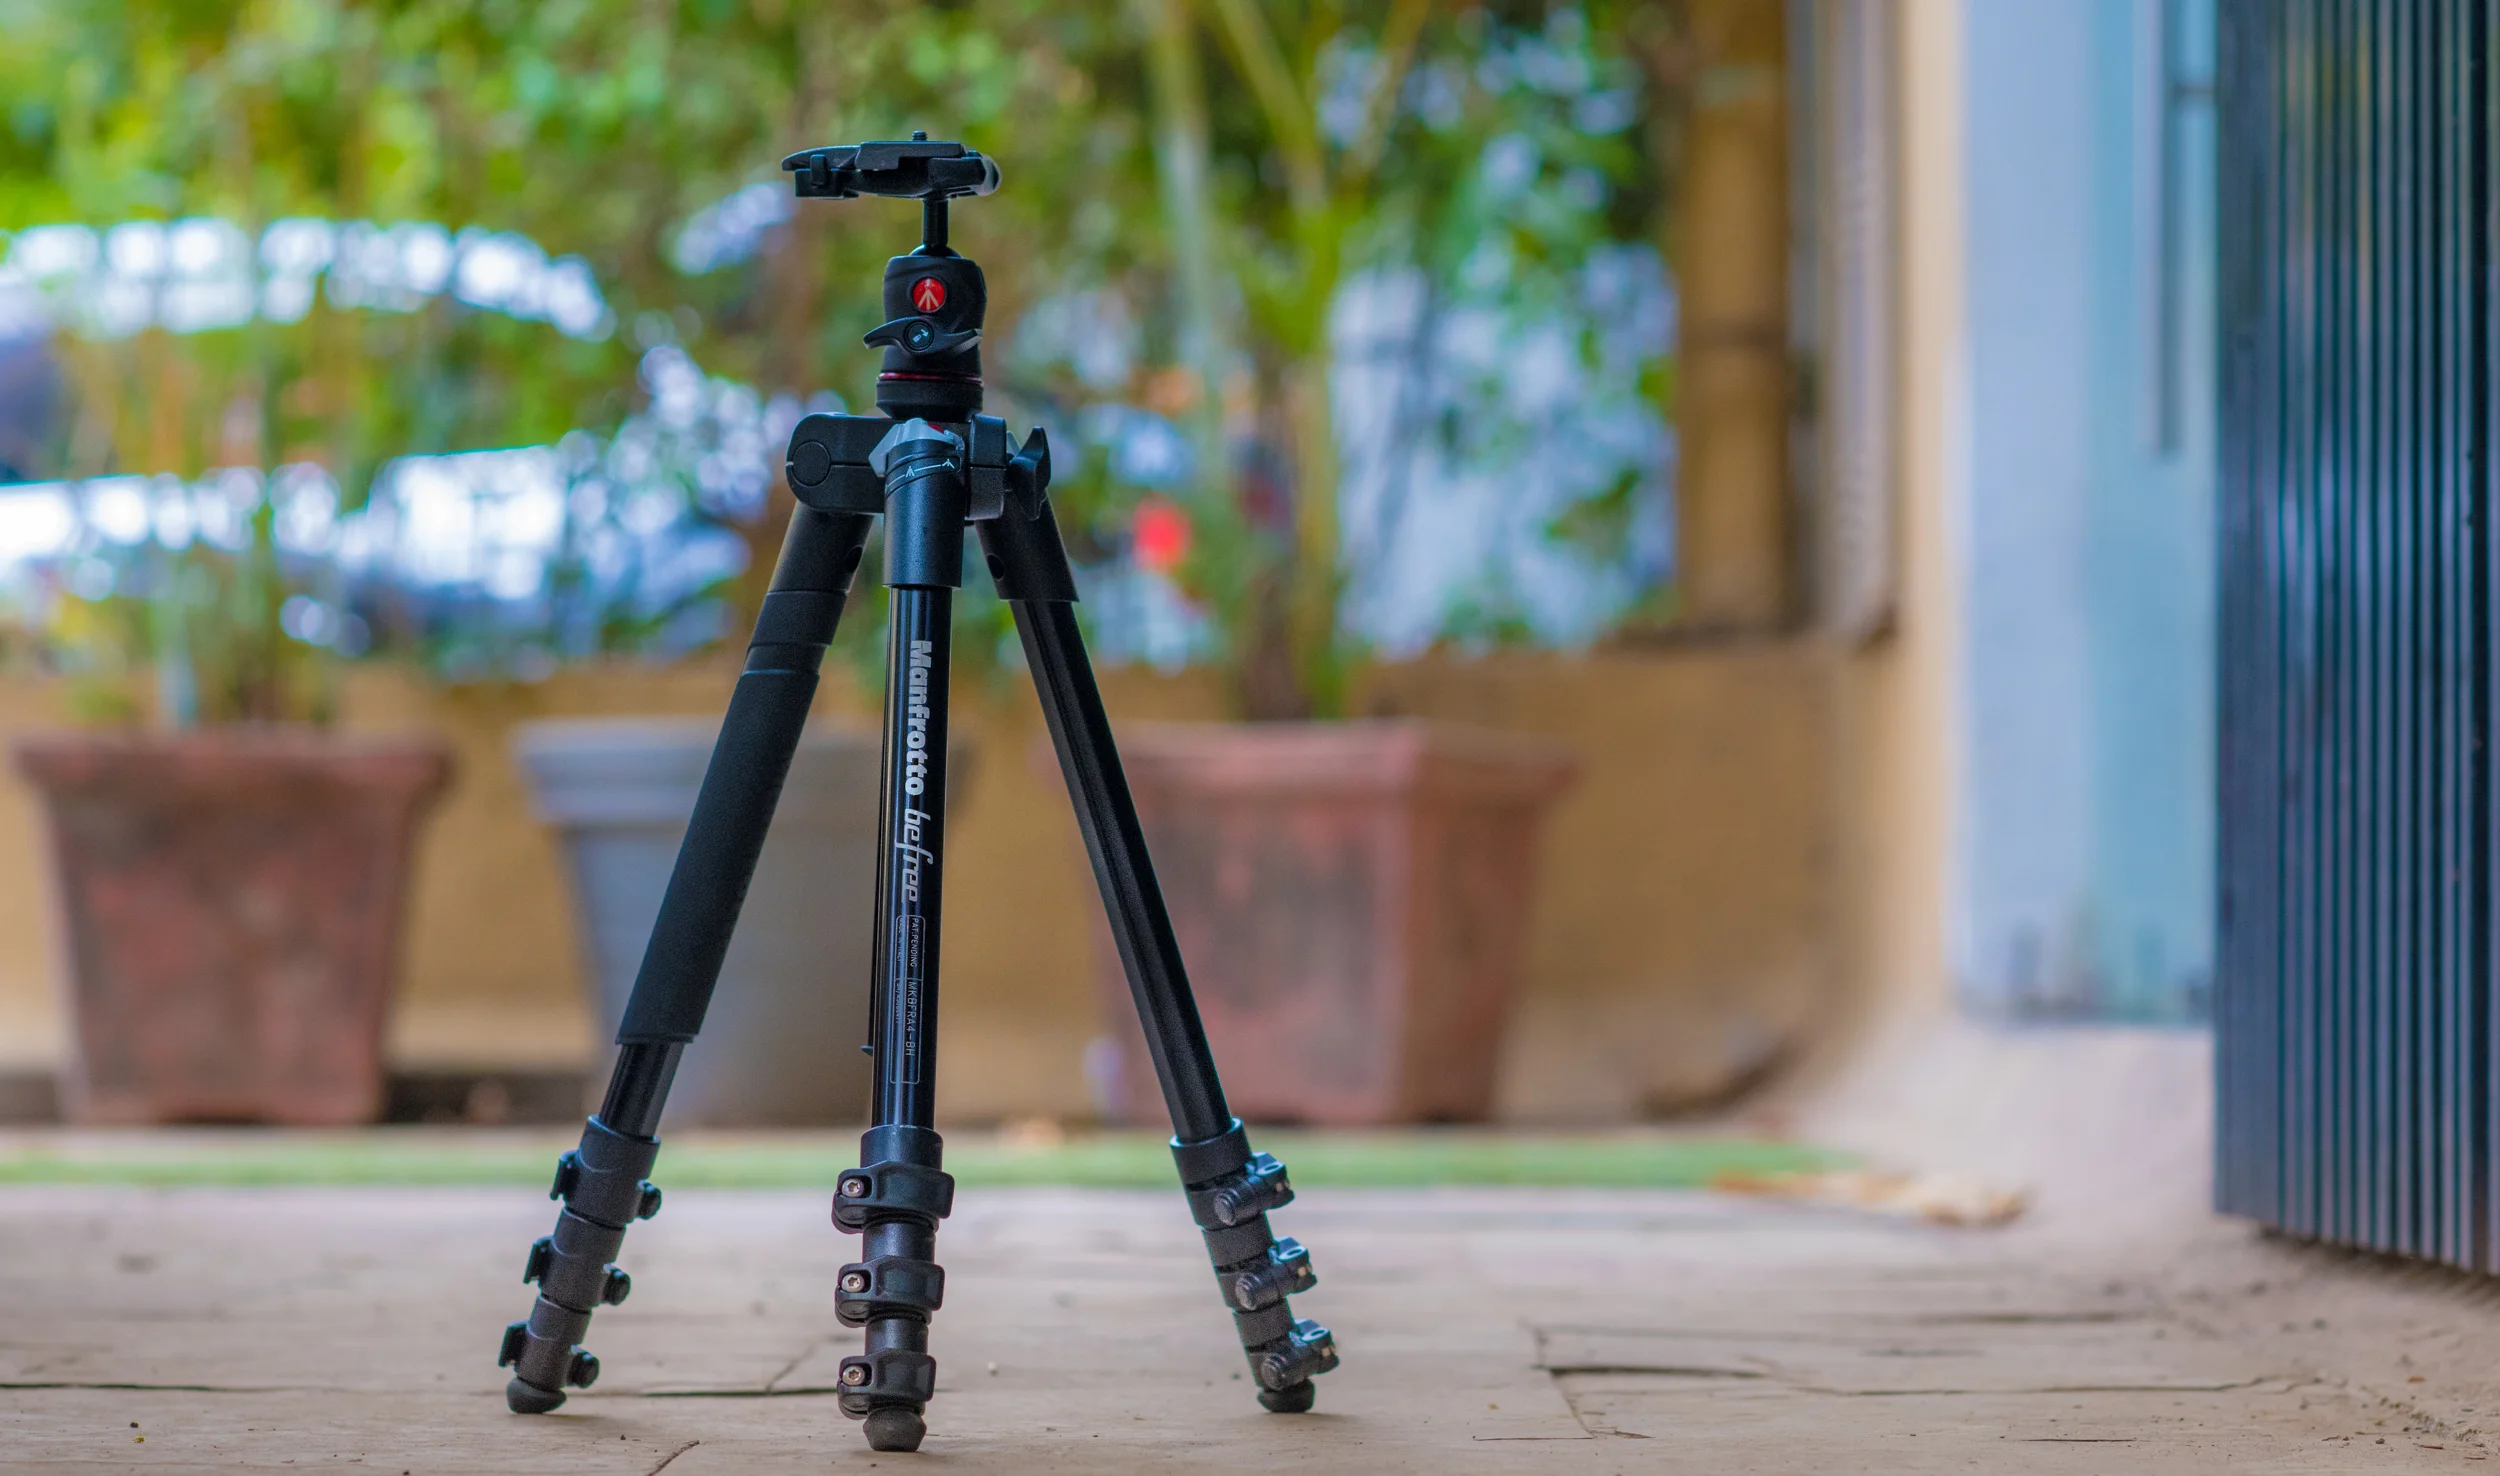
While there are people who can shoot a panorama handheld, a tripod will allow you shoot images along one horizontal plane easily. You can also get a panoramic head or an L bracket if you’re into real estate or architectural photography. But for our purposes, a tripod should do just fine.
With a tripod, your images will remain level and steady
SETTINGS
Making a panorama look like one photograph is the hard part. Which is why you have to adjust settings manually. The computer in your camera doesn’t know that you’re trying to shoot a panorama, and will expose each shot differently if you left the job of setting the exposure to it.
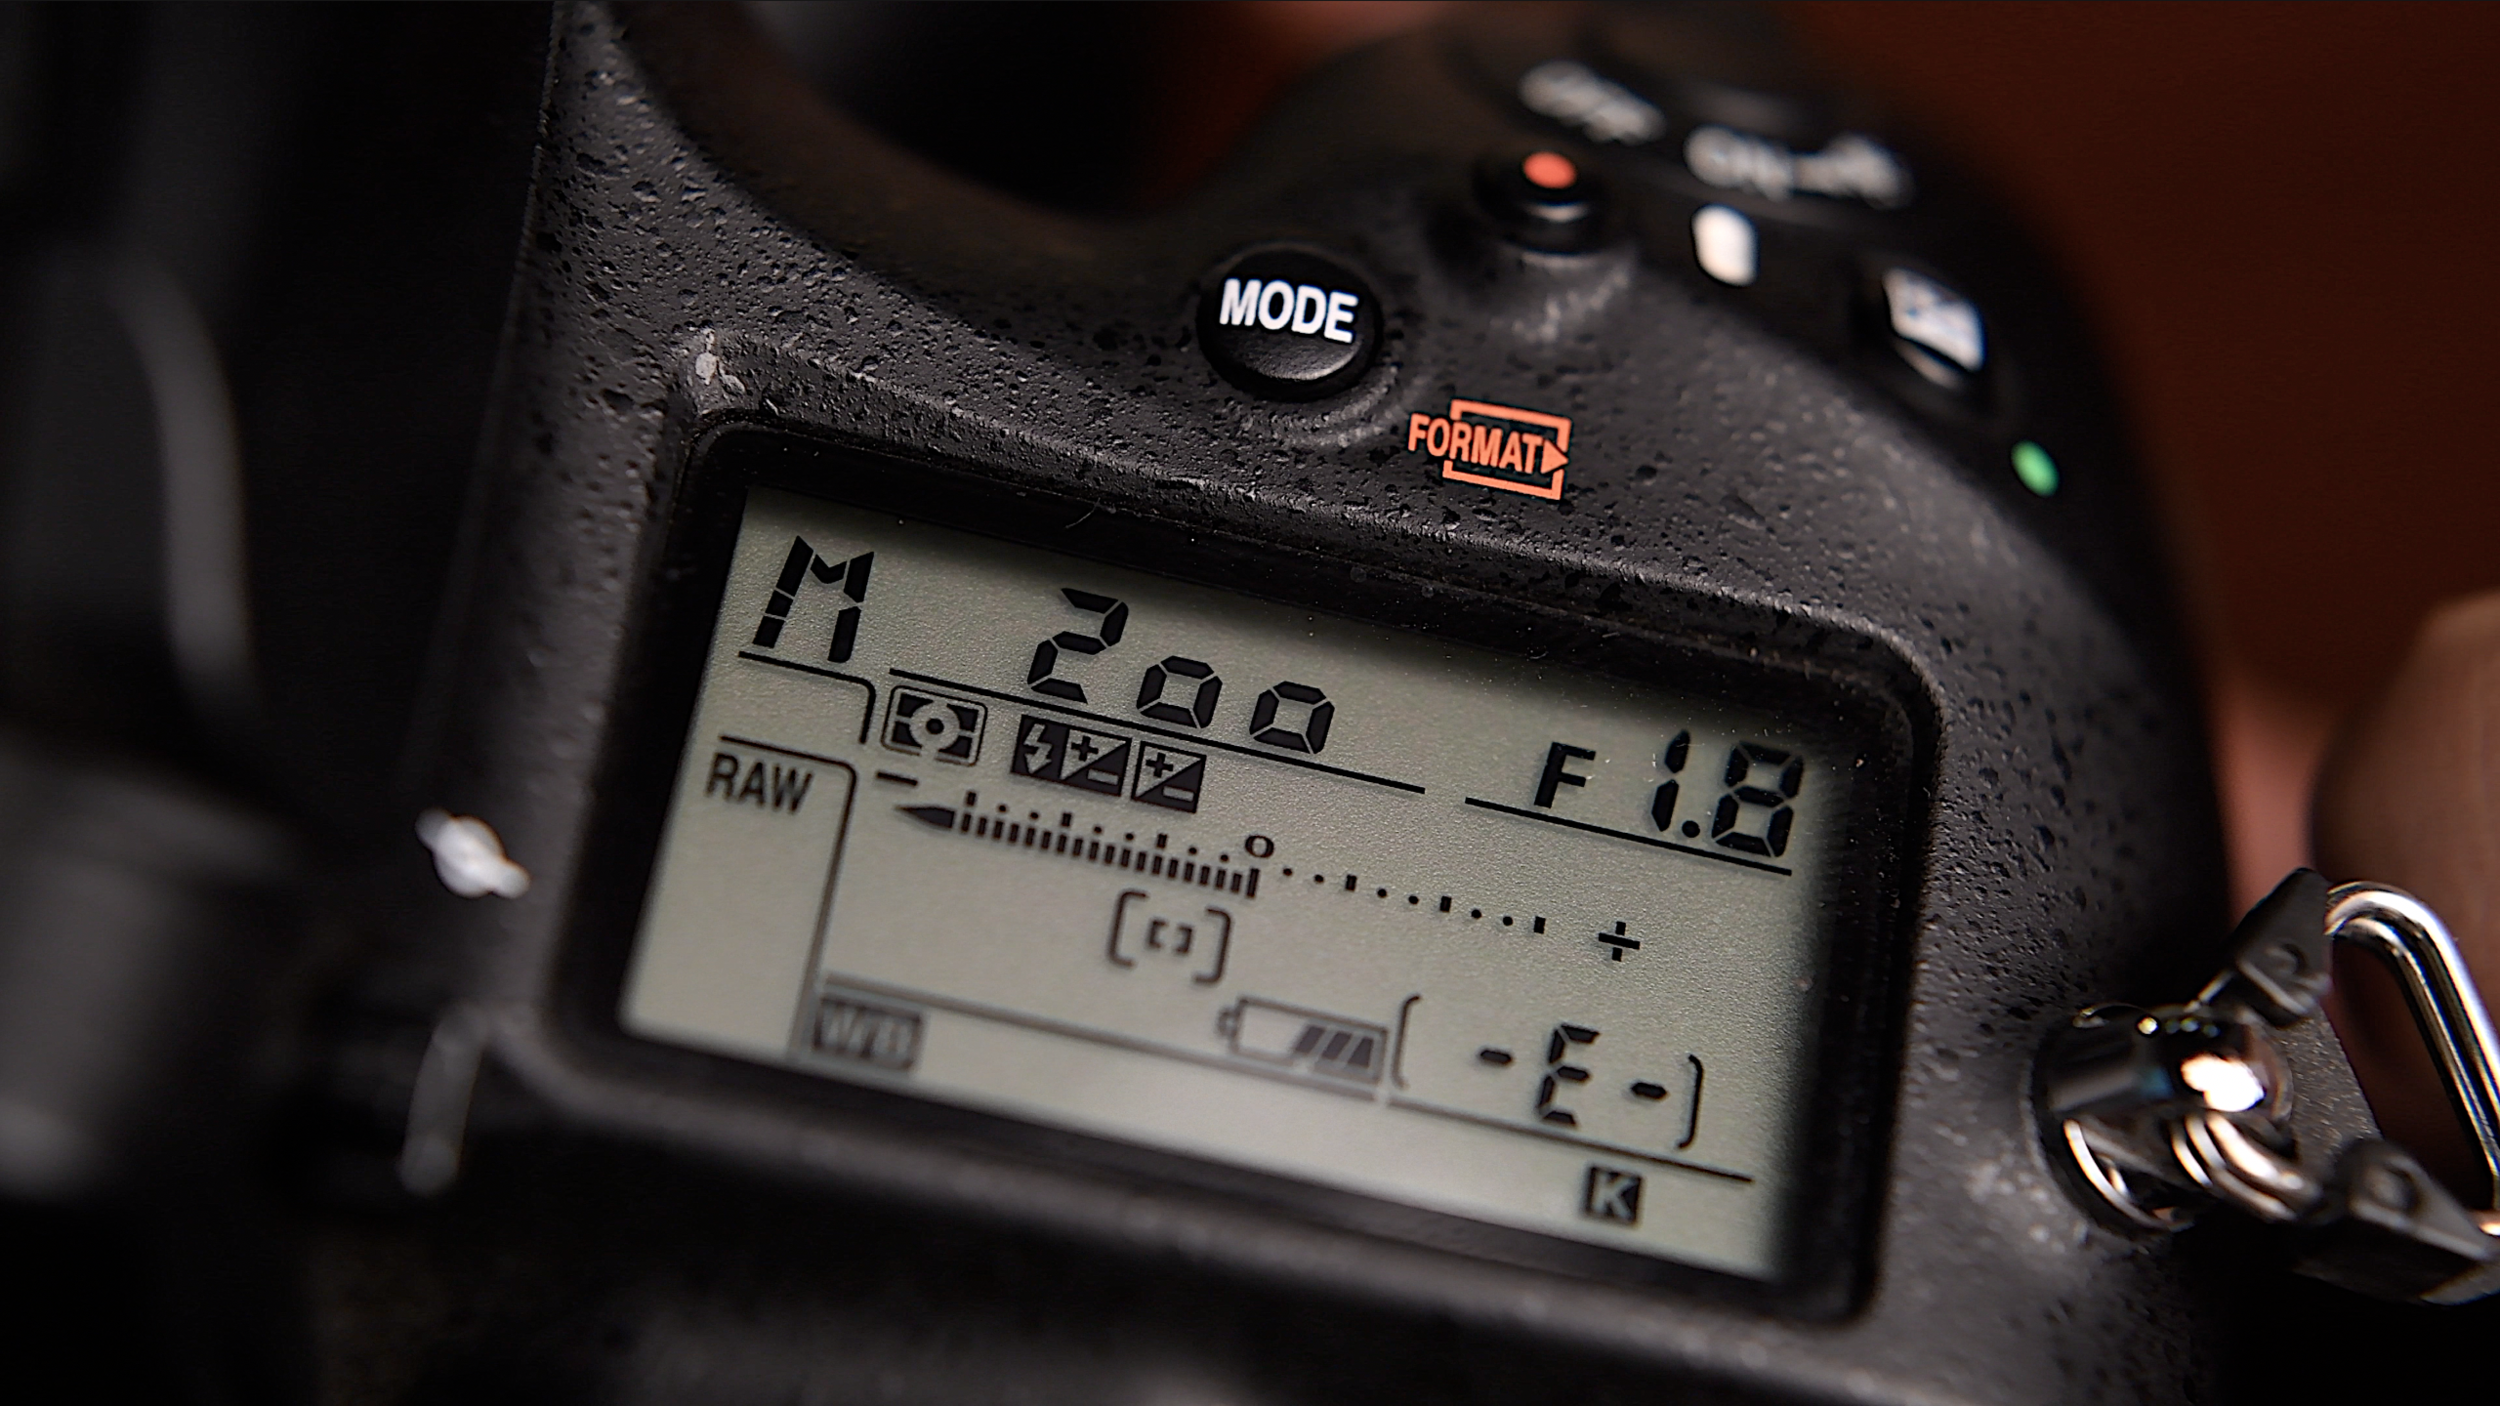
Switch your camera to manual mode and set the exposure manually to avoid varying exposures in every photograph
Focus
Focusing should also be done manually. Your focus should be set to a distant object that you're photographing or at infinity. This way, your camera won't change focus each time you take a picture.
Aperture
Because we want everything in focus, the aperture should be set to a higher f-stop, preferably f.8 or above.
Shutter Speed
Try to find a sweet spot in the center of the photograph using your camera's metering options. Take a few pictures to ensure the bright and dark areas of the photograph are exposed to your liking and not based on the automatic values suggested by your camera.
ISO
Set your ISO manually and use the same ISO for each picture.
White Balance
Because light reflects off each object differently, auto white balance could make your photograph look like a shade chart. Set and lock the white balance manually, like you did for your focus.
Shoot In RAW
Set your file format to raw, so it’s easier to correct exposure and color in post-processing. To fully understand the possibilities of shooting with a RAW file format, click here.
PHOTOGRAPHING THE SCENE
The next bit is taking the photographs. Once you’ve mounted your camera on the tripod, make sure the horizon is aligned correctly in your viewfinder.
A leveled horizon brings you a step closer to getting the perfect panorama
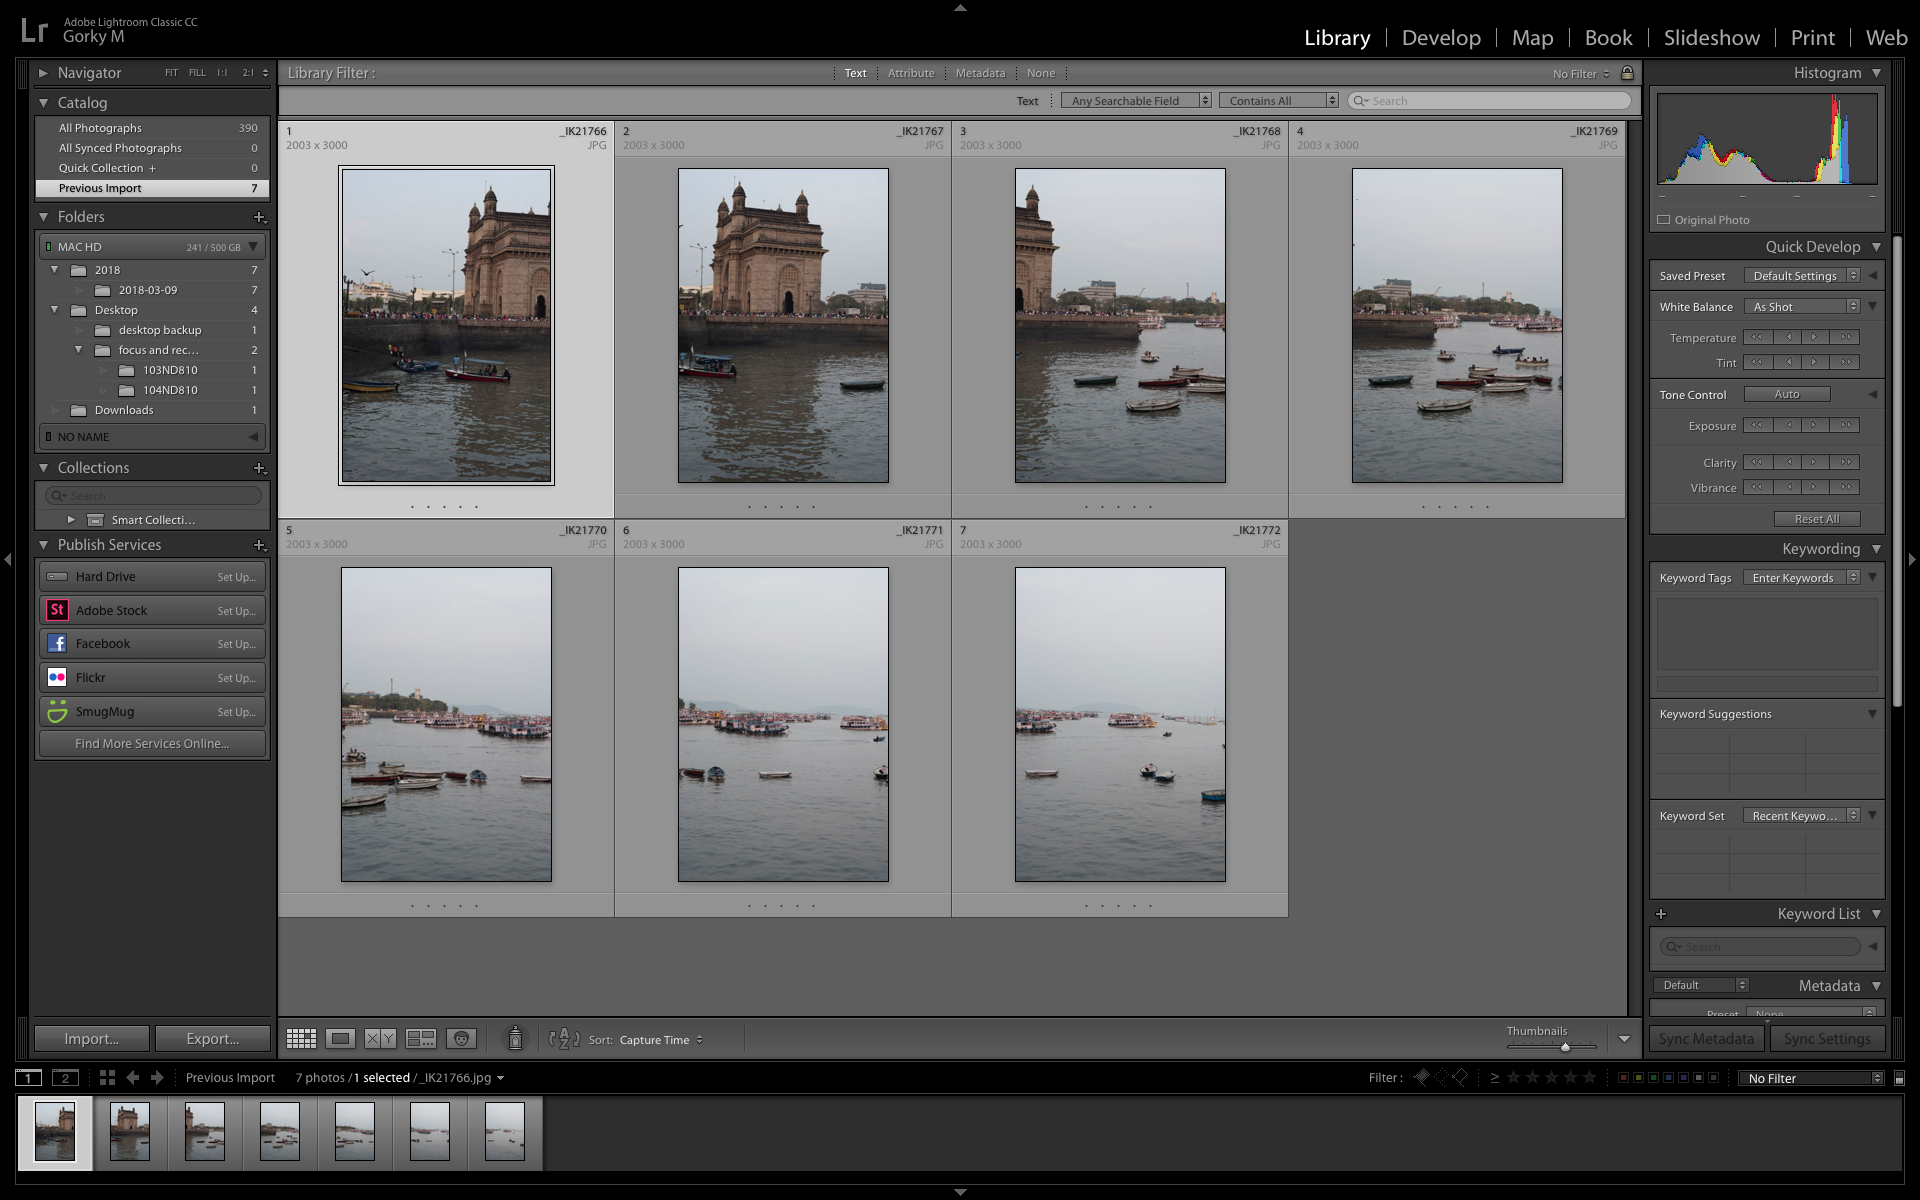
Simply pan the camera across the scene you want to photograph and click a few pictures. Make sure that each image overlaps the other by 30% to maintain focus across the entire picture, and to make your panorama look like one image.
Watch out for wind and moving objects when taking pictures. It can spoil the evenness of your panorama. Half of it will look like it’s moving while the other half might be still.
PROCESSING THE IMAGE
The second part of creating a panorama is the processing. There are tons of free software on the web for panoramic photography such as Hugin and Image composite editor, but we personally use Adobe Lightroom to stitch the images together.
One image has to overlap the other by at least 30% for maintaining focus and seamlessness
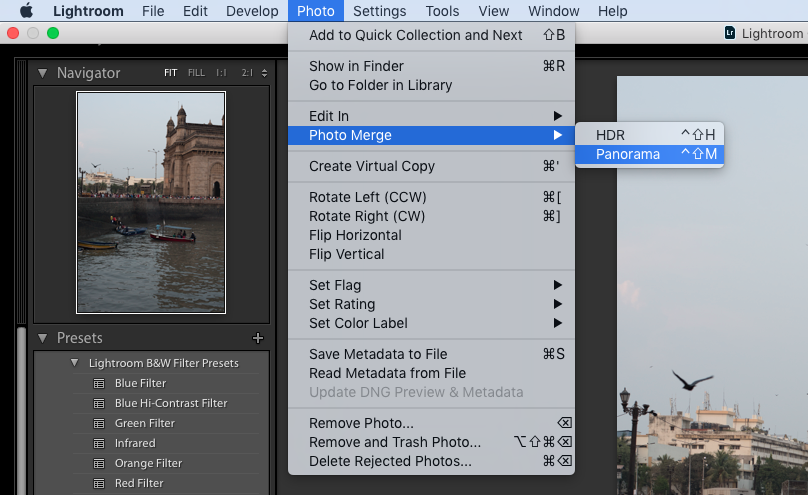
Open the images in Adobe Lightroom, then click on the ‘photo’ option and merge the images together.
You can straighten it a bit more, or crop it to your liking and that’s about it.
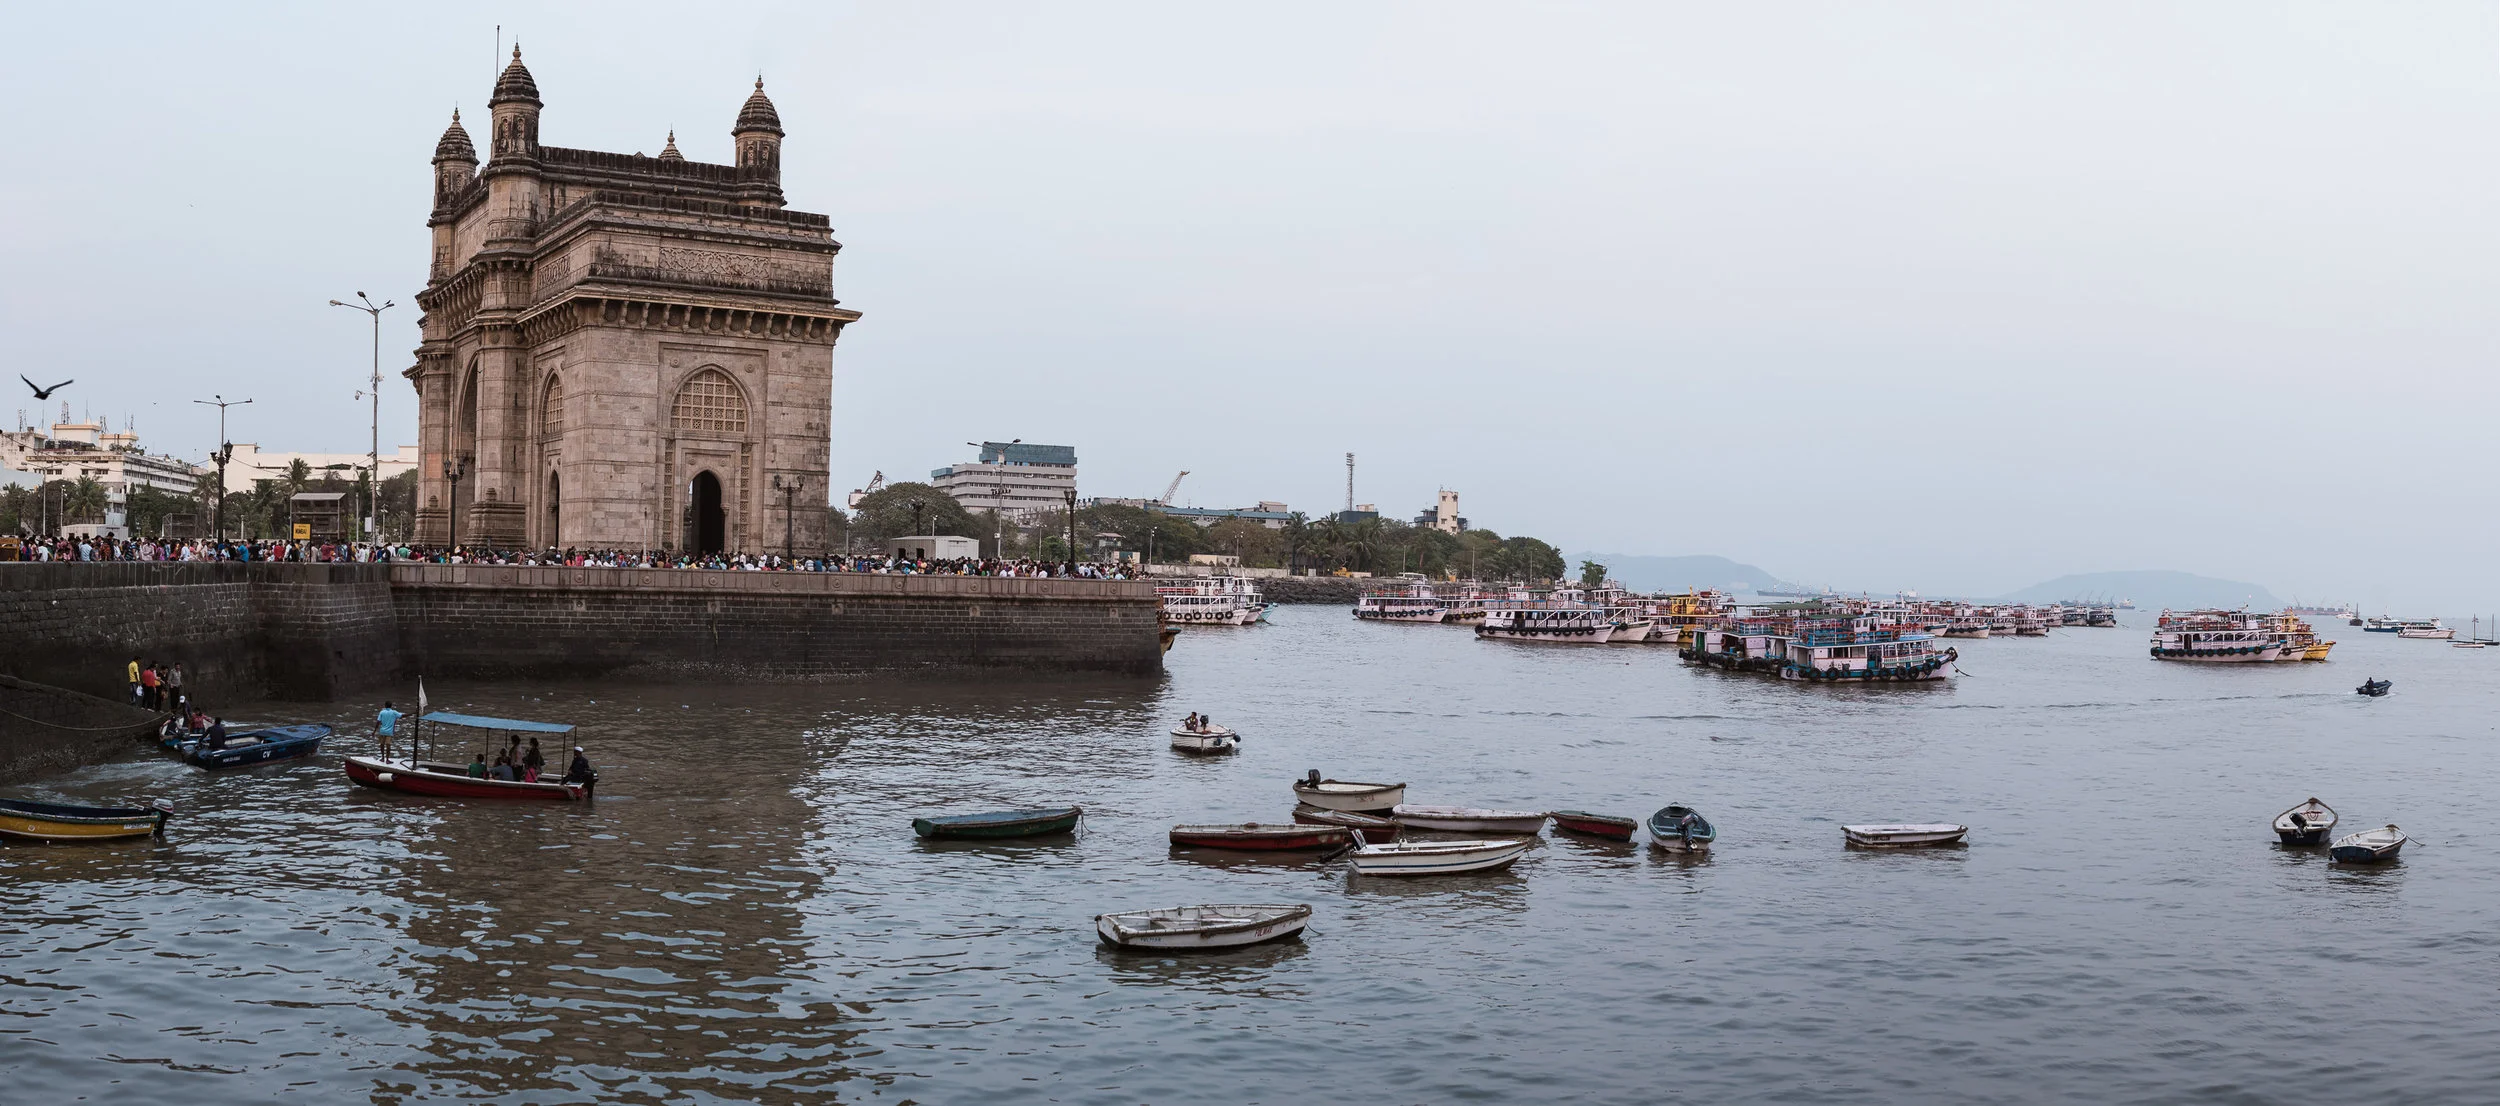
A panorama of the Gateway Of India
If you’d like an in-depth tutorial on how to create the perfect panorama, click on the video below.
Colour grading video in Lightroom
Colour grading is a slow and tedious process. With the huge amount of software at our disposal, we can go spend hours and hours trying out various options and looks with the video before we can decide what look to finally go with. As described in our post here, there are quite a few stages to colour correct your footage and get it to the final look that you want. But what if you want to do some quick colour grading and are short of time and don't want to jump through all the hoops? Or what if you just want to quickly see a number of options before you decide the final look of your video or film?
Enter Adobe Lightroom which is primarily a photo post-processing software but can come in very handy if you are in one of the situations described above and are looking at colour grading video in Lightroom. It is even better if you have one of your favourite looks saved as a "preset" in Lightroom. One click is all you need. Take a look at the video below to see how it is done and leave us a comment if you found this useful or have some questions.
http://youtu.be/ScLaTzbm_xk
Colour correction and colour grading in video
To give a professional look to your shot footage, some amount of colour (color for Americans) correction and colour grading is important. Though quite a few people use both the terms, colour correction and colour grading interchangeably - they are in fact, two different processes altogether. So what is the difference between colour correction and colour grading in video, film or photography?

Image 1: Footage as captured. Flat and raw. Notice the low contrast and saturation.
Colour correction is the process by which you ensure that all the shots in your film or video have the right white balance, contrast and tone in every scene so that there is no major visual jump in between shots and scenes and they look like a part of the same production and not different shots assembled from different sources. The final outcome of the colour correction process is to often make the shot footage look as natural or real as possible - more so because more and more people and cameras shoot in a "flat" picture style which might not look very pleasing to the eye. In one sense, colour correction is an essential part of preparing your footage for colour grading.
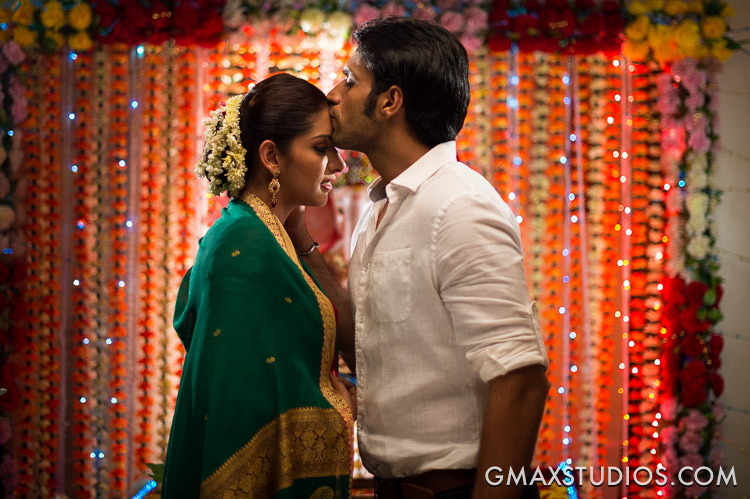
Image 2: Colour corrected footage. Nice punchy contrast and saturation.
Colour grading is applied after colour correction and is referred to the process of giving different colour tones and hues to your footage so that it creatively conveys the theme on which the film or video is based. It is largely a creative process where the creator of the piece decides that his film will look better with such a tonality. Colour grading is more about conveying a mood that suits the film and it involves manipulation of highlights, midtones and shadows to give the entire footage a different tone altogether.
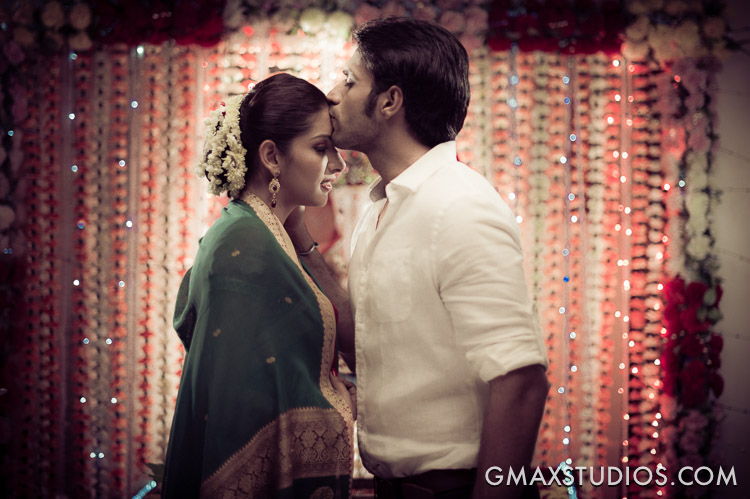
Image 3: Colour graded. Faded out the colours and diffused the highlights. Since this was a part of a scene where the protagonist is remembering his dead wife the grading helped give the footage a dreamy feel.
Correction before grading is a nice way to remember the difference between the two and while on the subject, take a look at out video below that is perhaps the easiest, quickest and cheapest way to colour correct and grade your footage. Take a look and leave a comment if you have further questions. Also, please subscribe to our YouTube Channel by clicking here.
http://youtu.be/ScLaTzbm_xk


