
Learn photography
The story behind GMax Studios.

Learn photography in an hour (Well... Almost!)
Sometime back I started, a YouTube channel for people who wanted to learn photography. The reason behind this was an extremely disappointing experience at a Nikon seminar. One of the top photographers in the country was a guest speaker there.
I am a NPS member and Nikon had been inviting me for a few of these regularly.
The guest speaker, of course, narrated his entire life story and experiences which were quite enthralling but then came the Question and Answers session.
The speaker just kept dodging all questions relating to his technique as if he was too afraid to give out his secrets. Now there were people of all age groups and all levels there who wanted to learn photography from this "master" but he was just not willing to answer the questions that mattered.
Now, I have done workshops with some of the best names in photography internationally like Joe Mcnally, Gregory Heisler and Joel Grimes and here is the thing about them - they are all so open with with what they know and go to great lengths to impart the knowledge they have.

I was quite angry about the secretive ways of the esteemed photographer. During the break, I walked over to one of the attendees and told him to look up learning photography lessons on the internet. He replied, "My English is not good!"
That is the exact moment I decided to start a YouTube channel which would help people learn photography. I also decided that it would be both in Hindi and English.
This was the beginning of GMAX STUDIOS.

learn photography
NOW WHAT? HOW DO I LEARN PHOTOGRAPHY IN AN HOUR?
So, over the years I have shot and uploaded photography tutorials to the YouTube channel. These will help you understand the basics of photography.
I have deliberately started at what I call Level Zero - which is photography for beginners. By beginners, I mean absolute beginners who have just bought their first camera. Over time, I hope, these will evolve to cater to advanced photography level as well. I also hope to cover videography and film making over time.
I sincerely believe that this is more than enough to get you started.I also believe that there is no need to spend money on expensive photography courses which teach you bugger all. Remember, it will not turn you into a photographer in an hour. For that, you have to practice what you have learnt and then practice some more. These tutorials are not camera brand specific (Nikon, Canon, Sony or Fuji) but broadly related to the basics of photography.
I have tried to organise my disorganised mind into giving some form of structured content. I have tried breaking it into sequential parts and named the videos Episode 1, Episode 2 etc.
If you are having trouble navigating the website, you can go to THE ULTIMATE BEGINNER'S GUIDE TO PHOTOGRAPHYwhere all the basics of photography are covered in a sequence, like you would expect from a book.
Here is the playlist from the YouTube channel if you are not interested in reading and watching photography tutorials is more of your thing. This playlist is about an hour long and hence the title of the post. So grab some coffee or wine and hit play.
We would also appreciate if you share this page or this playlist through social media with your photographer friends.
WHAT ABOUT HINDI PHOTOGRAPHY?
Despair not. I am trying to replicate all the articles on this website so that people interested in photography in Hindi can go there. The website for Hindi photography is: https://gmaxstudios.com/hindi-photography-lessons/ The website is both in phonetic Hindi and Devnagri script.
As with the English website, you can search for articles related to photography. You can read about learning photography in sequential form by going here.
If you are not keen to read you can watch the Hindi photography playlist on our YouTube channel here:
Please do share this playlist with your friends.

Subscribe to GMax Studios YouTube channel

Download GMax Studios apps for iPhone and Android

Now you can download GMax Studios apps for iPhone and Android.
While you have been looking to learn photography, we have been looking at ways to be in touch with all the wonderful photographers who are a part of our community and engaging with them while giving them easy access to our content.
So, we decided to launch apps for GMax Studios - both for the iPhone and Android operating systems.
With these apps, we hope that we can stay closely in touch as the apps will have the forum features, you will get notifications about important events like live chats, photo walks and workshops etc. The apps will also have content and articles exclusively available on the app.
GMAX STUDIOS APP FOR ANDROID
This app is for all Android phones like Samsung, HTC, Nexus etc. If you have a smartphone running Android OS you can download the app from the following link:
download link: http://gmxs.in/android
(null)(null)
GMAX STUDIOS APP FOR iPHONE
This of course is the app for the Iphone. You can click the link given below or click on the the screen shot.
Download link: http://gmxs.in/ios

We would really love it if you share this with all your friends and and family who are interested in photography.
Wildlife photography with wildlife photographer David Yarrow

Wildlife photography as art
For most people making a living off photography is a dream and quite a few people keep chasing their dream and shooting all kinds of photographs without relooking at the philosophy behind their photographs.
Yes. Learning photography is just not enough - there is a philosophy that needs to shine through the pictures and only then will there be a value to them. This applies to any kind of photography - wildlife photography, portrait photography, wedding photography or any other.

Learn photography wildlife photography with David Yarrow
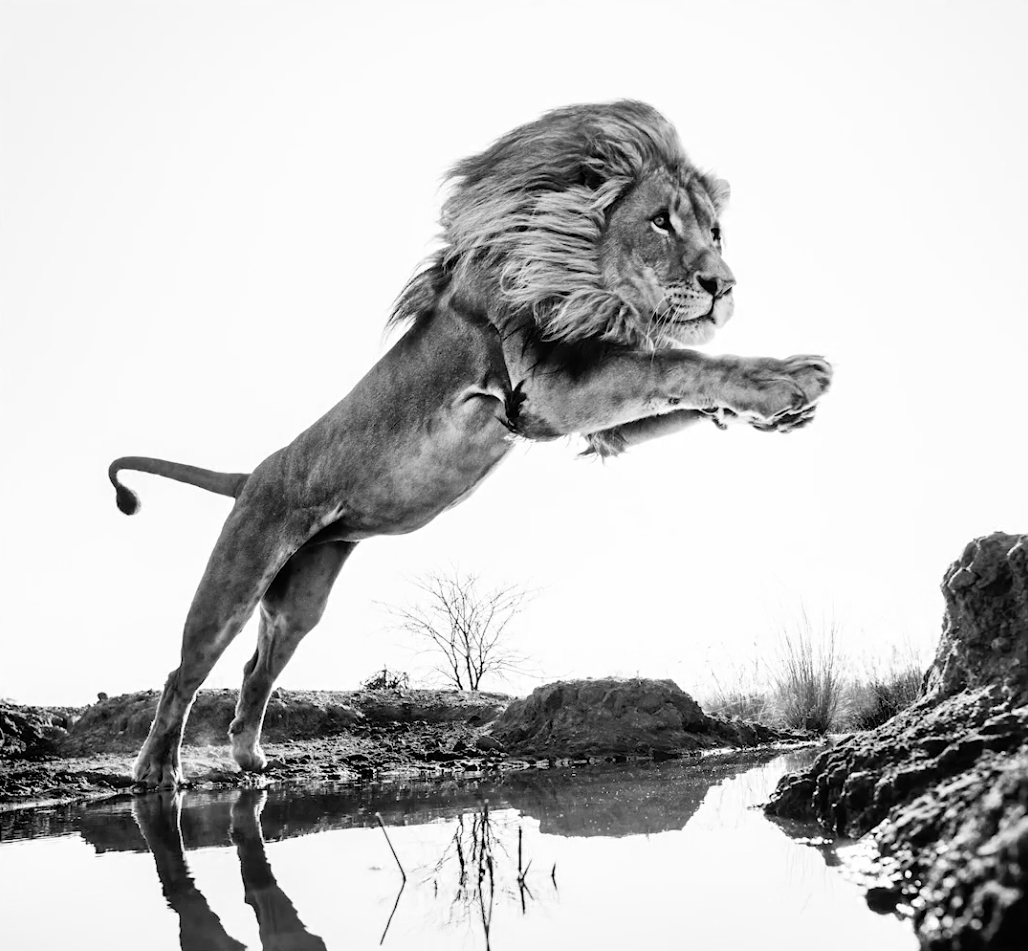
David Yarrow is a photographer whose photographs sell for as much as £ 14,000 (Source: The Daily Mail) How did he do this? By rethinking the way he took photographs! He thought of Robert Capa's quote "If your photographs aren't good enough, you are not close enough!" and changed his way of shooting. He says that if you are into wildlife photography and you are "looking down" on your subjects - then they are nothing but snapshots that you can show to your children.

Wildlife photography with GMax Studios
To turn his photographs into works of art that sell for astronomical amounts, he really gets up close and personal to his subjects. He takes photographs by placing his cameras really close and triggers them via remote.
Wildlife photography interview with wildlife photographer David Yarrow
In this interview given to YouPic, he talks about all this and much more that defines his photography. GMax Studios is proud to be associated with YouPic in bringing you this interview with David Yarrow. Watch it to truly get inspired. We guarantee it will inspire you - no matter what kind of photography you do.
Subscribe to GMax Studios YouTube channel
TRANSCRIPT OF THE VIDEO
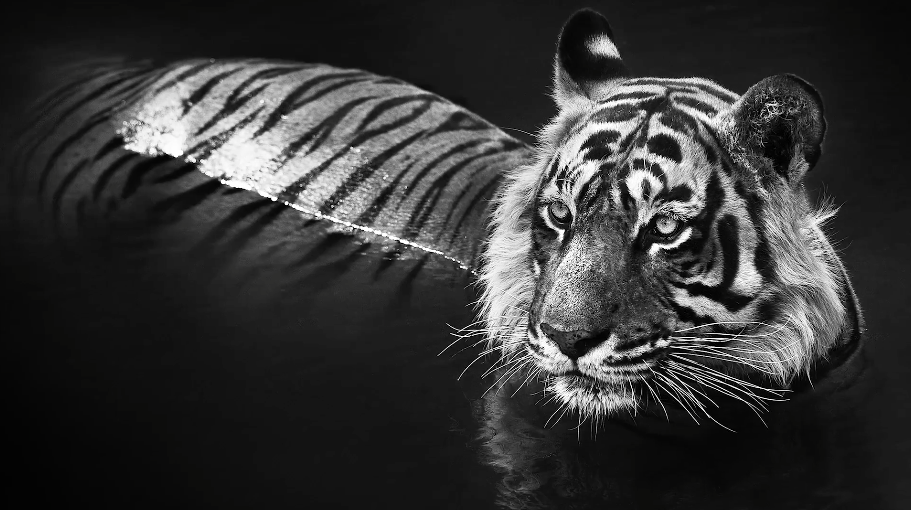
[SOUND] [MUSIC] We bring together for you, the best photographers in the world. [MUSIC] >> Andy Warhol said, my favorite color is white and my favorite color is black. So use the whites, use the blacks, don't have fifty shades of grey. We'll have that as well, but use the blacks and use the whites.
[MUSIC] I got fascinated in sharks because I felt that sharks hadn't been photographed well. After about 30 hours dedicated in the water to this, I got the big shot of the shark and a seal. And I still think it's the strongest picture of shark predation that I know, and it's pin-sharp.
[MUSIC] And then someone said to me, do you see that picture in the Daily Telegraph, can I get a big one for my office? Because I want anyone that comes into my office to be very scared of me, and the best way of doing that is to have a big shark eating something behind my desk.
And he said, how much would it cost? I said, I don't know, but we'll put in a nice frame may be for 5,000 Pounds. And he said, okay, I'll have two. And that was when the penny dropped that the way to make money from my kind of photography was in fine art. Producing limited edition fine art prints that were aesthetically strong enough, or evocative enough that people would put them on their wall.
[MUSIC] I think the mistake a lot of photographers, wildlife photographers make is that they go on a trip without any specific idea of what kind of African animal they're gonna be shooting. And for me you go, you choose the animal, and then you know where you're gonna go to photograph the animal.
And by far and away, the best place in the world to photograph elephants is Amboseli. Wildlife photographers, many of them use telephotos far too much. If you're gonna be photographing a beautiful woman, you're never gonna shoot her with a 400 millimeter lens or even a 200 or a 300.
You'd shoot her with a standard lens or a wide angle, and it should be the same with animals. It's then just the logistical issues, how you get yourself in a position to do that whilst remaining safe. [MUSIC] The great beauty of elephants is there's no animal where their predicted path can be determined with greater clarity and assurance than an elephant, they tend to walk in straight lines.
So if you see a herd walking across a dry lake, you get 200 yards ahead of them, and you know probably where they're gonna, within a yard, where they're gonna come. You got the peak of Kilimanjaro peaking out over the top of the clouds, and the light's getting better every five minutes, these are probably not bad circumstances.
You can see the big guy with that big tusk over there on the left, sadly that's about 8 grand in the local market, and that's 60 grand in China. You put the remote down, and you prefocus and then you get the hell out of there, so that they're in no way detoured by you. And they probably don't see the camera until they're about a foot and a half away from it, which is perfect because that's what you want.
So you want proximity and a ground level perspective. Okay, so I'm gonna get out of the car, I'm gonna set up the remote. [MUSIC] I walked into a little bit of elephant manure. Okay, let's get out of here. [MUSIC] Okay, let's go and grab it. [NOISE] There's nothing I wanna do less than photograph with blue sky and sunshine.
I want moody, almost sort of impending doom in the skies, and you get that in Amboseli in October. It's the best canvas on which to paint with light, and take pictures of anywhere in the world I think. [MUSIC] The behavior of elephants has changed because of cattle. Because the Maasai brought their cattle in, in big numbers into the park, and that's resulted in more humans and more lions.
So the elephants don't behave in the way that they used to, and lake crossings are rarer. [MUSIC] I position scouts on the hills overlooking Amboseli dry lake, and as soon as they see the beginnings of a herd crossing the lake, we'll find out. And on this occasion it was the middle of the day, which doesn't tend to suit my style because the sun's too high, but gratifyingly there was quite a lot of cloud cover, and it was a big herd, it was 25 elephants, and I didn't even have my photographic clothing on.
I was just hanging around in swimming trunks and loafers, but we charged there to the lake, and must have been going goodness knows what speed. And this series is about 15 minutes, but there was one lovely moment where I was lying on the ground, and the elephants were about 60 yards away from me, and they just didn't know whether to go left or right of me.
They don't tend to charge there because there is no vegetation, so they're not surprised, they know the human is there. The time you gotta be careful of an elephant is when you surprise it, but in Amboseli you're quite safe, relatively. And they just huddled together, and I knew as soon as when I pressed the trigger, I thought this composition is coming together rather nicely.
And then when I got back, I knew I'd got a very big image. [SOUND] My approach is two-fold. Firstly, that you have to be close, and borrowing from Robert Capa, if the pictures, if they're not good enough, you're not close enough. Ansel Adams also said that the lens looks both ways.
It's truer and truer as the lens gets shorter and shorter. I don't think the lens necessarily looks both ways with a 400, it's more likely to look both ways with a 50 or a 35, just staring right back into your soul. I think also if you're photographing a dangerous animal, if your line of sight is higher than the eyes of the animal, that immediately hints at an artificial encounter.
It hints at the fact that you're higher than the animal. No more so than Polar bears, and I've wasted so much time photographing Polar bears. Because normally if a Polar bear comes up to a boat, and you photograph it from the deck looking down at the Polar bear looking up at you, that's just pulp.
There's nothing interesting in that photograph, other than for it to show your kids when you get home. So we did a lot of research as to the best place in the world to photograph Polar bears, and for me to get close and be safe. And we found a place where for about a week, there's very strange behavior in that the Polar bears seem to be in collaboration with the humans because the Inuits are whaling, and they bring whales in.
And the bears now know that the humans are their friends because they can feed off the whale carcasses, and for about two weeks you can get very close to the Polar bears. And there's one picture I've got which was printed in the Telegraph recently and sells very well, where I actually managed to take a selfie of myself in the Polar bear's eyes because I was a foot and a half away.
And I had an Inuit fisherman behind me saying, I think you're okay with this one, and it was almost the ultimate example of putting trust in someone else because the Polar bear was two feet from my lens. [MUSIC] I think with lions, again I want to photograph lions from the ground up.
But a remote control is very much the way that I like to photograph dangerous animals, I can't really see any other way to do it. You gotta be a bit careful because the cameras can be eaten. Or Nikon are fed up with me because whenever I bring it back, a damaged camera, normally you've got all these boxes to tick like dropped it, or it fell in the water, and I have to fill in new things like kicked by elephant.
[NOISE] Or eaten by a lion. So they find it quite, [LAUGH] Whenever I go down to see them in Richmond they go, which box are you gonna tick this time? But they quite enjoy it because I guess it's a different experience for them trying to mend a lion-eaten D4S, or whatever. The key to strong photography of the kind that I do, not doing a fashion shoot for Vogue, is access.
It is about putting in the spade-work logistically and research-wise to find yourself in the right position at the right time, to then use that conduit, and use your heart and your brain and your eye. But those things are all secondary to getting yourself in that position, whether it be with an individual, whether it be with a dangerous animal, whether it be in a scene.
And so I think the actual art of pressing the trigger is maybe 5% of the job, 95% of the job is finding yourself in the position where you want to then go and take the trigger. I'm just trying to get the silhouettes with the dust flying up, which is quite scary. [SOUND] Nearly, bloody nearly.
Not quite, I think nearly. And I also admire photographers who understand that if they come back from a trip with 200 good photographs, that's too many. I think plurality is the bane of many photographers. I think I've taken this year, this year, I think maybe 4 good pictures, and maybe 2 really, really strong pictures that will stand the test of time.
So that's 6, 6 in 12 months. I know people will look and say, [LAUGH] Well, that's not very good. [LAUGH] But the whole point is that's what you're looking to do. If it was that easy, then how on earth could you be selling a picture for a huge sum of money, if you can just leave Heathrow on Monday, and take a picture on Tuesday? You can't.
[MUSIC] [SOUND] Be inspired, be better, be great. [BLANK_AUDIO] [SOUND].

Photography Inspiration | The Decisive Moment Part 1
Getting the decisive moment is just a matter of practice.
The biggest difference between a learner and a photographer is - practice. Practice not just of the techniques of photography but also of the controls of your camera and most importantly - your eye. Learning to recognise "The Decisive Moment" is what separates the photographer from the learner. The more you practice, the better you get at it.
Henri Cartier-Bresson once said, "There is a creative fraction of a second when you are taking a picture. Your eye must see a composition or an expression that life itself offers you, and you must know with intuition when to click the camera. That is the moment the photographer is creative," he said. "Oops! The Moment! Once you miss it, it is gone forever."
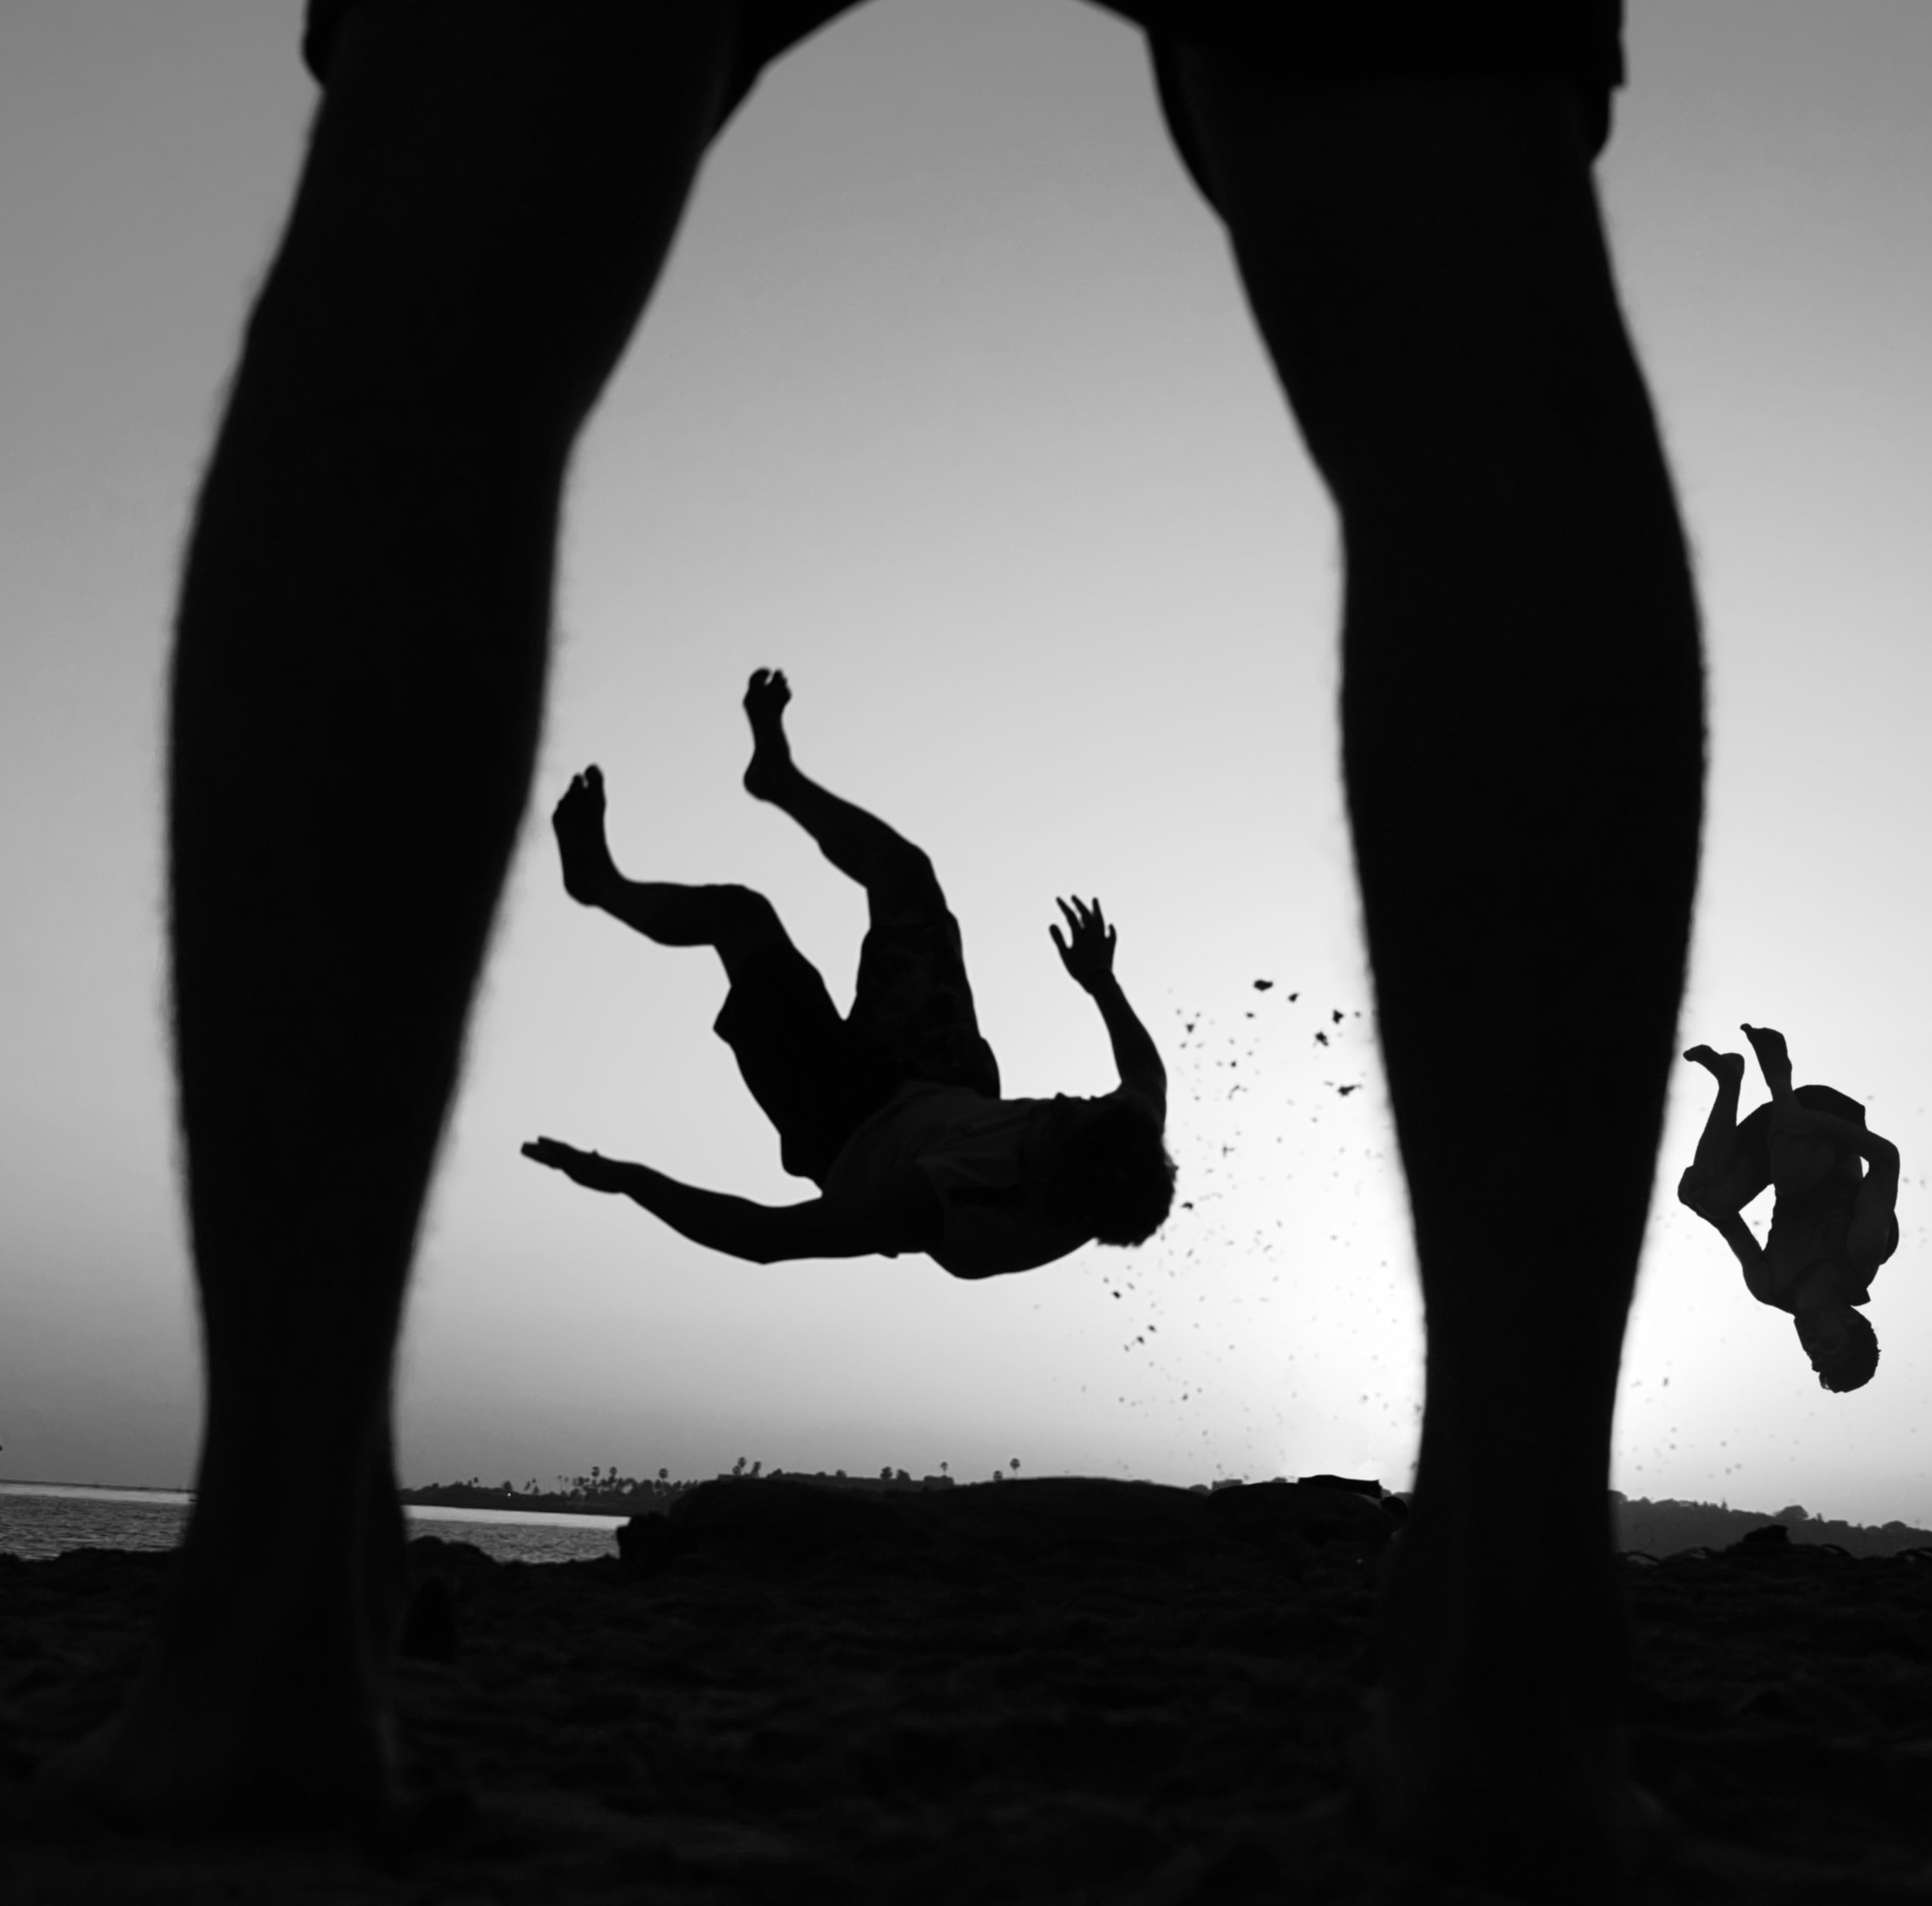
The Decisive Moment

So, I saw this scene unfolding while waiting beside my car on the highway. A man sprinkling water, another man arriving with his bicycle and some light traffic on the highway. I could sense something potentially unfolding here. I had my Sony A7RII and Carl Zeiss 35mm 1.4 lens around my neck (like I mostly do!) and started to compose an image in my head. As you will notice from the shadows, the sun was behind the water and as I have said earlier, you need smoke and water to be lit from behind to be illuminated properly. This shot was going to be perfect!

I moved towards him, focusing when he sprayed the water first. He was not as enthusiastic as I wanted him to be and the spray of water looked kind of weak. I had also managed to cut off his feet and there were two strange looking objects (people) just behind his head. Also there was this motorbike right above his forearms. Clutter!!!
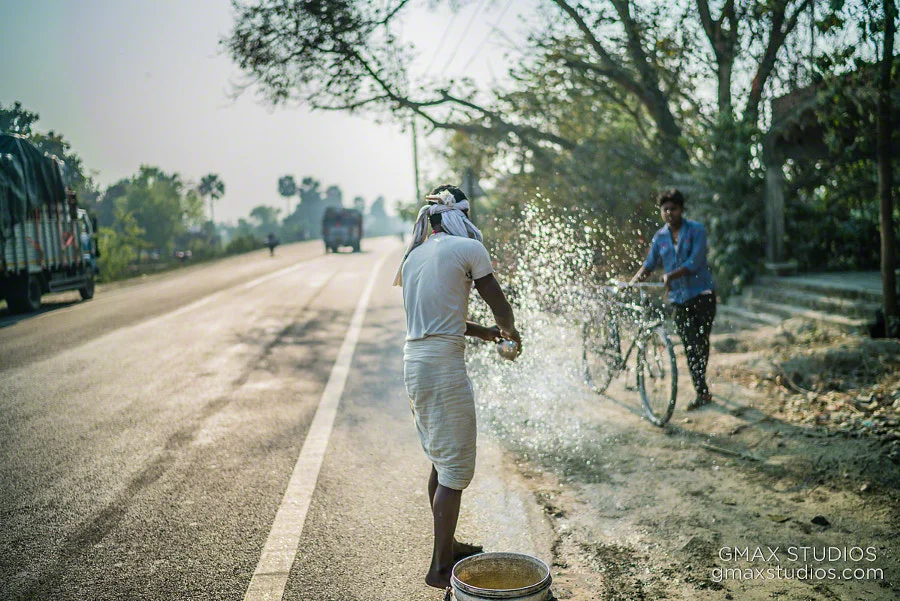
I took a couple of steps back and to my right to hide the motorbike and the people above his shoulder. His feet were all in frame and little bit of the bucket too - to give it context. Almost there!!! But the guy with the bicycle started to move away and the truck was coming fast towards me and I wanted it in the frame Panic!!!

I shot the frame above just as the truck was about to exit the frame. I think I was concentrating too much on the water and the truck and forgot to recheck the edges of the frame - which is very, very important! I managed to cut off his feet again. The man finished what he was doing, he picked up the now empty bucket and left. The Decisive Moment had passed - and I screwed it up.
The time taken between all the four shots - 22 seconds.
You will never get all the shots that you see. When you learn photography, failure is equally important. Learning to recognise failure is much more important. Once you do that, it is all about getting that rate of failure down. If you learn from your failures, that rate will go down pretty fast!
I would not recommend sharing your failures too much with the world - like I just did! :-)
Please share this article with your friends if you liked it.
Subscribe to GMax Studios YouTube channel


Mastering metering modes on Canon and Nikon
What are metering modes?
To get a proper exposure and to avoid underexposing or overexposing your photograph, the camera meters the amount of light hitting your subject and makes a quick calculation based on it to tell you the reading of a certain scene. It is pretty much like how we see with our eyes. The light hitting the subject is reflected into the lens and the camera makes a judgement based on it to tell us our exposure value. To evaluate this, the cameras usually have three or four metering modes built into them.
How is light measured?
The amount of light falling on the subject is called incident light and the light bouncing back off, after hitting the subject is called reflected light.

Reflected and Incident Light
Traditionally, light meters like the one shown below are used to measure the amount of light falling on a subject. So technically, they are often referred to as Incident Light Meters. Though some of them also have the capability of measuring reflected light.

Incident Light meter
Cameras on the other hand measure reflected light - the light bouncing off the subject and entering the lens.

What is Incident and Reflected Light
The problem with metering reflected light is that not all colours reflect back the same amount of light - though the amount of light falling on them might be the same.
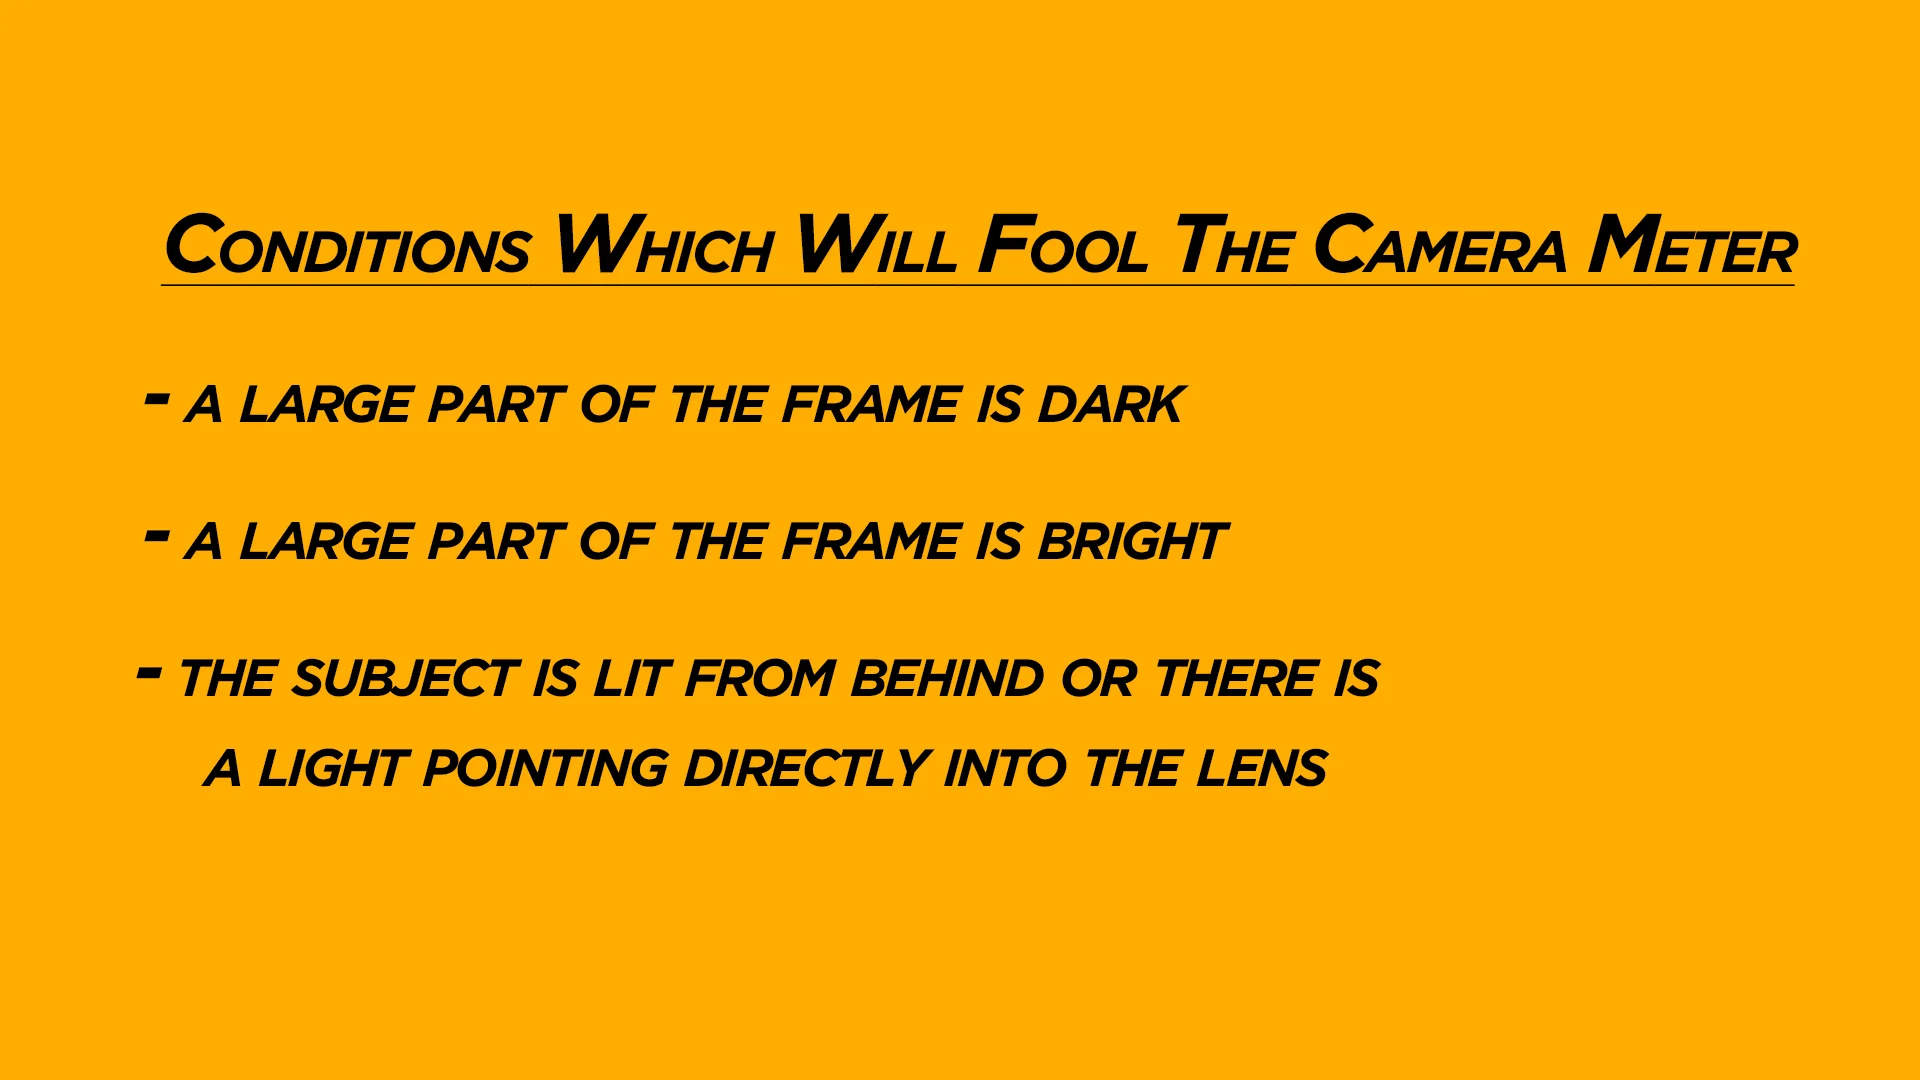
It is for this reason that most cameras have more than one metering mode. Though the camera meters are calibrated to compensate for reading reflected light, they are also calibrated to done one more thing, if they are left to their own - expose everything properly. Your camera will likely get fooled under these three conditions
Strong whites
Strong blacks
Backlight
What are the different metering modes?
Usually, every camera has three metering modes, whether it is a Canon, Nikon, Fuji or Sony. They just call it by different names to confuse us.

Mastering metering modes on Canon and Nikon Sony and Fuji
Matrix metering, Evaluative or Multi metering mode
As you can see from the chart below, different camera companies refer to this metering mode by different names. It is an extremely complex and advanced metering mode and is accurate 90% of the time.

Nikon Matrix Canon Evaluative metering
In this mode, the camera analyses the entire frame and then, based on very complex algorithms and calculations gives you what it thinks is the perfect exposure for that scene. The algorithms and calculations used by each company are different and are top secret because this is the metering mode that 90% of the camera users use 90% of the time. In other words, this metering mode actually decides the reputation of a camera in the minds of the common user. To give you an example, Nikon describes the Matrix Metering mode as follows:
Matrix metering evaluates multiple segments of a scene to determine the best exposure by essentially splitting the scene into sections, evaluating either 420-segments or 1,005 segments, depending on the Nikon D-SLR in use.
The 3D Color Matrix Meter II takes into account the scene's contrast and brightness, the subject's distance (via a D- or G-type NIKKOR lens), the color of the subject within the scene and RGB color values in every section of the scene. 3D Color Matrix Metering II also uses special exposure-evaluation algorithms, optimized for digital imaging, that detect highlight areas. The meter then accesses a database of over 30,000 actual images to determine the best exposure for the scene. Once the camera receives the scene data, its powerful microcomputer and the database work together to provide the finest automatic exposure control available.
30,000 images! Imagine that! I suspect that the other camera makers have similar complex technology working in their cameras as well - they just haven't shared it with me yet!
The image below shows a camera in Matrix, Evaluative or Multi metering mode where the yellow overlay represents the entire frame being covered and analysed.
Metering viewfinder matrix Nikon Canon Evaluative Sony Fuji
Centre weighted metering mode
In this metering mode, only the centre reading is taken as depicted by the yellow overlay in the photograph below. In some cameras, you can control the size of the centre which gives you more control over your photographs.

Metering viewfinder Centre
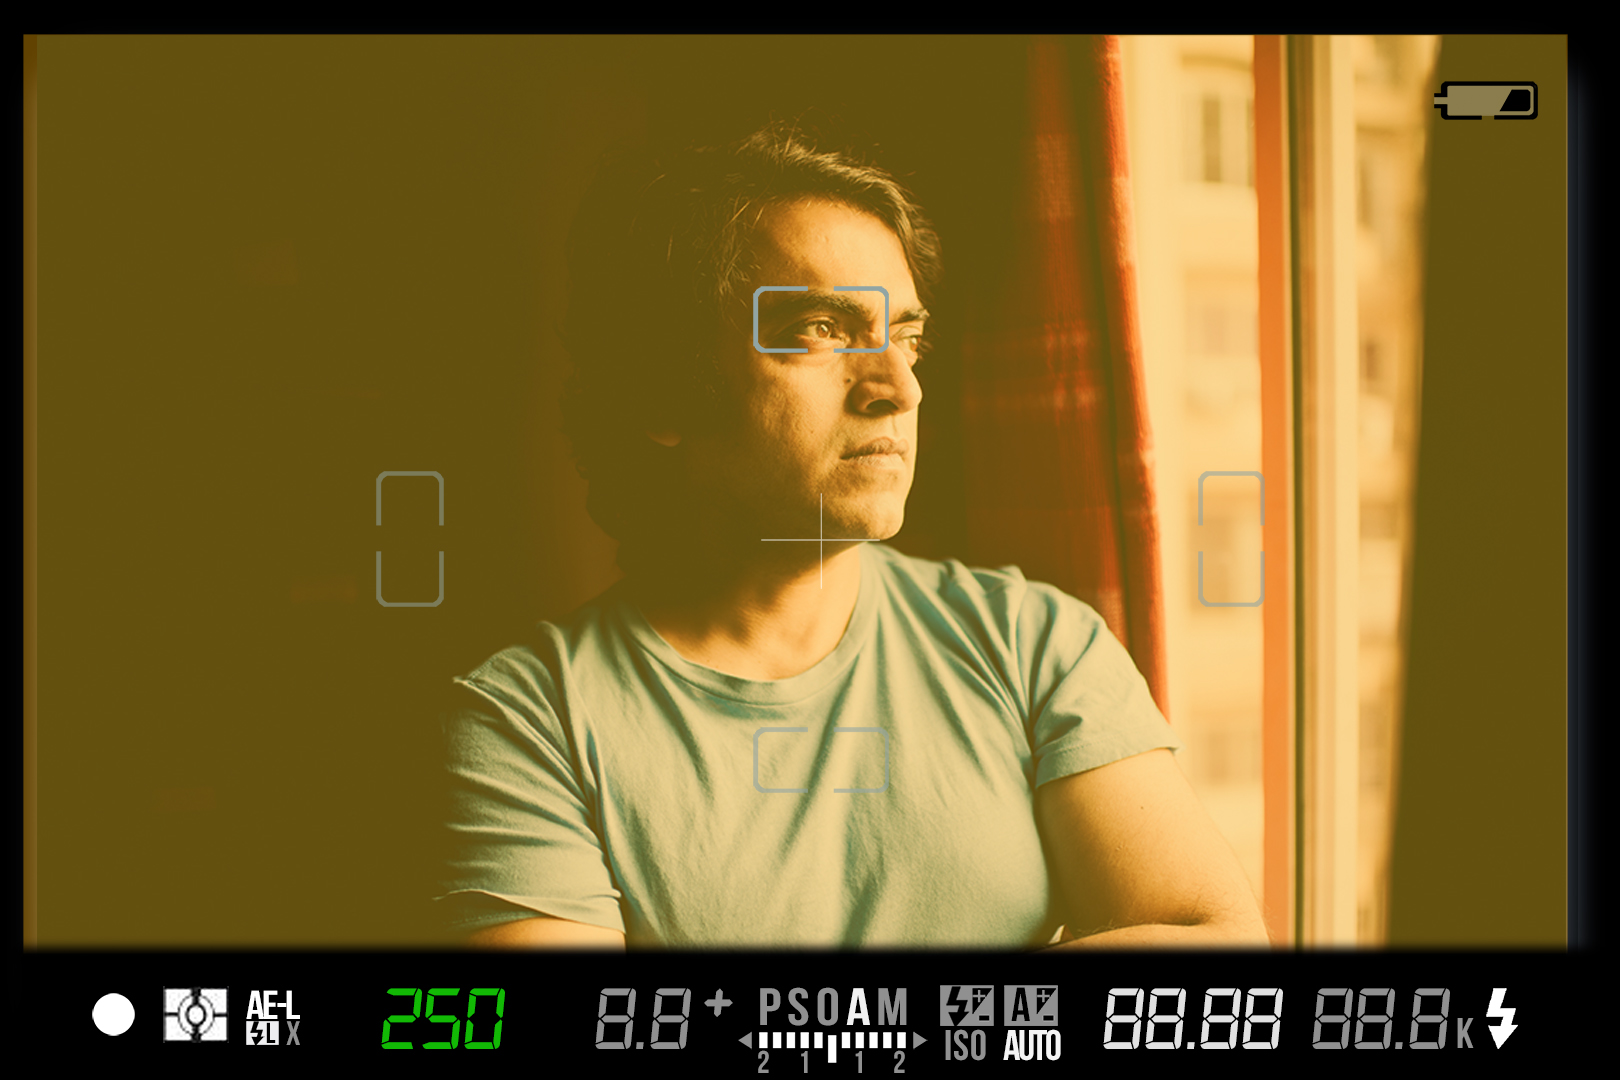
Spot metering mode
In this mode, the camera takes the reading only from the spot that you have selected and practically ignores the rest of the frame. Spot metering mode is an extremely precise mode and it can give some fantastic results under some conditions.

Spot metering
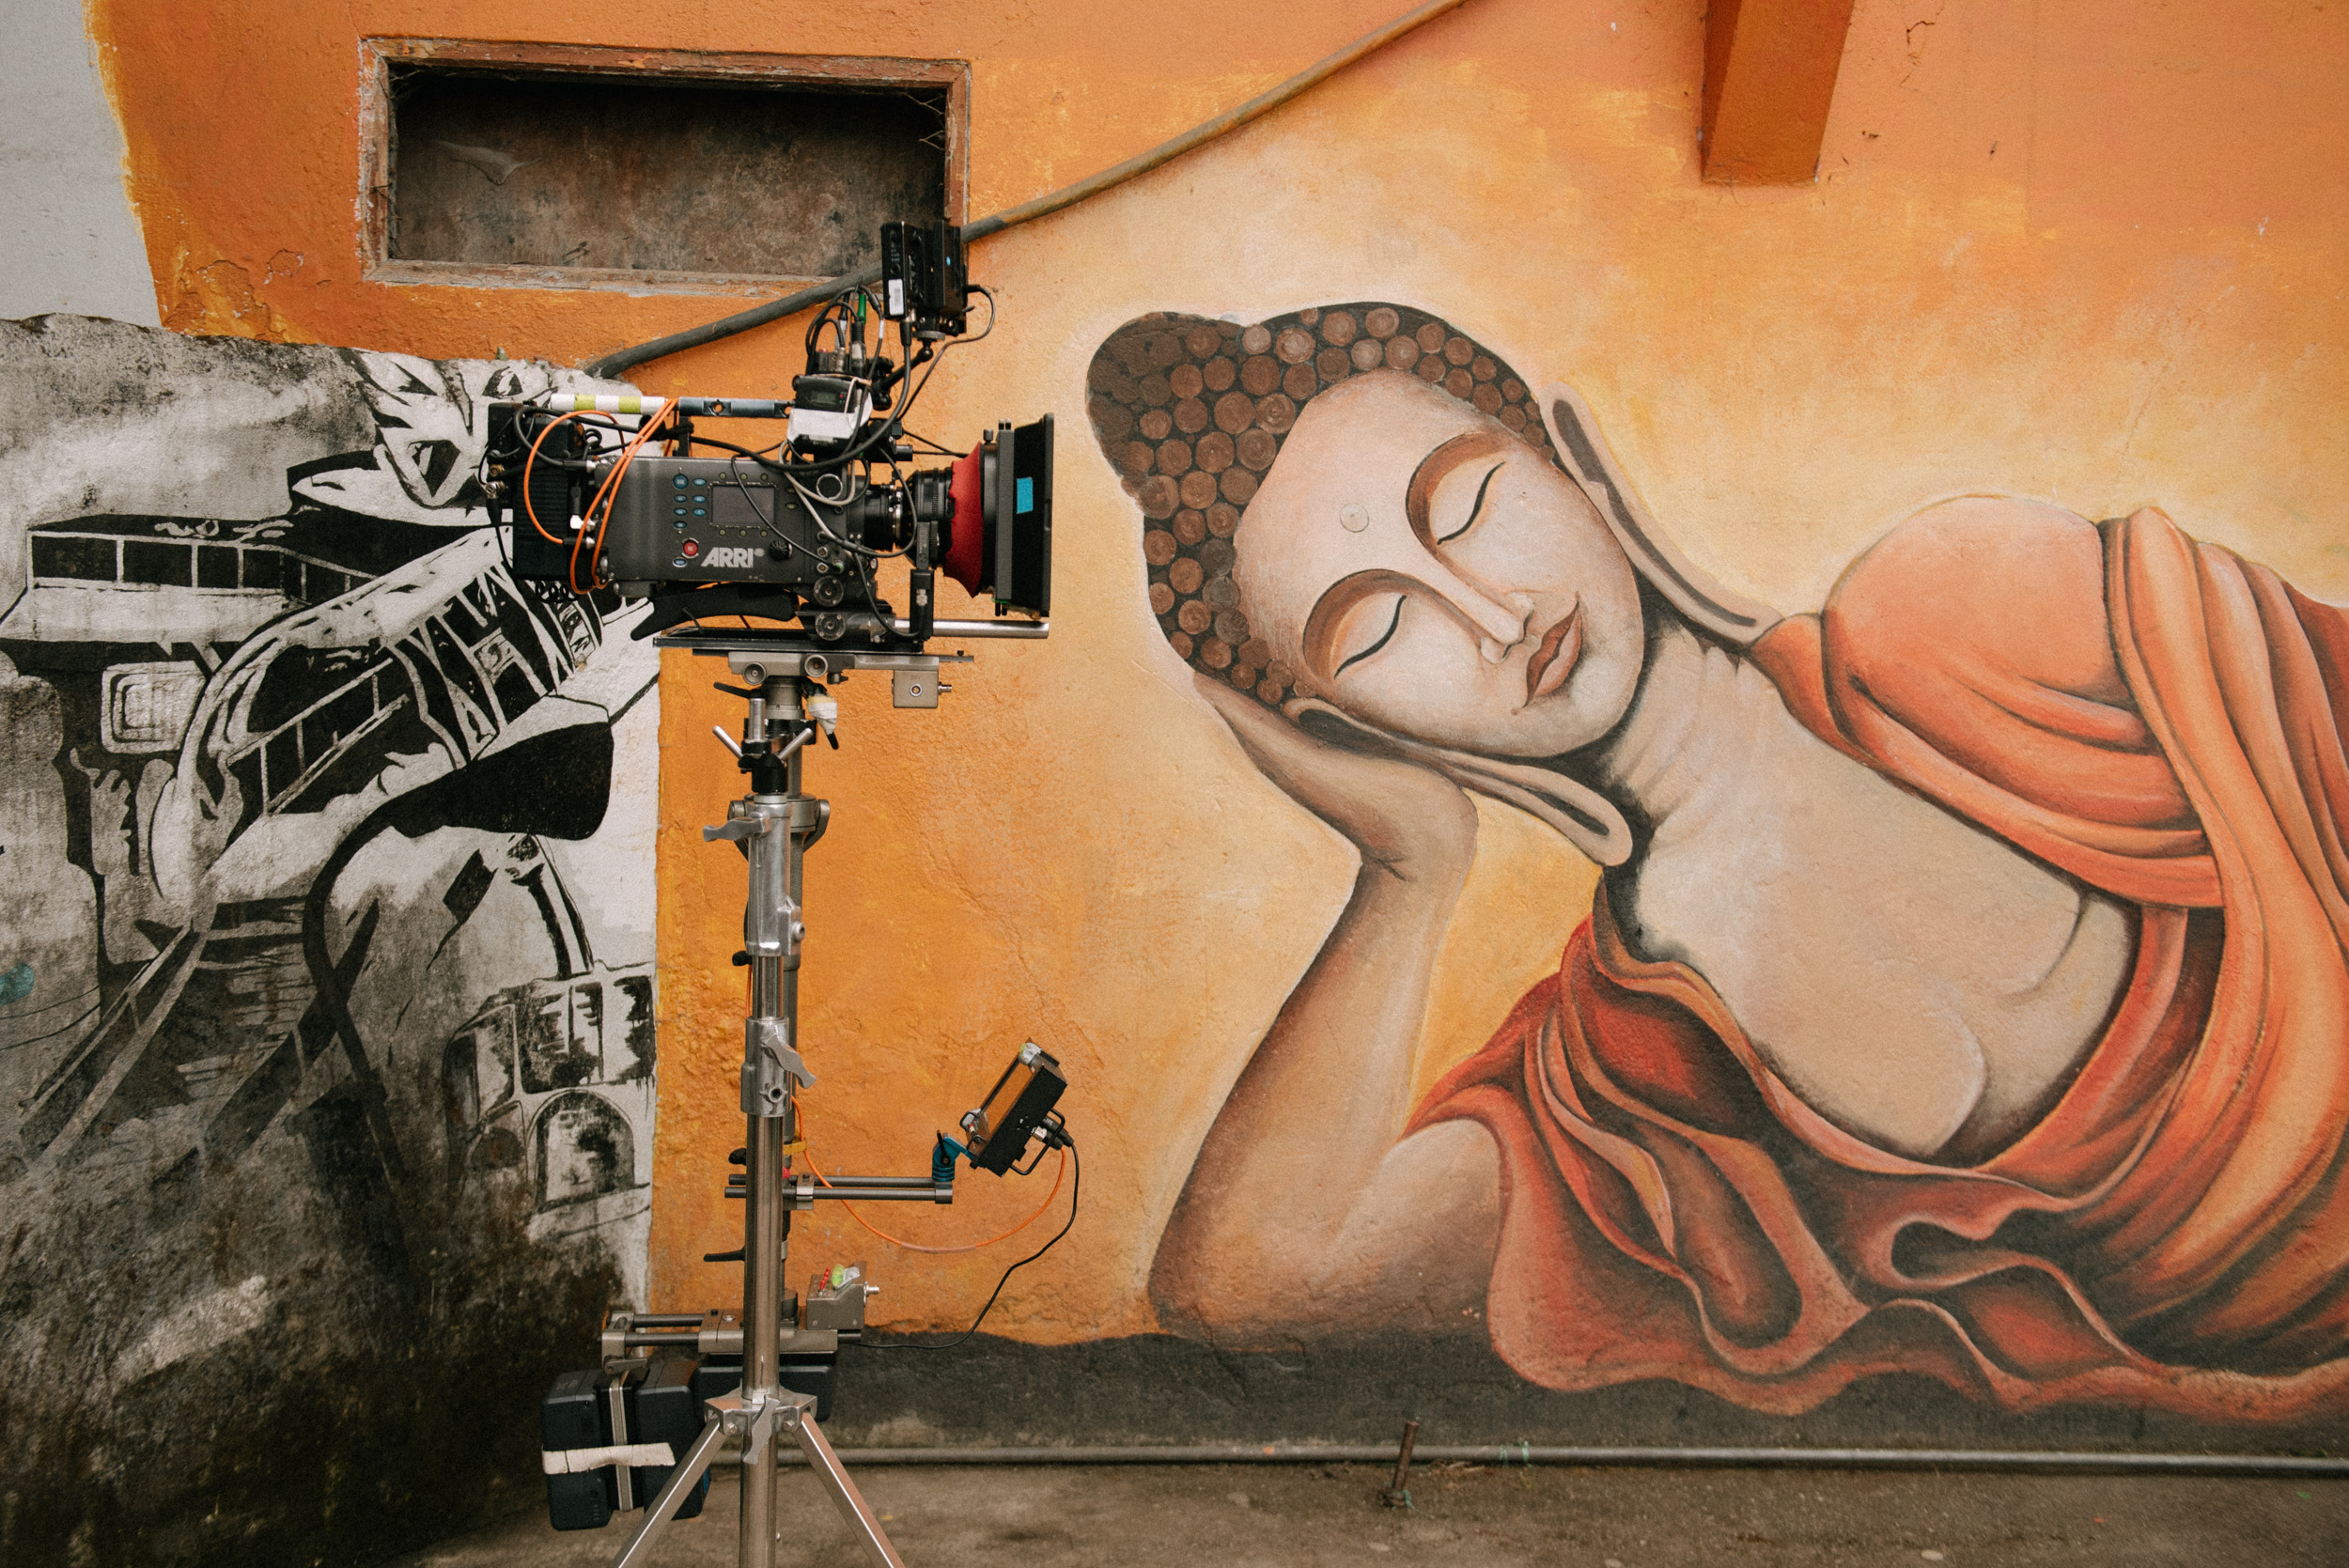
For example, in the photograph above, I was only worried about exposing the face of the actor correctly because it was meant to be a dark mysterious scene. So I switched the metering mode to spot metering. (Click on the file to be taken to the larger version or click here)
In addition to this, some cameras might have a partial evaluative or some other nonsensical metering mode which I don't bother with and I suggest you don't either. The reason I say this is, the more you stick to the basics of photography and master them and rely less on proprietary technology, the better photographer you will be. In addition to this to this, you will also be able to switch camera models, makes and brands at the drop of a hat. This eventually leads to great freedom - if as a photographer, you can be free of model or brands. You should definitely aim for that.
In conclusion, the right metering mode can help you translate the photograph that you have in your mind into reality. I recommend starting with the Matrix metering mode on the Nikon or the Evaluative mode on the can Canon and then slowly start experimenting with other modes to see which one you prefer under what circumstance.
To learn photography, we recommend you read The Ultimate Beginner's Guide to Photography
Watch the video on metering modes below to understand more about metering modes and please share this article with your friends if you liked it.
Subscribe to GMax Studios YouTube channel
Please subscribe to our YouTube channel to watch more videos like this by clicking the banner above. You can also register and join our forum to share photographs, ask questions or seek advice or critique from us or other fellow photographers.

