
How to set custom white balance on Canon cameras
What is custom white balance?
Please read: What is white balance if you need to understand the concept of white balance in detail.
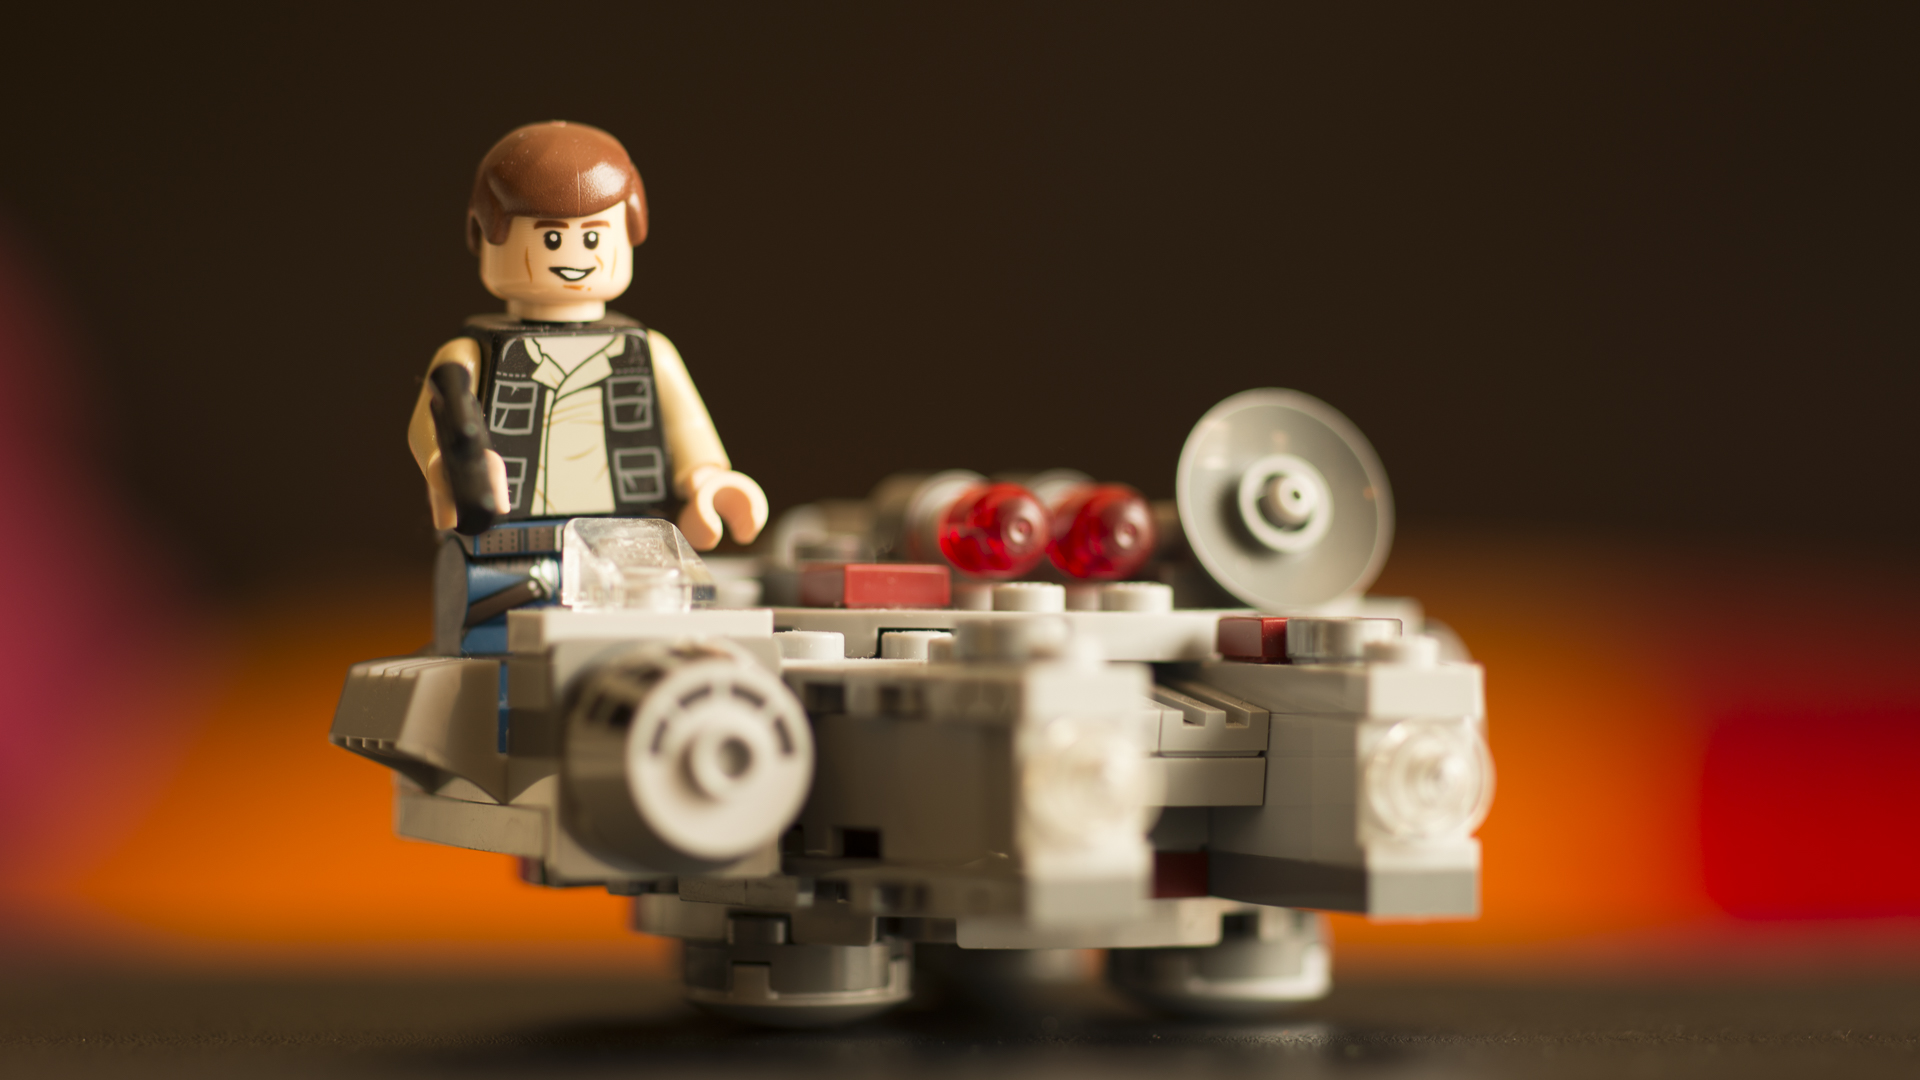
In this article, we will see how to set custom white balance on Canon cameras. If you need to see how to white balance Nikon cameras, please click here. balance Every camera has various settings to shoot photographs under different kinds of lighting conditions. If this was not the case, the colour of the light falling on the subject would influence the colour tones of the subject. You might have noticed a warm tone to some of your photographs like the one below.
Sometimes there appears to be a bluish or cold tone to the photographs that you take - like the one below. These two differences (warm and cold)are most evident when you shoot photographs indoors under lights of the bulbs or in the evening.

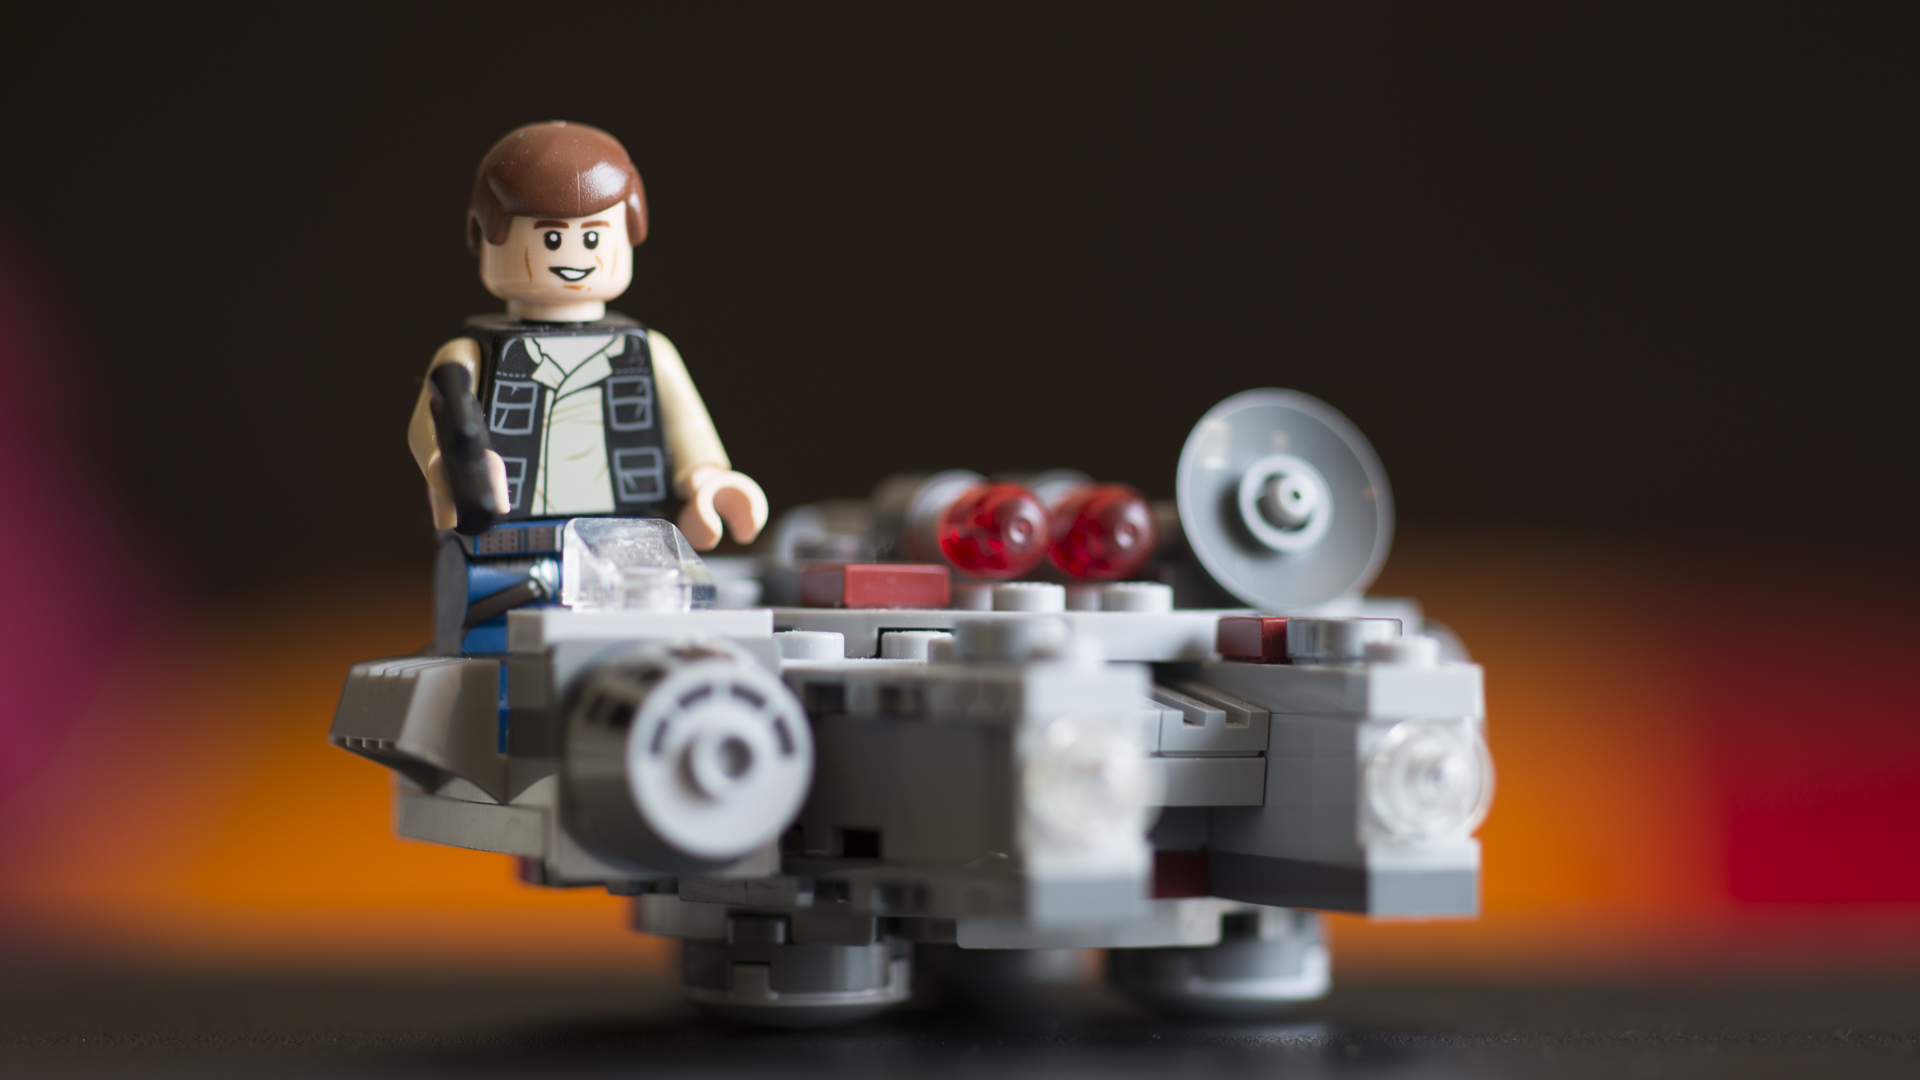
The bulb casts its's warm light on the subject making it warm and the evening light renders a blue tone on the subject due to its "cool" nature. In order to get absolutely neutral or true colours under any lighting situation we have to set custom white balance so everything appears neutral - neither warm, nor cool like the photograph shown below.
How to set custom white balance on Canon cameras?
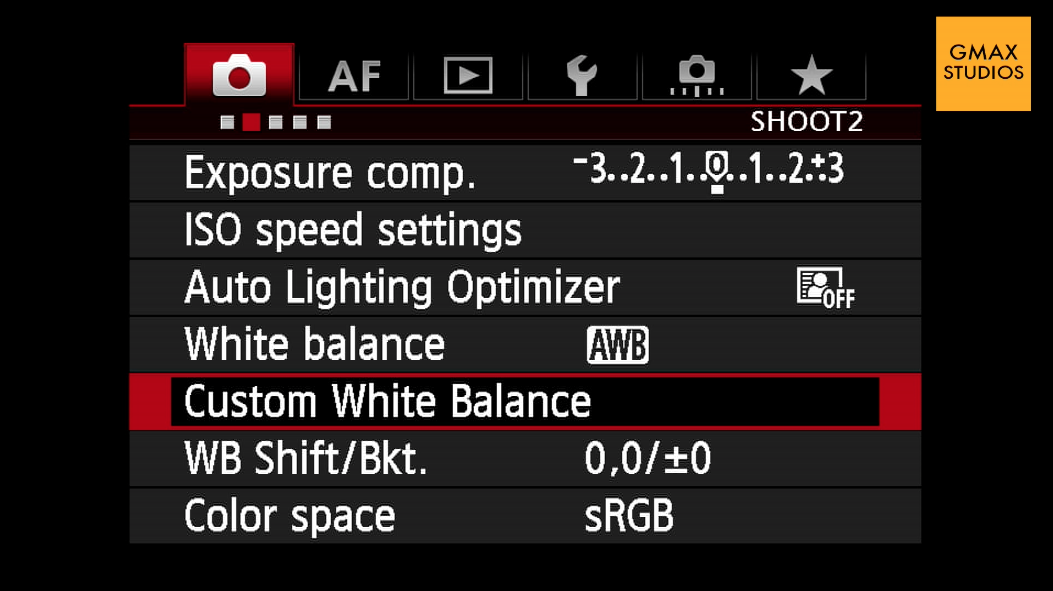
When you set custom white balance on your camera, it means that you tell the camera what is white and the camera makes adjustments accordingly to all the colours, making them appear neutral - without any tone or cast. This is done by showing the camera a simple white sheet of paper under the same lighting conditions that you are taking your photograph and then you take a photograph of the white paper. The white paper should fill the frame fully. You then go to the menu and choose the custom white balance setting and press ok. The camera will show you the photograph that you have just taken and ask you whether it should use this photograph for the custom white balance setting. Confirm this by pressing ok again. Then go to the white balance setting and choose the custom white balance setting which is denoted by the symbol of two triangles and and a square. This symbol is shown in the photograph below.

You have just successfully set custom white balance for your camera and now when you take a photograph all the colour cast will be gone and your colours will appear true and neutral. This whole process is explained in this short video below. If you like it please do not forget to subscribe to our channel for more photography tips and techniques. You can subscribe to the channel by clicking here. Please feel free ask any questions in the comments below.
https://youtu.be/x6BgZFxZG6k
Important
- The white paper should fill the entire frame – it should be all that you can see in your viewfinder/monitor.
- If you are shooting a wide shot, zoom in to the white paper or move closer to the paper.
- Do not get the paper close to the camera as the light falling on the paper has to match the light falling on your subject. Get the camera closer to the paper instead.
- If the camera is having a problem focusing on the white paper, switch to manual focus. It does not matter even if the photograph is out of focus for taking a white balance reading.
- Sometimes the will NOT display the photograph of the paper that you have just taken which means that the photograph was not suitable for taking a white balance reading. Check if your exposure is correct and take another photograph of the white paper. Underexposure or over exposure might cause a bad reading.
Please leave a comment if there is a question that you would like to ask or would like us to make a video on a specific photography topic.

Shooting a TV pilot with Canon 5D Mark II
Shooting a television pilot with Canon 5D
We had bounced off an idea to Channel V (India)but things looked kind of shaky because we could not get the feel of the story across. Girl who wants to be a boxer... high school romance... song and dance... boxing ring... We decided to shoot this in order to get the feel across. Shot in a day on one location with minimal budget. The only things that we put up were the exhaust fan and boxing ring and bag.
I decided to shoot this on Canon 5D Mark II because I wanted to. But the question was how to shoot a professional video with a DSLR. I had never shot any video professionally on a DSLR (this was in 2010)and was itching to do so and this was my opportunity. The footage is straight out of camera as we did not have a budget for colour correction. Each setting we tweaked the picture controls, shot a bit of footage, transferred it to the laptop and reconfigured the picture control if needed. Everything was totally on the fly.
Take a look at the video below and tell us what you think. Please subscribe to our channel by clicking here.

Subscribe to GMax Studios YouTube channel