
How to set custom white balance on Canon cameras
What is custom white balance?
Please read: What is white balance if you need to understand the concept of white balance in detail.
In this article, we will see how to set custom white balance on Canon cameras. If you need to see how to white balance Nikon cameras, please click here. balance Every camera has various settings to shoot photographs under different kinds of lighting conditions. If this was not the case, the colour of the light falling on the subject would influence the colour tones of the subject. You might have noticed a warm tone to some of your photographs like the one below.
Sometimes there appears to be a bluish or cold tone to the photographs that you take - like the one below. These two differences (warm and cold)are most evident when you shoot photographs indoors under lights of the bulbs or in the evening.

The bulb casts its's warm light on the subject making it warm and the evening light renders a blue tone on the subject due to its "cool" nature. In order to get absolutely neutral or true colours under any lighting situation we have to set custom white balance so everything appears neutral - neither warm, nor cool like the photograph shown below.
How to set custom white balance on Canon cameras?
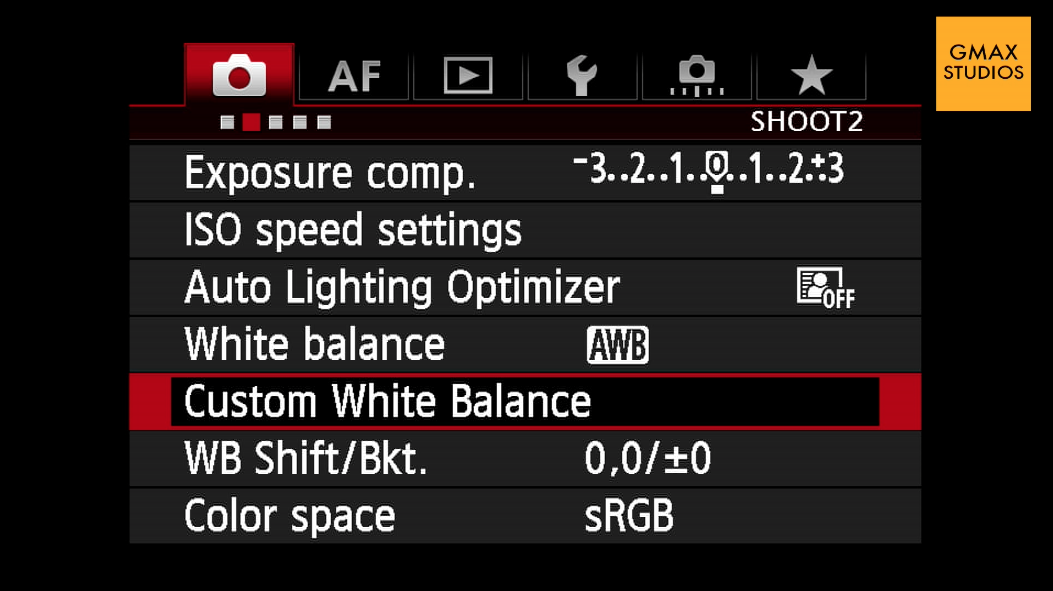
When you set custom white balance on your camera, it means that you tell the camera what is white and the camera makes adjustments accordingly to all the colours, making them appear neutral - without any tone or cast. This is done by showing the camera a simple white sheet of paper under the same lighting conditions that you are taking your photograph and then you take a photograph of the white paper. The white paper should fill the frame fully. You then go to the menu and choose the custom white balance setting and press ok. The camera will show you the photograph that you have just taken and ask you whether it should use this photograph for the custom white balance setting. Confirm this by pressing ok again. Then go to the white balance setting and choose the custom white balance setting which is denoted by the symbol of two triangles and and a square. This symbol is shown in the photograph below.

You have just successfully set custom white balance for your camera and now when you take a photograph all the colour cast will be gone and your colours will appear true and neutral. This whole process is explained in this short video below. If you like it please do not forget to subscribe to our channel for more photography tips and techniques. You can subscribe to the channel by clicking here. Please feel free ask any questions in the comments below.
https://youtu.be/x6BgZFxZG6k
Important
- The white paper should fill the entire frame – it should be all that you can see in your viewfinder/monitor.
- If you are shooting a wide shot, zoom in to the white paper or move closer to the paper.
- Do not get the paper close to the camera as the light falling on the paper has to match the light falling on your subject. Get the camera closer to the paper instead.
- If the camera is having a problem focusing on the white paper, switch to manual focus. It does not matter even if the photograph is out of focus for taking a white balance reading.
- Sometimes the will NOT display the photograph of the paper that you have just taken which means that the photograph was not suitable for taking a white balance reading. Check if your exposure is correct and take another photograph of the white paper. Underexposure or over exposure might cause a bad reading.
Please leave a comment if there is a question that you would like to ask or would like us to make a video on a specific photography topic.

How to white balance Nikon cameras

Why do a preset white balance?
The cameras made today are extremely sophisticated and they can judge pretty accurately what kind of photograph is being shot under what lighting conditions. But sometimes, you need to give them a little push so that they are able to serve you better. If you feel that your photographs are too warm or too cool for your taste, maybe it is time for you to do a custom white balance or as Nikon calls it - preset white balance. We are going to take a look at the easiest, cheapest and fastest way to white balance Nikon cameras. If you want to know about custom white balance on Canon cameras, please read this article here.
White balance is nothing but getting rid of the colour casts on your photographs by telling the camera, "Hey! This is white! Please make other adjustments accordingly!" So logically, the easiest way of doing this is by showing the camera a piece of white paper and telling it that this is white. Different cameras have different ways of measuring white under different lighting conditions, though internally the process remains the same.
How to white balance Nikon cameras
Nikon calls this adjusting the PRESET white balance and it is done by pressing the WB(white balance) button on the camera and turning the command dial until the display show "PRE". You then release the WB button and press it again. The PRE now begins to flash. This means that the camera is in ready mode to take the new white balance setting. Now all you need to to do is put a white paper in front of the camera and press the shutter button while the PRE is still flashing. The display should read "GOOD" which means your preset white balance was successful.
Important
- The white paper should fill the entire frame - nothing else should be visible.
- If you are shooting a wide shot, zoom in to the white paper or move closer to the paper.
- Do not get the paper close to the camera as the light falling on the paper has to match the light falling on your subject. Get the camera closer to the paper instead.
- If the camera is hunting for focus, switch to manual focus. It will not make a difference if the paper is out of focus to take the white balance reading.
- If the camera displays "NO GOOD" that means that the camera was unable to get a proper reading. Check if your exposure is correct. Underexposure or over exposure might cause a bad reading.
- Make sure that the PRE is flashing when you press the shutter button.
Please watch the short video below to understand this process better. If you have any questions, please ask them in the comments and if you like the video, please subscribe to our channel by clicking here.
https://youtu.be/CL_WPm13zI0

Please ask any questions that you might have in the comments section below.
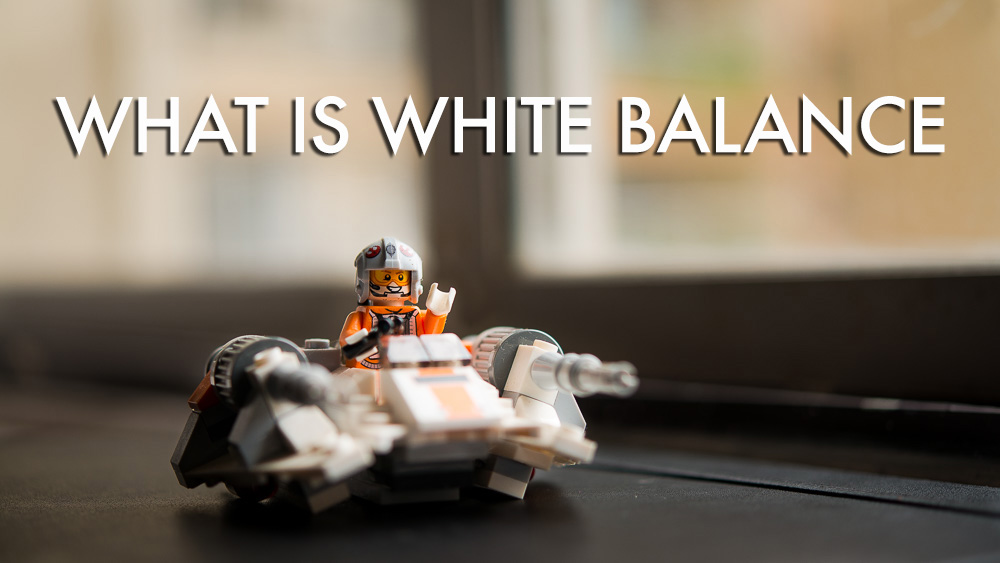
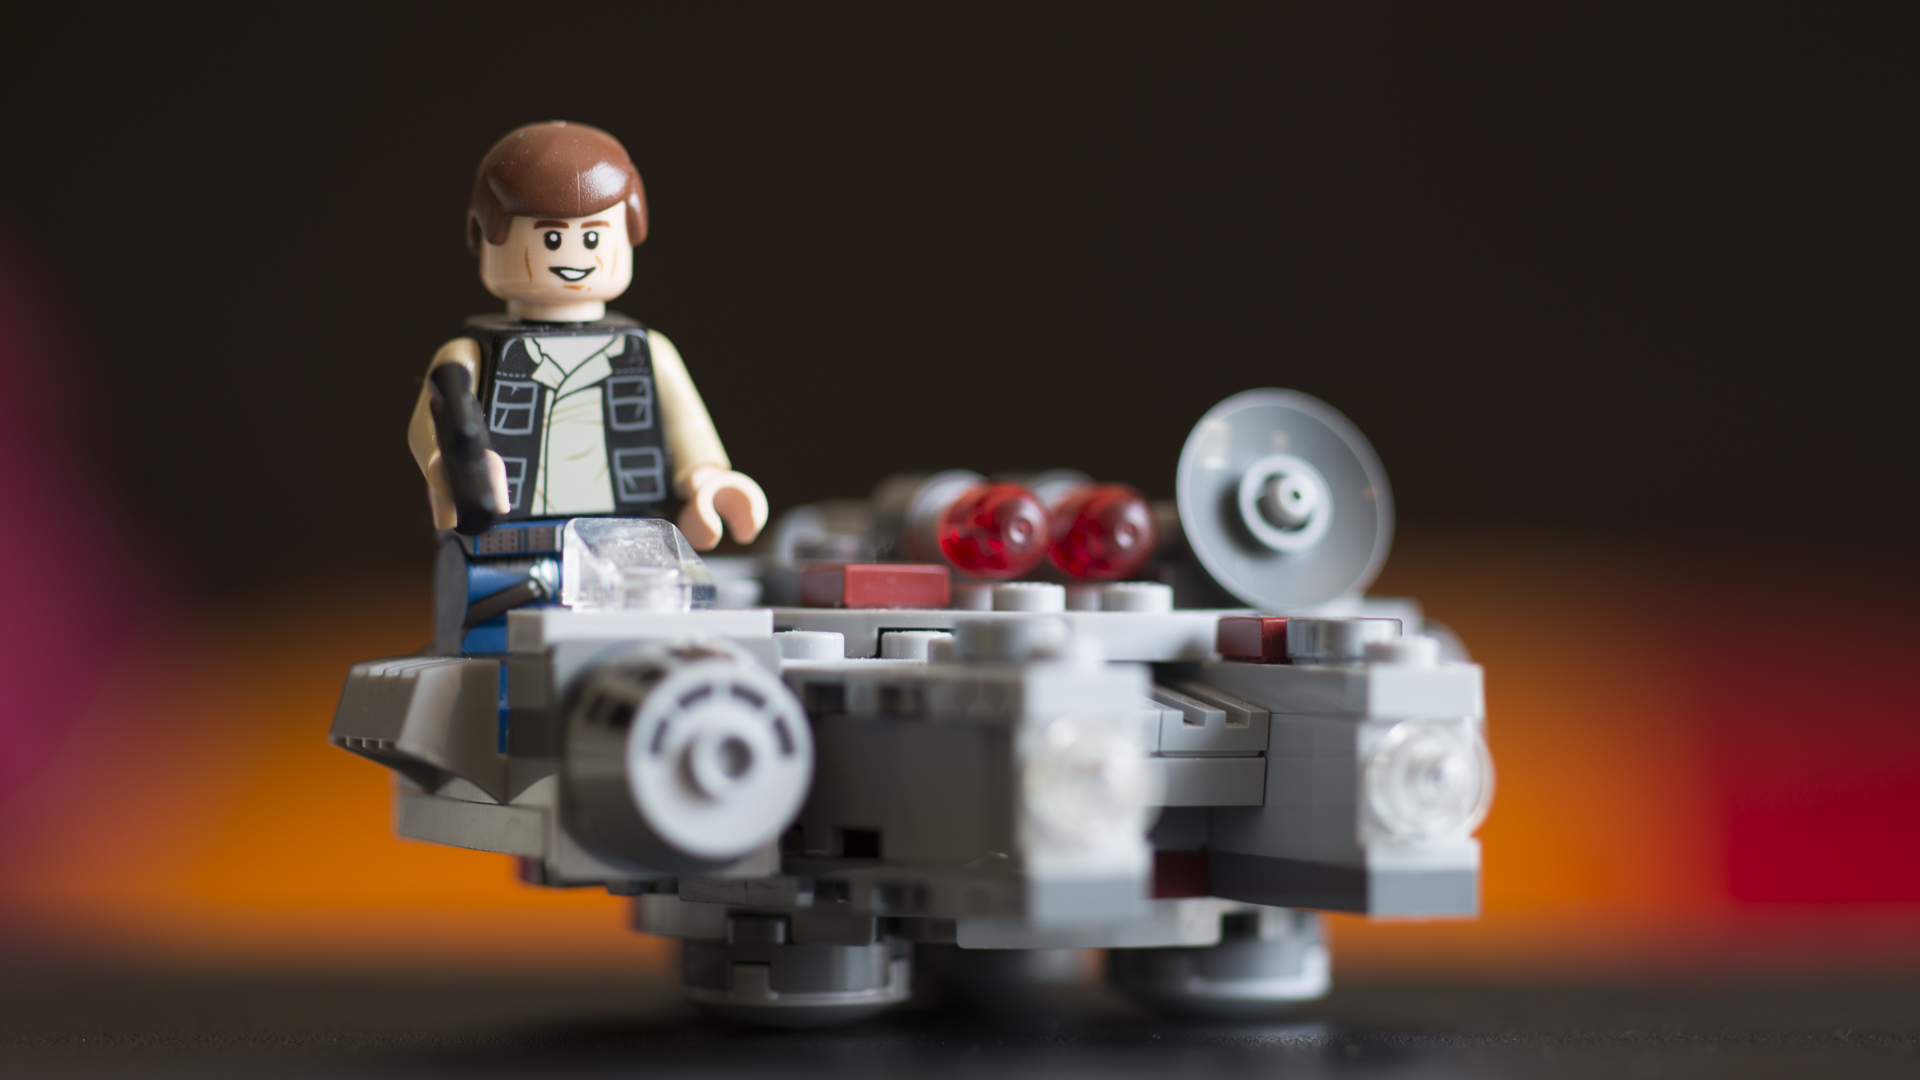
What is white balance in photography and how to master it?

What is white balance?
Most of the time, most of the people set their cameras to automatic white balance and forget about it and sure enough, for most of the people this seems to suffice and they get decent enough pictures to suit their purpose. This is due to the great advances in technology that we seem to have made over the past few years. If you want real control over the kind of pictures that you take, you have to stop relying on technology and what the camera asks you to do. To take pictures where the colour is finely controlled by you and nobody else you have to master some basic techniques. White balance is one of them.
White balance (WB) is the process of balancing the colour in your photographs, so that objects which appear white in person are also white in your photographs. Our eyes are very good at judging what is white under different lighting conditions - like the yellow light emitted from our bulbs at home or the white light emitted from the tube lights we use, but digital cameras often have difficulty in "seeing" under these lighting conditions. Even daylight for that matter changes its colour at different times of the day. You definitely must have noticed that sunlight has a warm glow in the morning and evening which is missing during the day. The sunlight appears quite bright, harsh and white during midday. To understand this better let us figure out what is the difference between warm, cool and neutral tones.
Understanding tones
WARM TONE IN A PHOTOGRAPH
Any photograph that has red or orange tones on it is said to be "warm". This is usually due do some warm light - like a bulb or the evening sunlight falling on the subject.
COOL TONE IN A PHOTOGRAPH
If a photograph has a bluish tint to it, it is said to be "cool". This usually happens if you photograph subjects in shade, away from the sun or after sunset during the evening.
NEUTRAL TONE IN A PHOTOGRAPH
If a photograph is neither warm nor cool, it is said to be neutral. An important point about neutral photographs is that the colours in it are true. They appear to exactly the way they are, in real life.
The color temperature of a light source is the temperature of an ideal black-body radiator that radiates light of comparable hue to that of the light source. Color temperature is a characteristic of visible light that has important applications in lighting, photography, videography, publishing, manufacturing,astrophysics, horticulture, and other fields. In practice, color temperature is only meaningful for light sources that do in fact correspond somewhat closely to the radiation of some black body, i.e., those on a line from reddish/orange via yellow and more or less white to blueish white; it does not make sense to speak of the color temperature of, e.g., a green or a purple light. Color temperature is conventionally stated in the unit of absolute temperature, the Kelvin, having the unit symbol K.
- Most DSLRs have a colour temperature range of between 2500k and 10000K
- In your camera, the lesser the number (closer to 2500K) the cooler your photograph will be and the larger the number (closer to 10000K), the warmer your photograph will be. Absolutely white light is measured at 5600K.
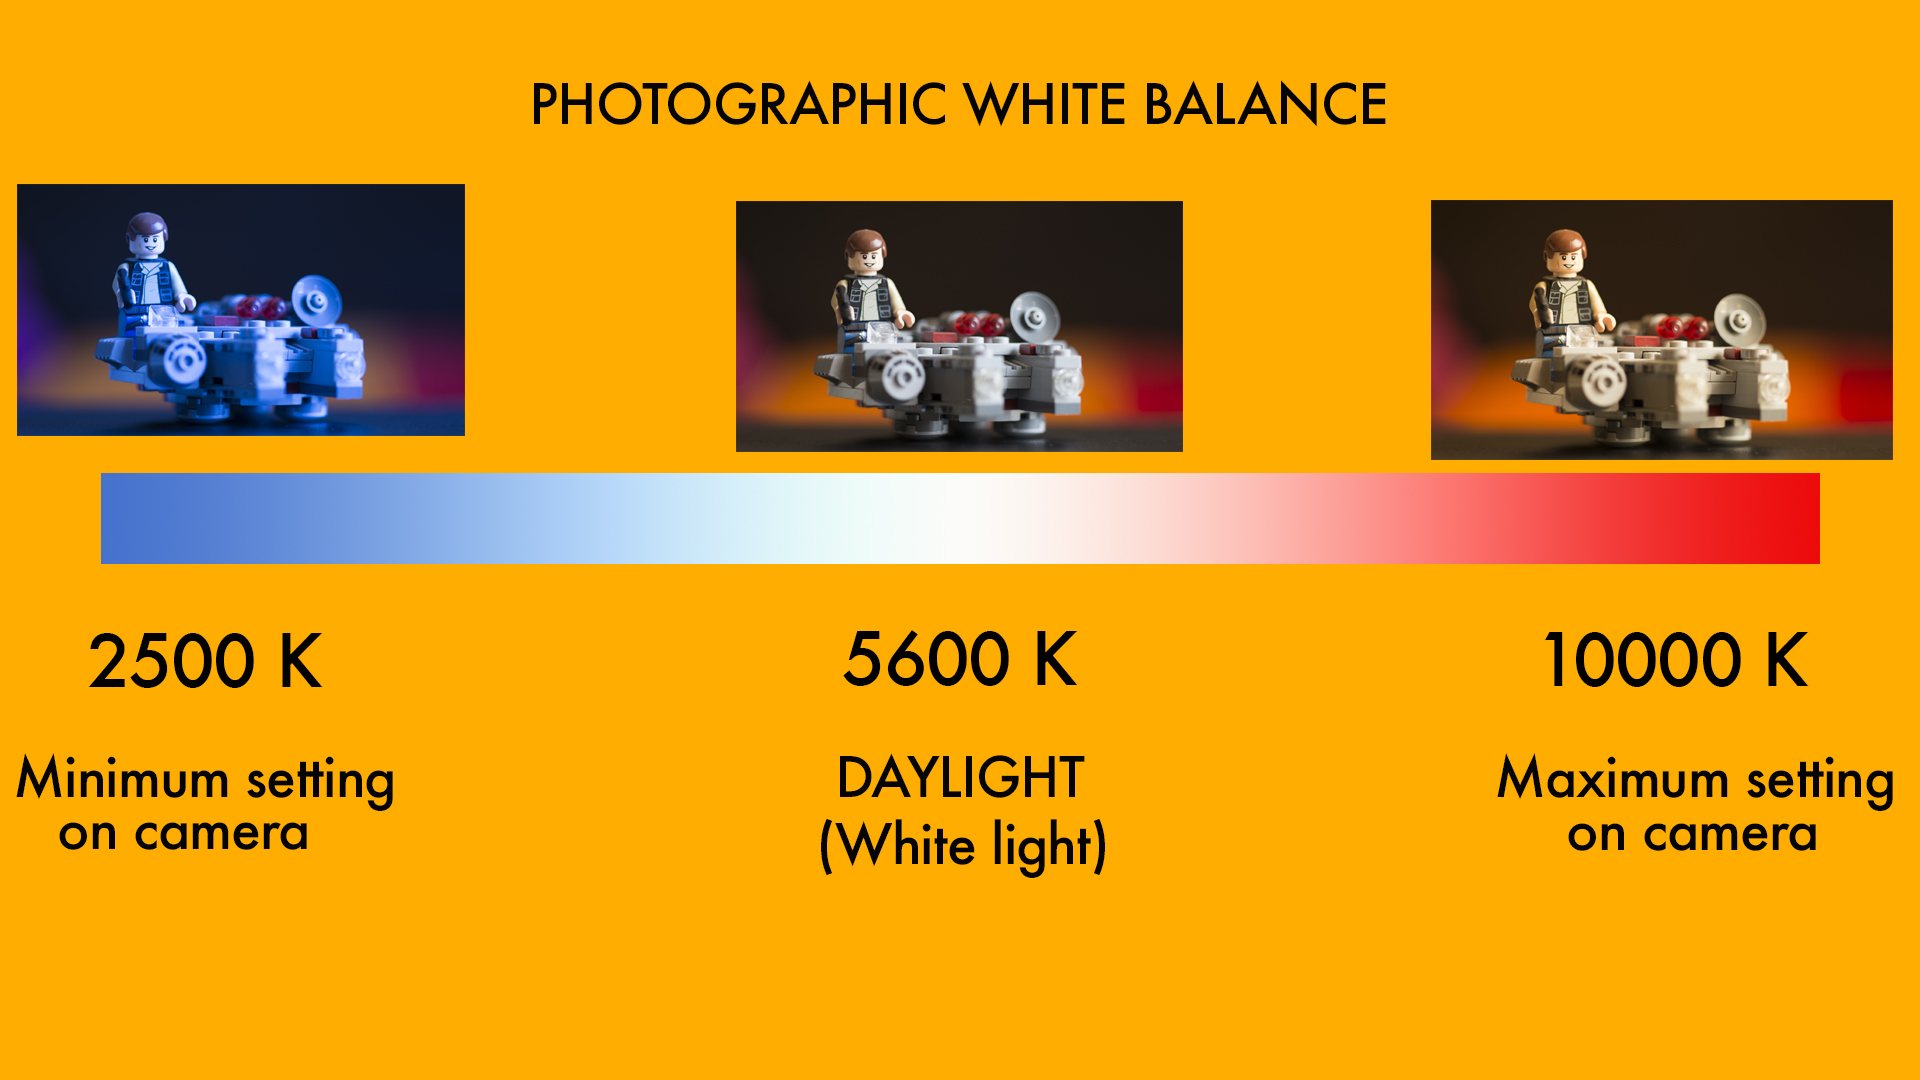
In my opinion, pure white light does not exist naturally. It can only be seen from man made light sources like professionally made HMI lights like they use on film sets or from flash(strobes) used in photography or LEDs. Natural light sources always have a tone to them.
How to set white balance on your camera?
There are three ways that you can set white balance on your camera.
- Auto white balance: As said earlier, auto white balance or AWB gets the job done 90% of the time and in the newer cameras it is pretty accurate or even amazing at times but with the camera set to auto white balance (or AWB) — your photographs can end up looking slightly blue, orange, or even green.
- Using the built-in settings: This involves figuring out what kind of light your are shooting under and matching it with the appropriate setting in the camera. So if you are shooting in sunlight, you choose the "sunlight" white balance setting on the camera (symbolised by a "sun") and if you are shooting in cloudy lighting conditions, then you use the cloudy settings and so on. This method too works well - but just barely. It is not very accurate and differs between camera brands and models.
- Using a custom white balance or preset white balance: This is the most accurate method of making sure that you get an absolutely neutral photograph and true colours.White balance or setting colour temperature is you telling the camera that under these lighting circumstances which colour it is to assume is “true white". Once you tell the camera that under these lighting circumstances, THIS is white- the camera is smart enough to make the necessary adjustments to render all other colours the way they are.The easiest way of doing this usually involves putting the camera in custom white balance mode and "showing" the camera a white sheet of paper and then taking a picture with it. What this does, is that it tells the camera that - "this is white" under these lighting conditions. Once the camera understands that, it makes all the other adjustments accordingly and all your colours come out looking just the way they should. You can use a device like Expodisc too, instead of the paper which will make the results more accurate.
If you shoot RAW, you can also, take your photographs to Adobe Lightroom or Photoshop and make corrections to the colour temperature in these programs. You can watch the video below to understand more about white balance and how to set it correctly. You can also read the articles (links under the video) on how to white your Nikon or Canon specifically.
Important
While understanding white balance can help you avoid these unnatural tones and improve your photos under any lighting condition. It is not a rule that you must have absolutely neutral tones for each and every photograph you take. You might prefer a warm or cool tone and that is perfectly alright. In fact, skin does look better in a slightly warm tone and many photographers deliberately "warm up" their photographs to make their subjects look better.
https://youtu.be/buex57O_Q5U
Also see:
How to set custom white balance on Canon DSLRs
and
How to set preset white balance on Nikon DSLRs