
Shooting a TV pilot with Canon 5D Mark II
Shooting a television pilot with Canon 5D

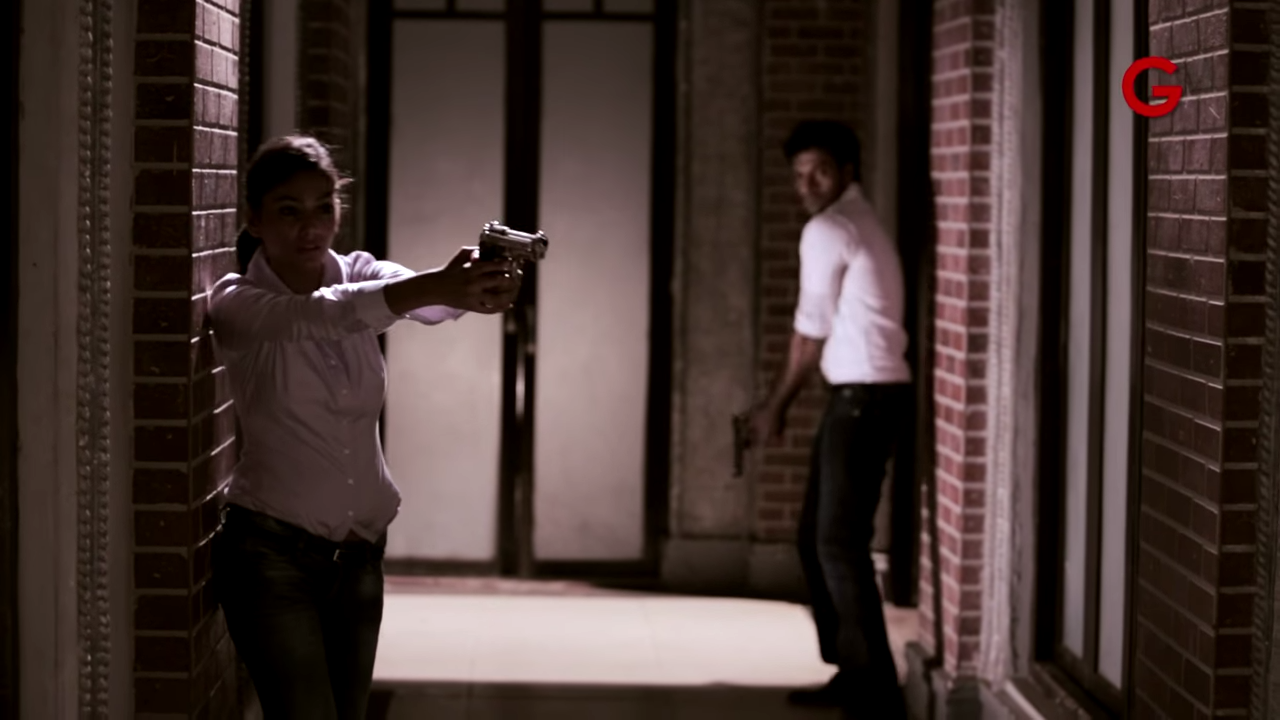
We had bounced off an idea to Channel V (India)but things looked kind of shaky because we could not get the feel of the story across. Girl who wants to be a boxer... high school romance... song and dance... boxing ring... We decided to shoot this in order to get the feel across. Shot in a day on one location with minimal budget. The only things that we put up were the exhaust fan and boxing ring and bag.
I decided to shoot this on Canon 5D Mark II because I wanted to. But the question was how to shoot a professional video with a DSLR. I had never shot any video professionally on a DSLR (this was in 2010)and was itching to do so and this was my opportunity. The footage is straight out of camera as we did not have a budget for colour correction. Each setting we tweaked the picture controls, shot a bit of footage, transferred it to the laptop and reconfigured the picture control if needed. Everything was totally on the fly.
Take a look at the video below and tell us what you think. Please subscribe to our channel by clicking here.

Subscribe to GMax Studios YouTube channel


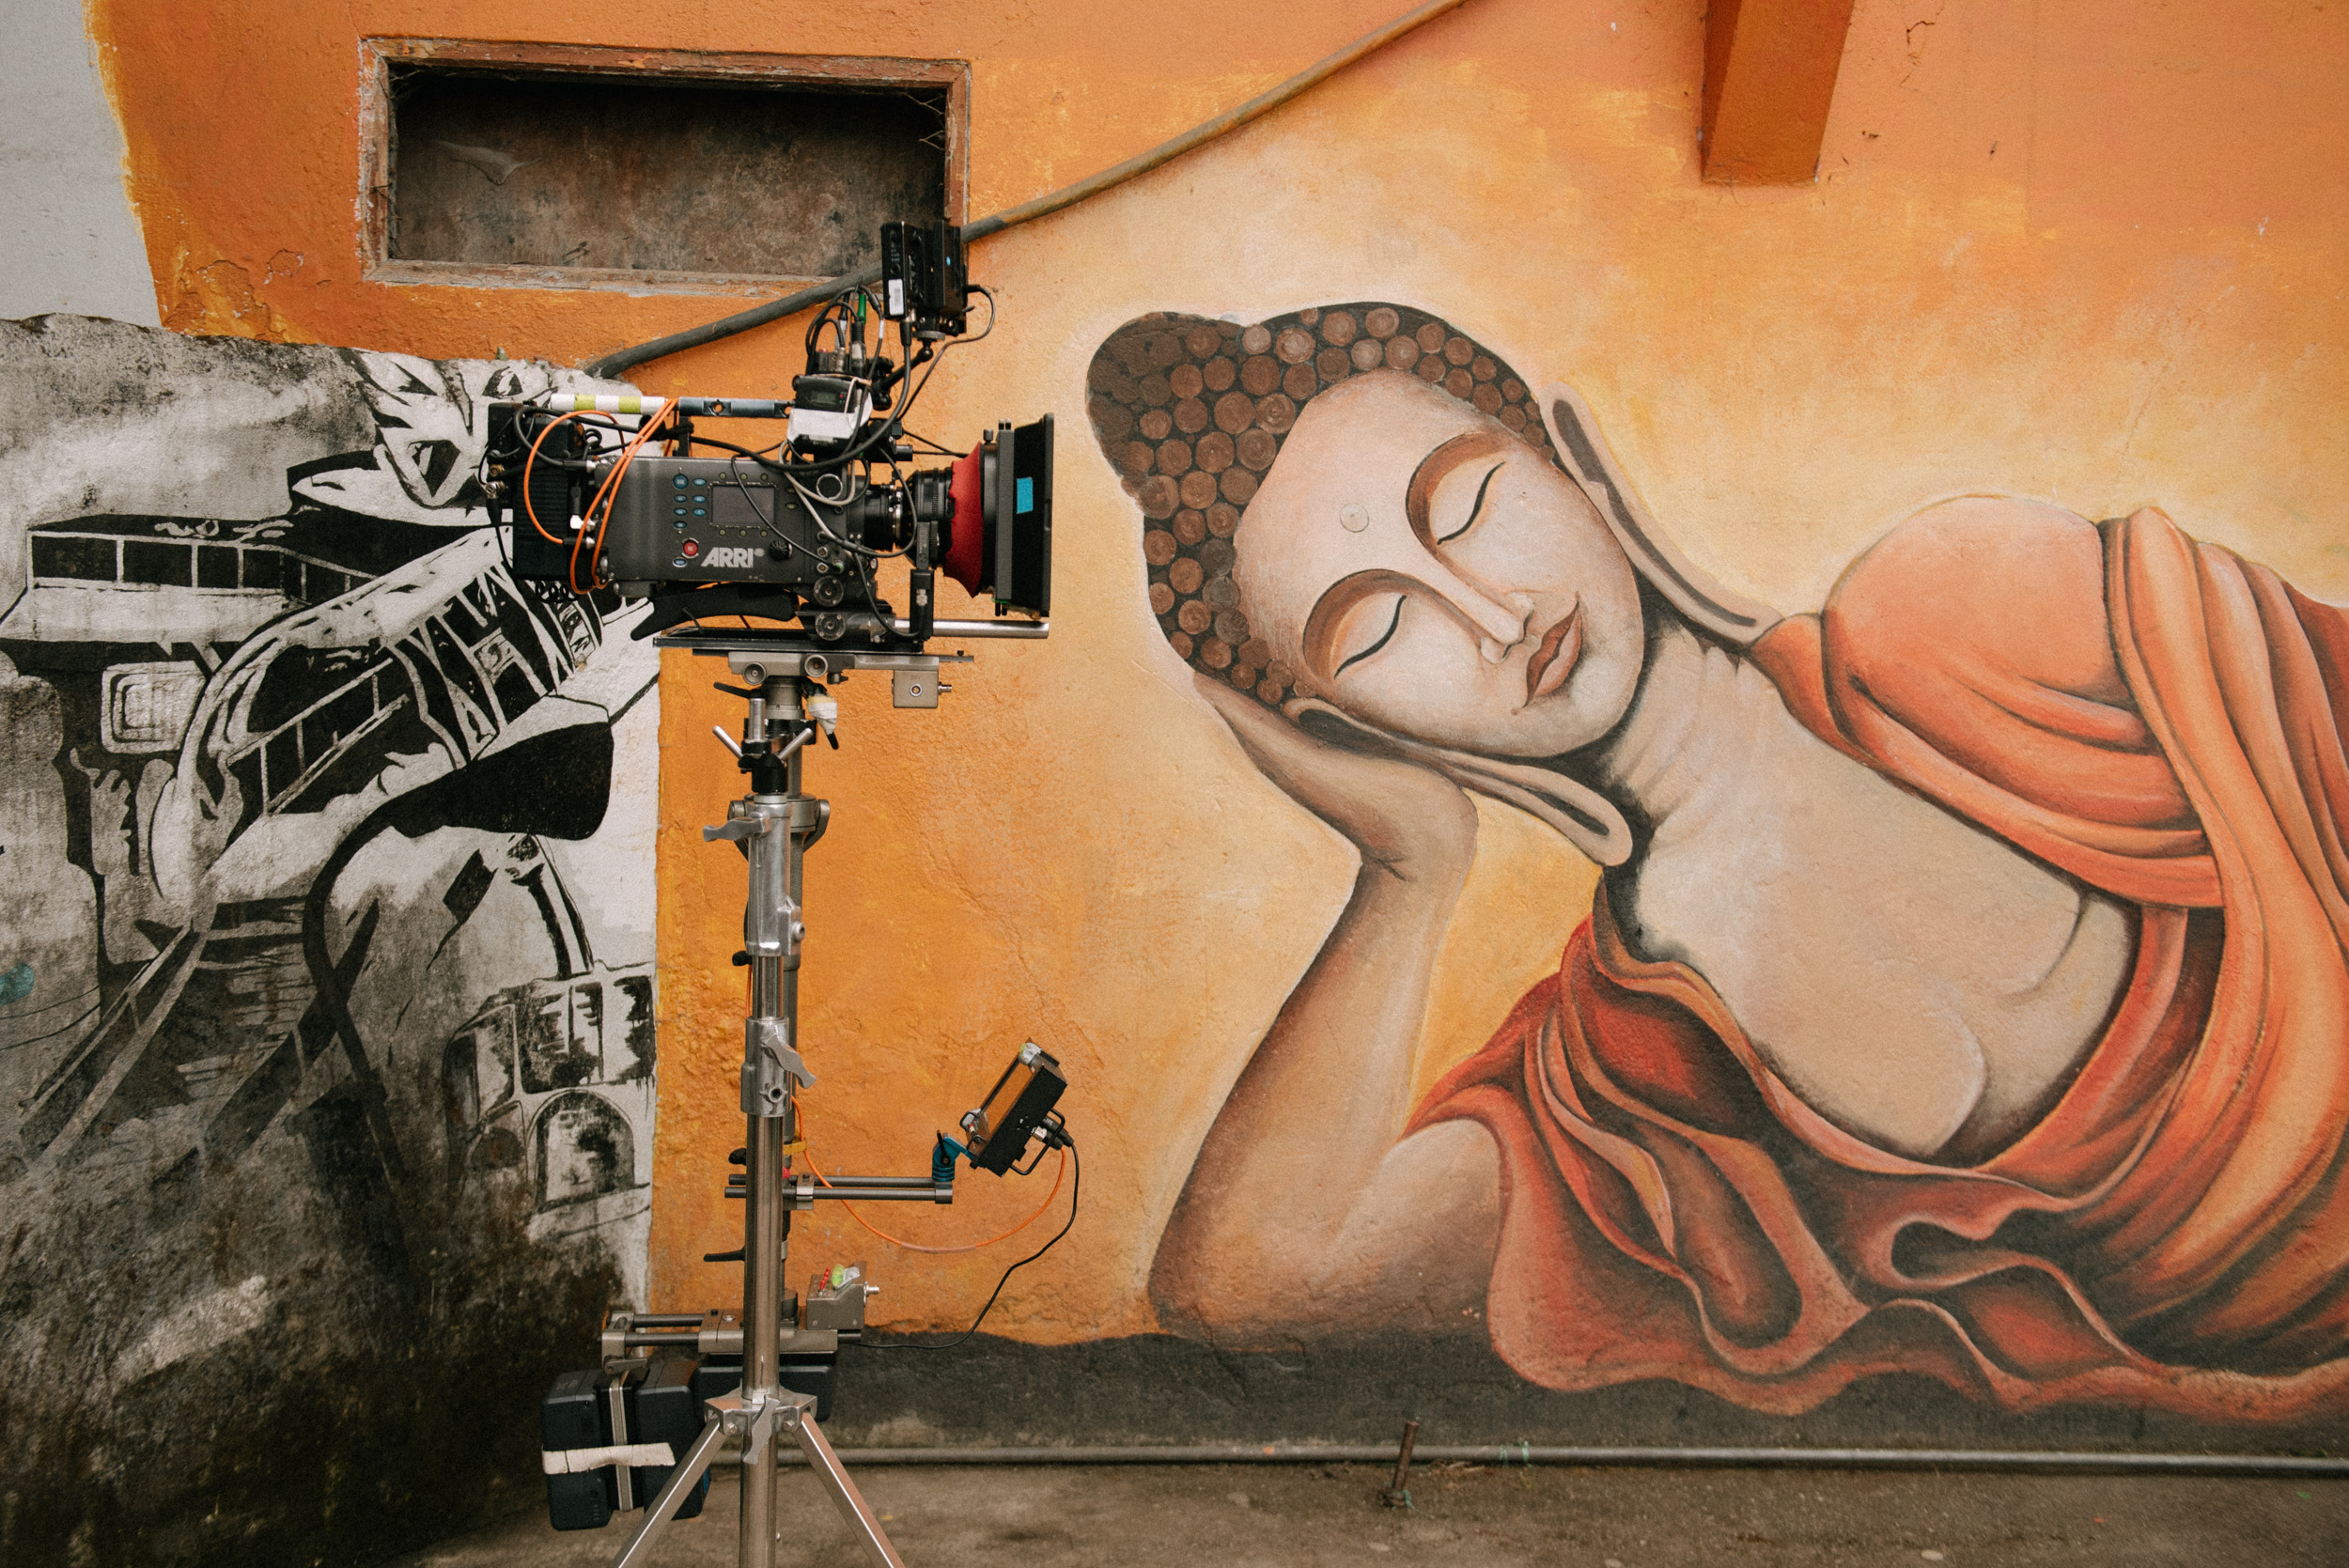
Sony F35 Cinealta test
Testing the Sony Cinealta F35
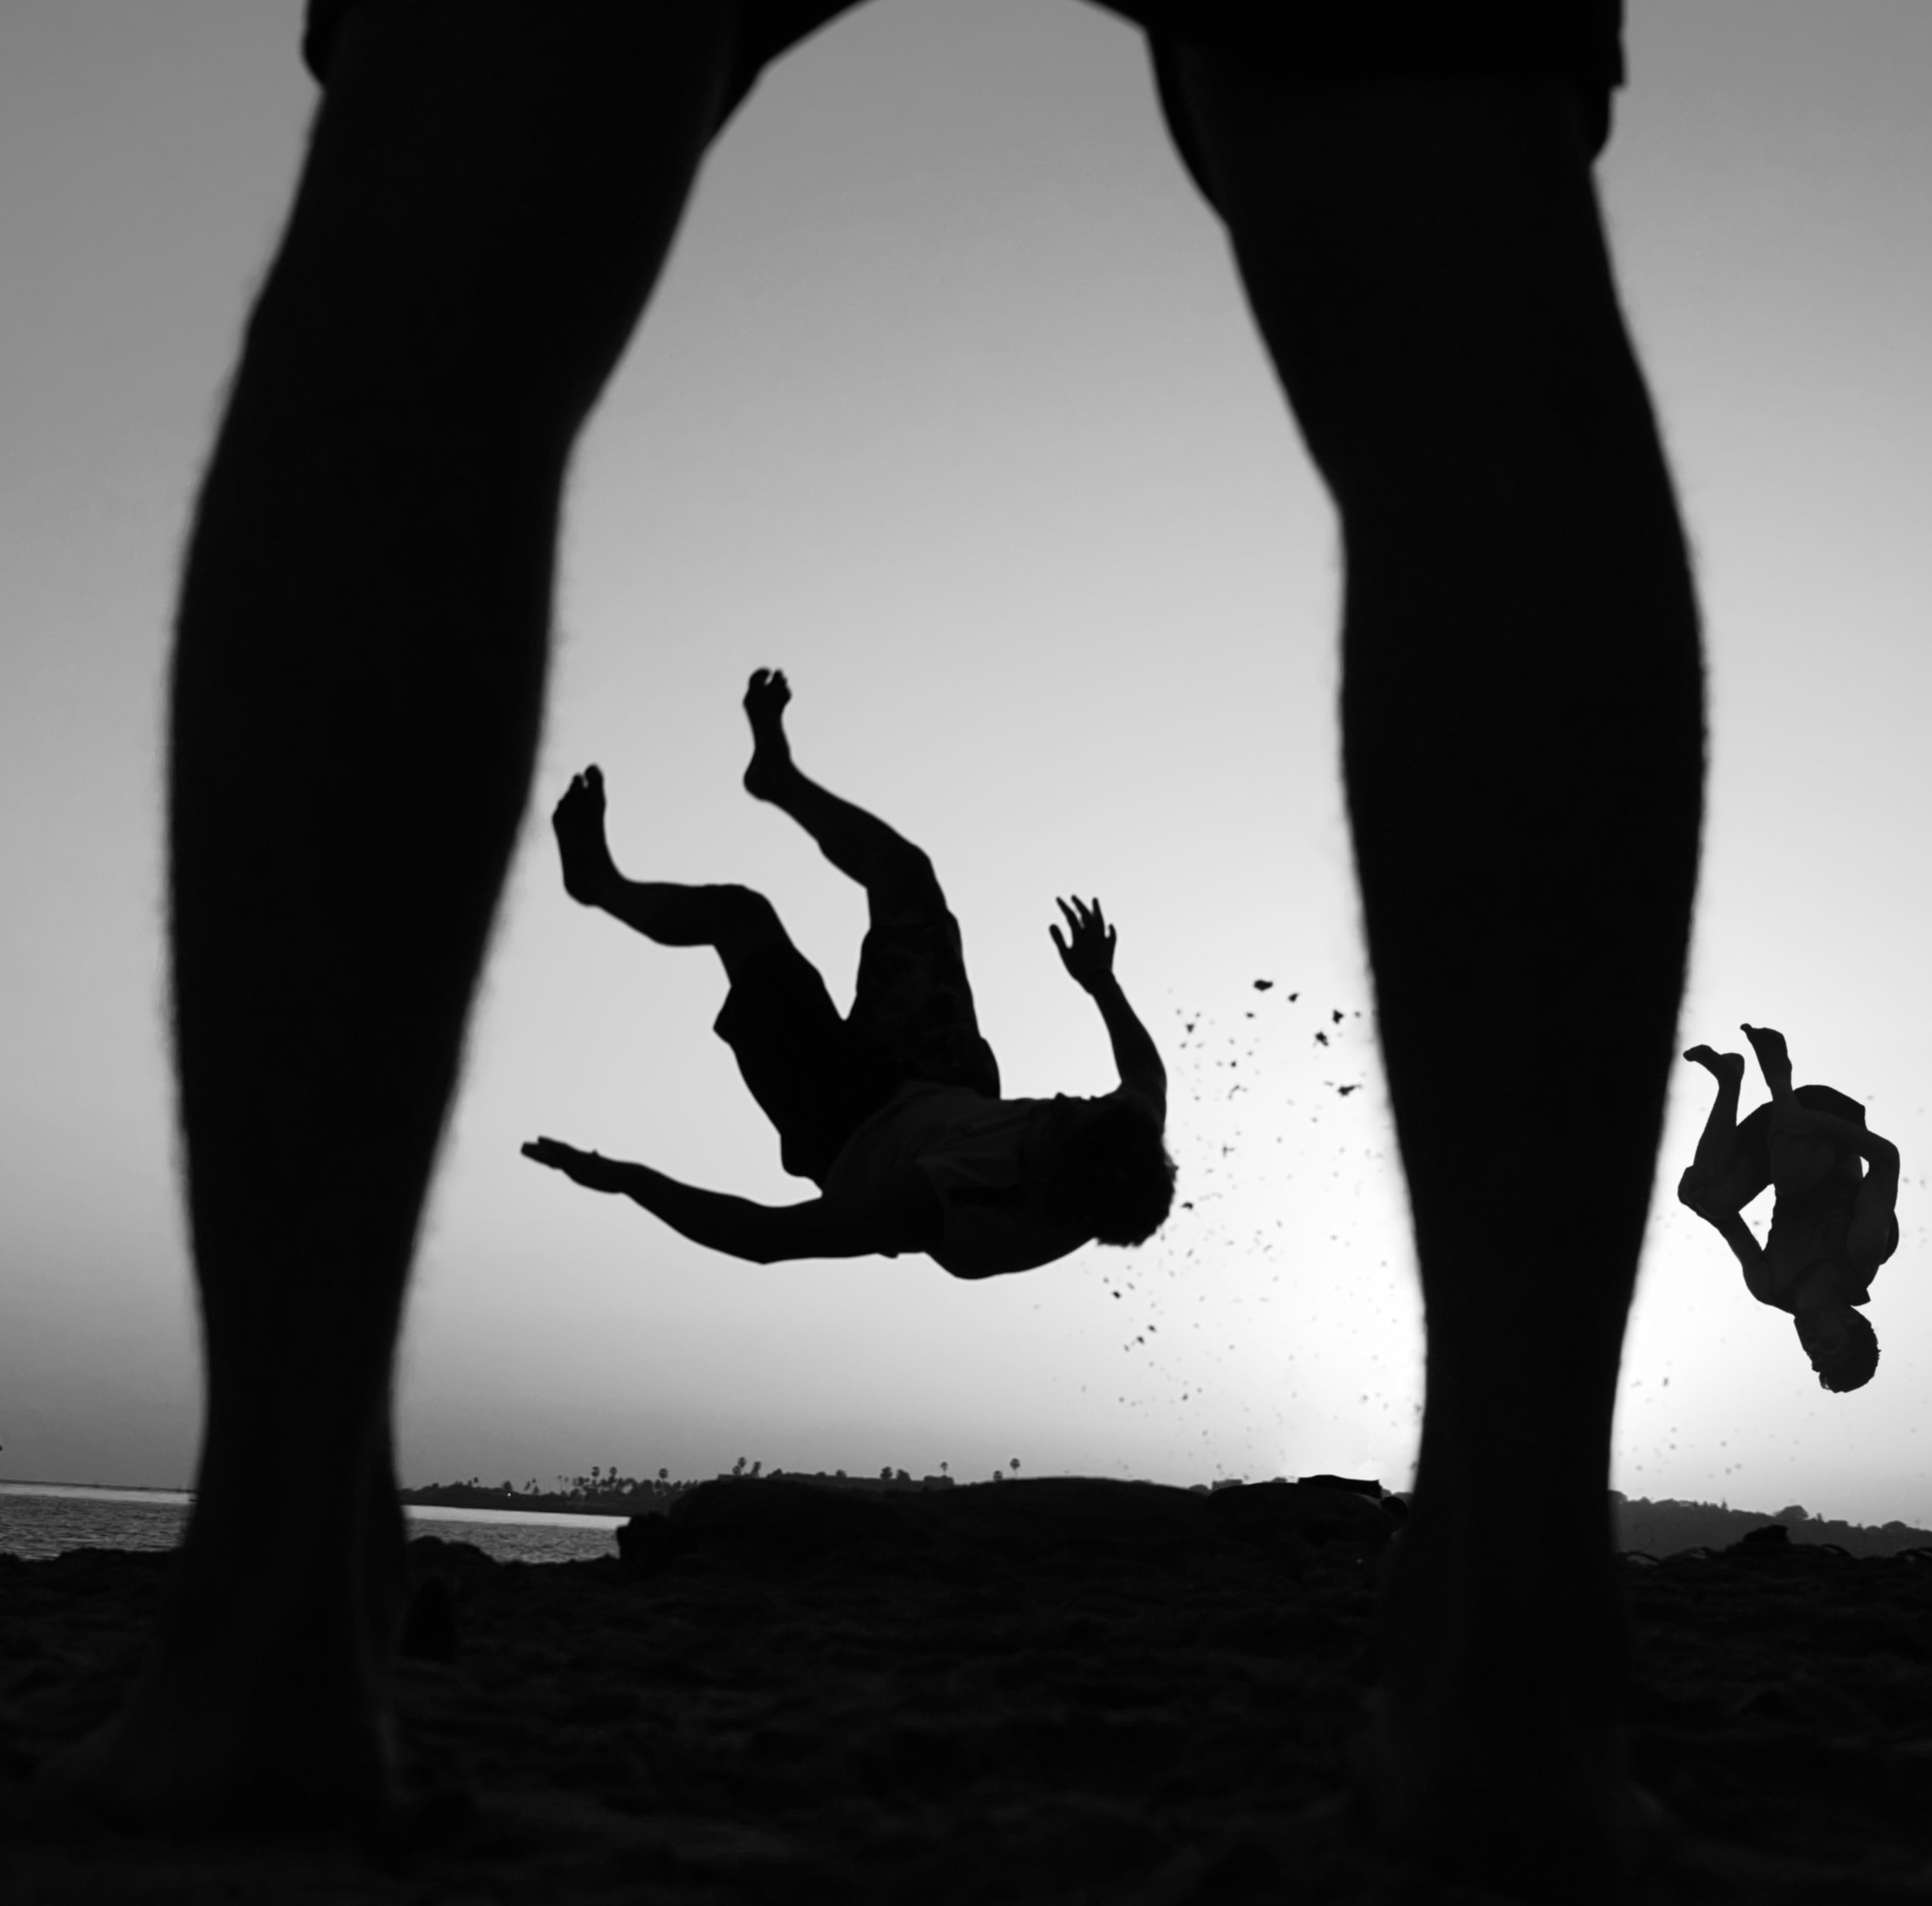
Sony F35 Cinealta test - Not much to this except that this was a test designed and lit to see the low-light performance of the Sony F35, which I was planning to use in one of my TV productions.
Learn photography
The camera performed exceptionally well and the final pilot of the show was actually shot on this.

How to restore old photos with 1 click

There are many ways to restore old photos and many complicated ways to do them. Most of them require a lot of patience and understanding of various post-processing techniques and software. In fact, most of them are so complicated that we end up never using them and restoring the old photographs that we want to. But anyway, what I usually do to my pictures is as follows and though "one click" will get you there but it will be almost! Feel free to tweak the settings and sliders as you wish. I have used a normal flatbed scanner which is used to scan documents to scan this photograph. If you use a higher end scanner, your results will be much better. You will need:
- A scanner
- A copy of Adobe Lightroom
If you don't have Lightroom, download it. It comes with a 30 day free trial, so you can use it free and 30 days should be enough for you to correct all your old pictures. But anyway, this is my primary software for all my processing needs so I highly recommend it. Anyway, import your scanned photograph into Lightroom.
Scanned photograph

Now that magic one click that I was talking about is the one on the top right hand corner.
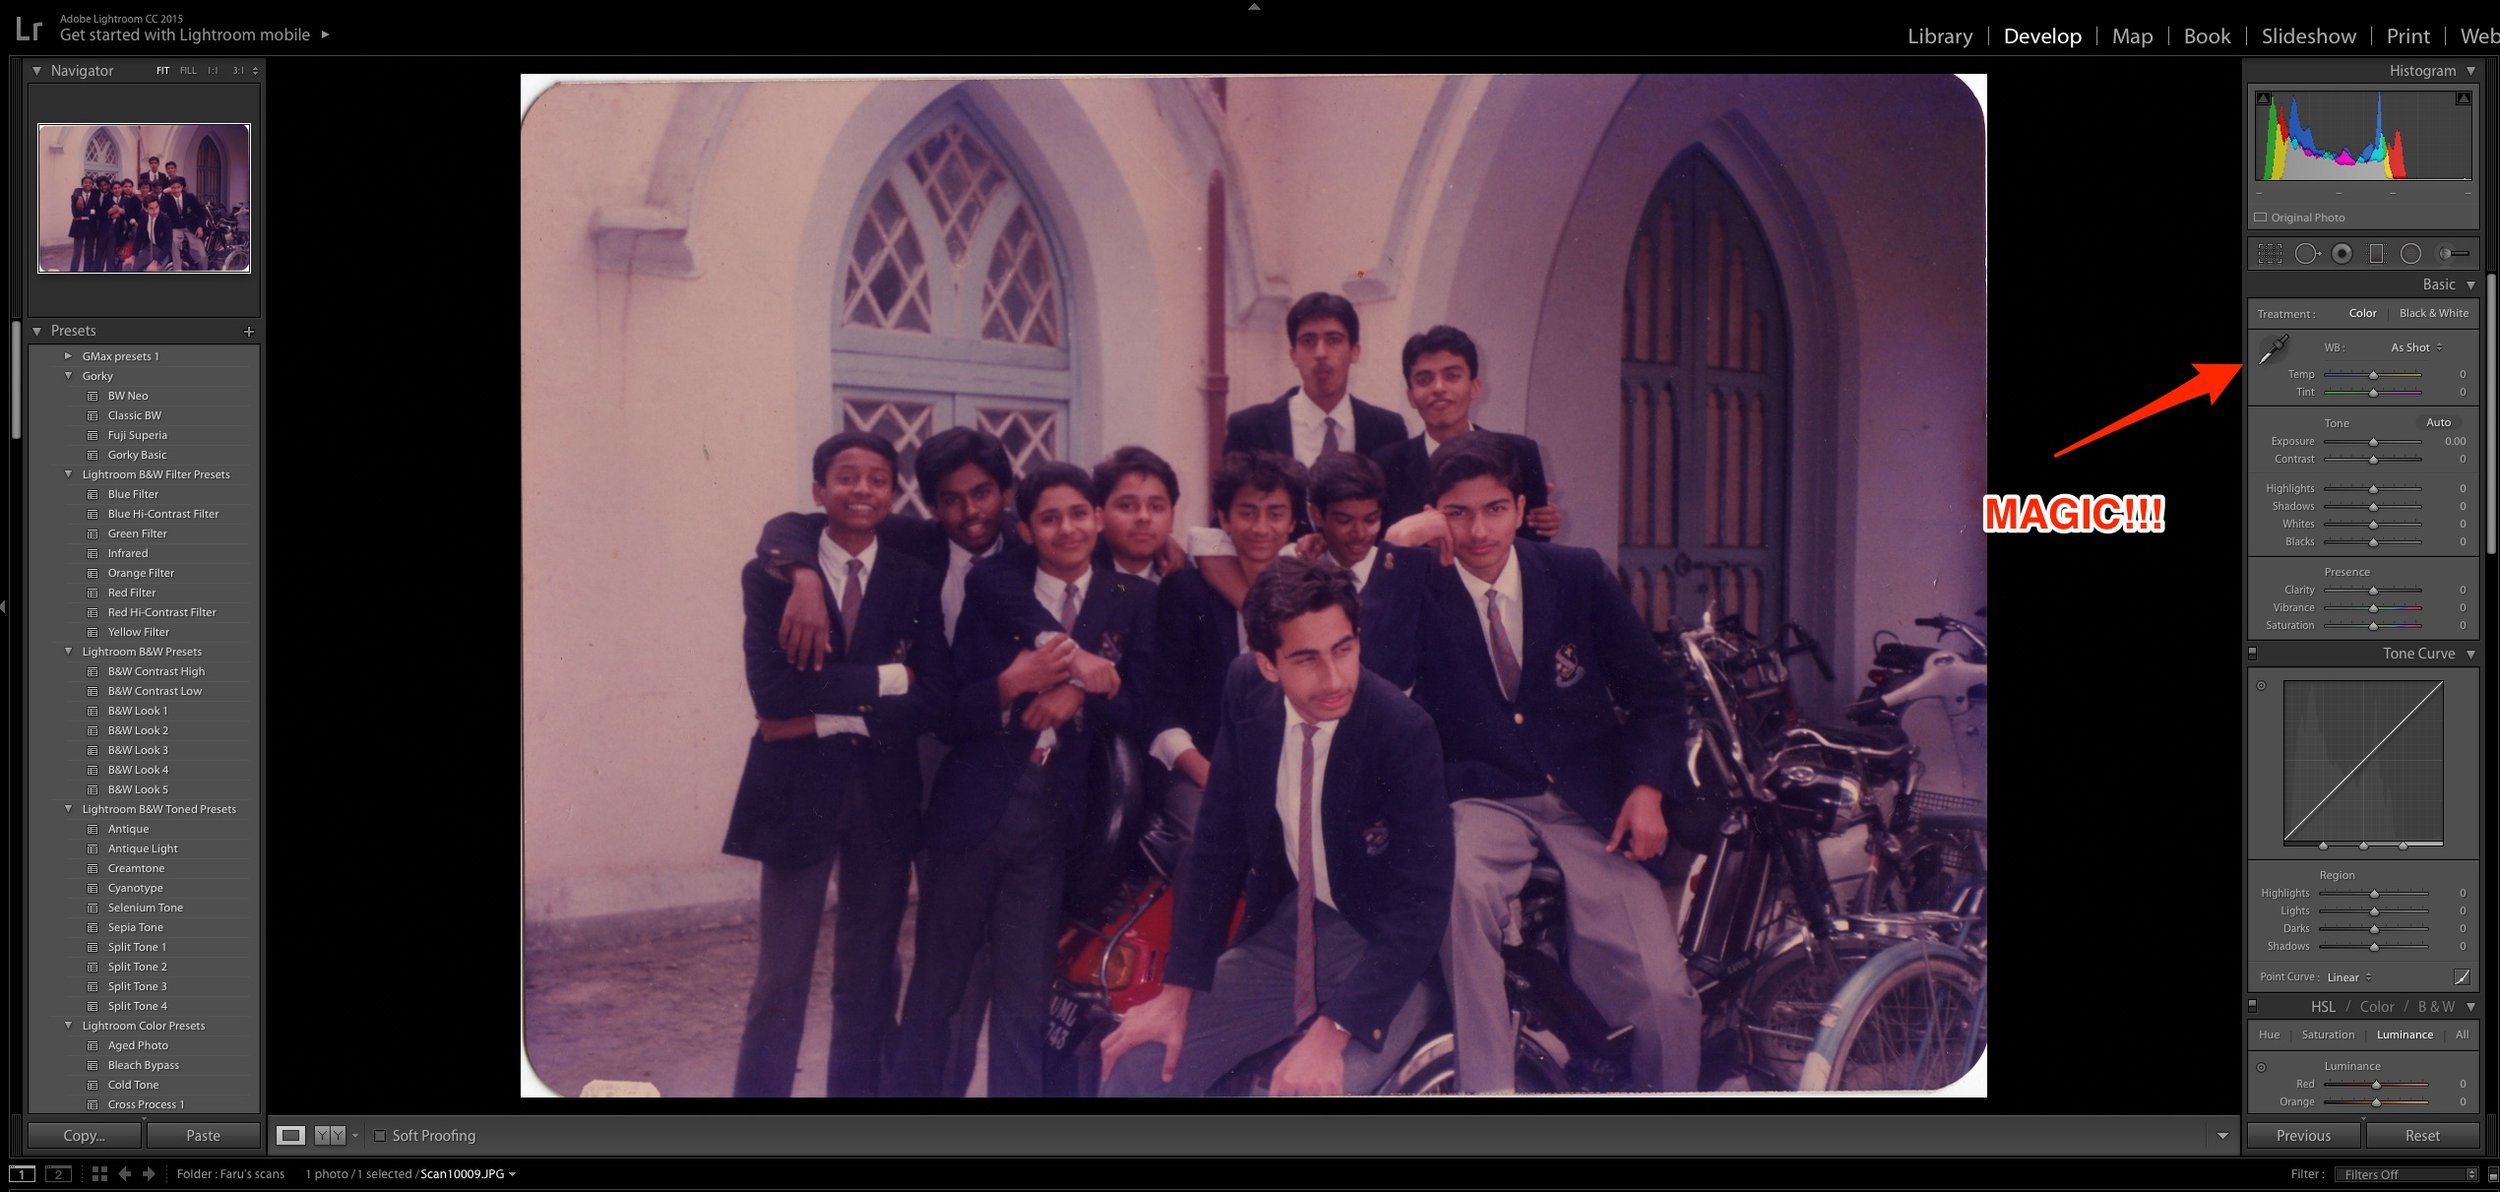
Select the eyedropper and click on any neutral colour in the photograph. I was lucky that this was a school photo so I could click on the grey trousers that my friends were wearing. Bingo! The software knows which is a neutral colour in the picture and removes the magenta/green cast automatically!
Processed picture

Add some contrast and sharpness and maybe increase the exposure a bit to make the old picture pop. That's it! You are done! Give it a shot! This is what I do to restore my pictures quickly. Here is the comparison.
Also read: How to create a professional white background on any photo in Adobe Lightroom

Do share the pictures that you have restored using this technique. Take look at the video below. Subscribe to our channel by clicking here.

Aperture
Aperture - Learn photography
Imagine in your mind, how the camera works. For you to make a good photograph, a certain amount of light needs to hit the sensor. Let us assume this amount of light to be hundred units. If the light hitting the sensor lesser than the amount of light required, the photographs will be dark or “underexposed”. Similarly, if the amount of light hitting the sensor is more than the amount of light required, the picture will be over-bright or “overexposed”.
There are two ways of controlling the amount of light hitting the sensor-via the aperture or with the shutter speed.
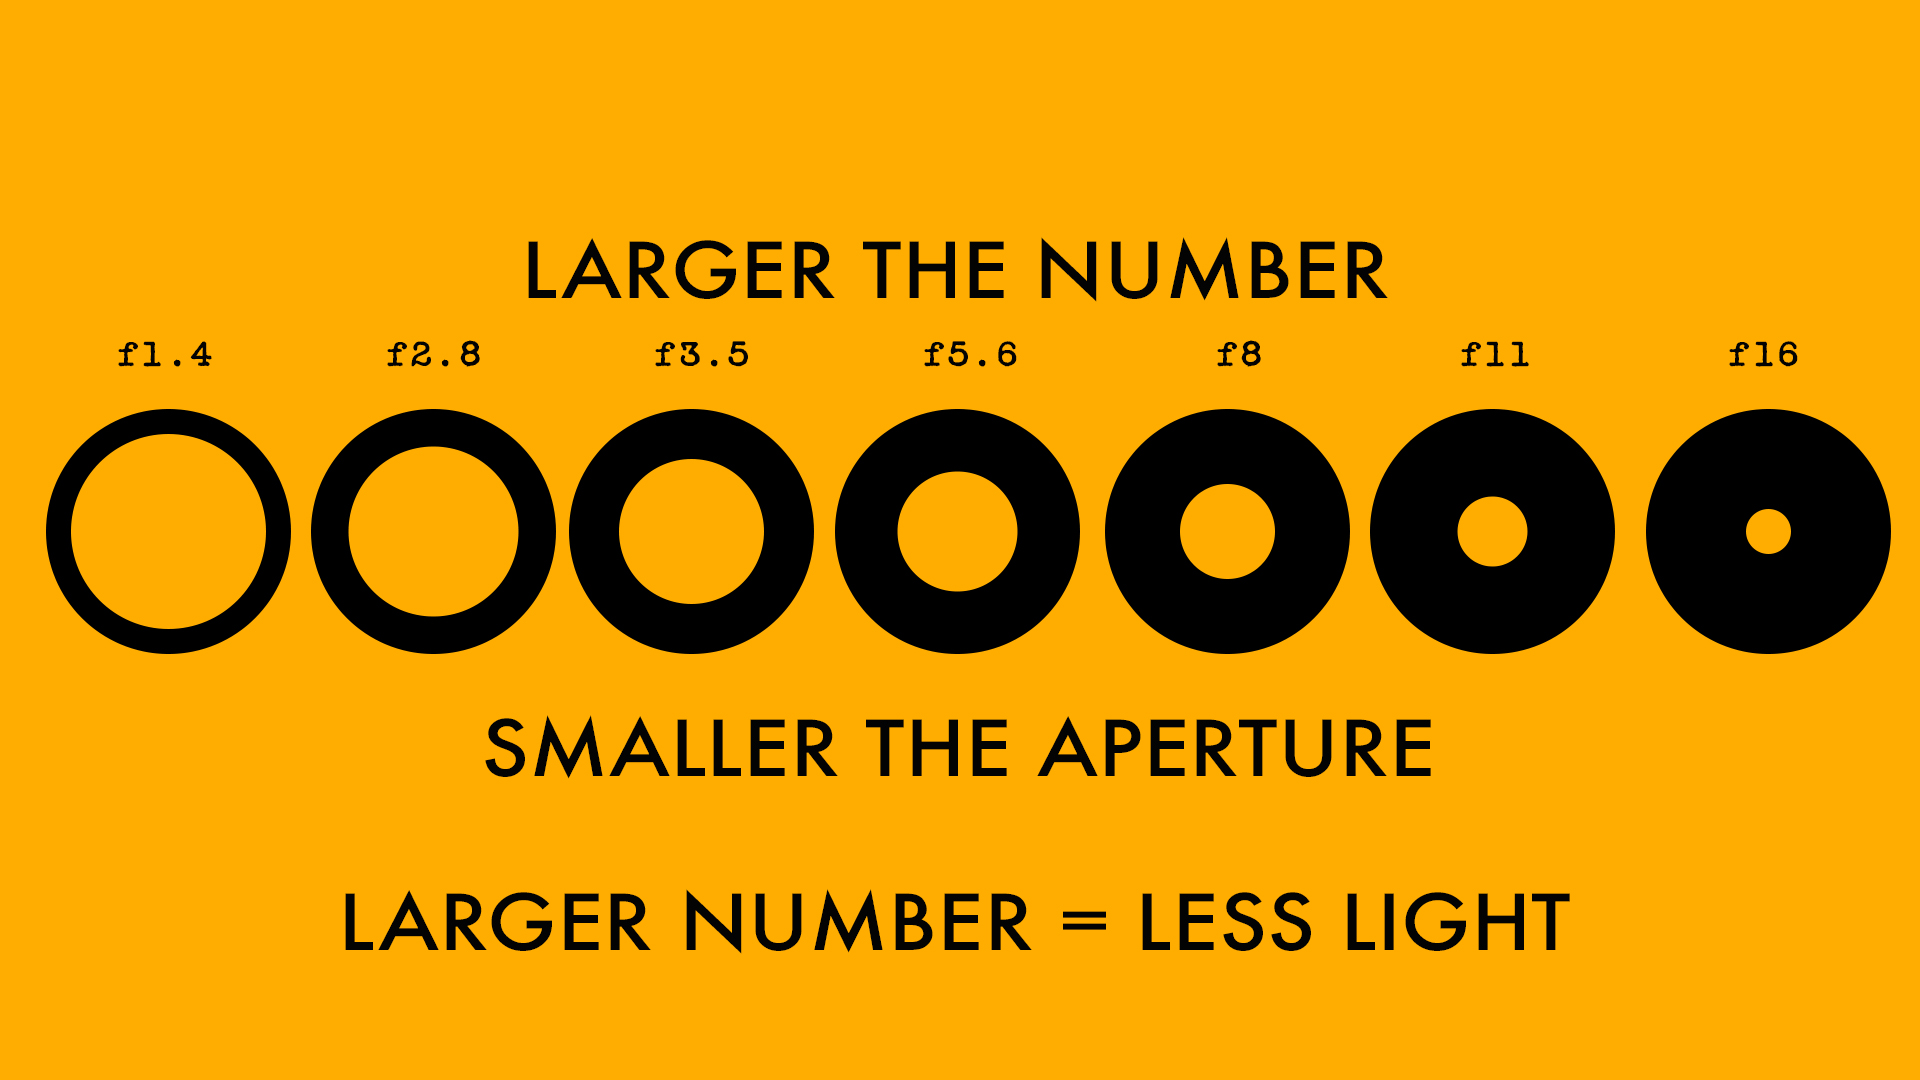
The aperture is nothing but the hole in the lens through which the light enters the camera. For the time being, all you need to know about the aperture is that smaller the number [1.4 or 1.8], the bigger the aperture and similarly, the larger the number will [16 or 22], the smaller the aperture or the size of the hole on the lens. All these numbers are often referred to by using the alphabet F in front of them. So 1.4 is referred to as F1 .4 and 16 is referenced to as F-16. This is just another way of trying to sound cool. There is actually no difference if you say 16 or F-16. Just remember, the smaller the number-the bigger the whole AND the bigger the number, the smaller the pool. This is all that you need to remember about the aperture. This will become second nature as time goes by but it is crucial that for the time being, you remembered this!!!

Adobe Lightroom Tutorial | Professional white background

More than a proper Adobe Lightroom tutorial, this is a quick and dirty tip. When you learn photography and do it commercially for a client - it is often your responsibility to make sure that the client gets the final photograph that he/she wants. At these times, just taking the photograph does not help. You have to go beyond photography and into what we call post-processing.
So, this is more of a photography hack when you don't have all the proper resources, including time, at your disposal. I had to do it once and I realised that I could do it to make my photographs look slightly better and to solve certain problems. By problems I mean, when the purpose of doing this is to create enough contrast so that the subject can be easily cut out from the background and placed in another layout. This is a pretty standard procedure in lots of commercial work done today.
Have you ever felt envious of the way other "professional" photographers manage to shoot their images against a stark white professional looking image? Let us face it - not all of us have a white seamless backdrop at our disposal but that does not mean that we cannot create images that emulate that look. While these may not be perfect but in some cases no one will be able to tell whether you have actually shot them against a white seamless or not. Like all other things, this too depends on how much practice you put into the process and how you fine tune it to suit your own needs.
Also read:
THE ULTIMATE GUIDE TO LEARN PHOTOGRAPHY
Well, here is a short Adobe Lightroom tutorial video on how to make your pictures look like they have been shoot against a white seamless backdrop.
This is the first screencast that I have made and I promise that these will get better with time, so please do leave a comment if you would like to see some more. You can subscribe to the channel by clicking here.
Adobe Lightroom Tutorial:
How to restore old photographs in 1 click in Adobe Lightroom
Subscribe to GMax Studios YouTube channel
You can visit my personal website and blog here.