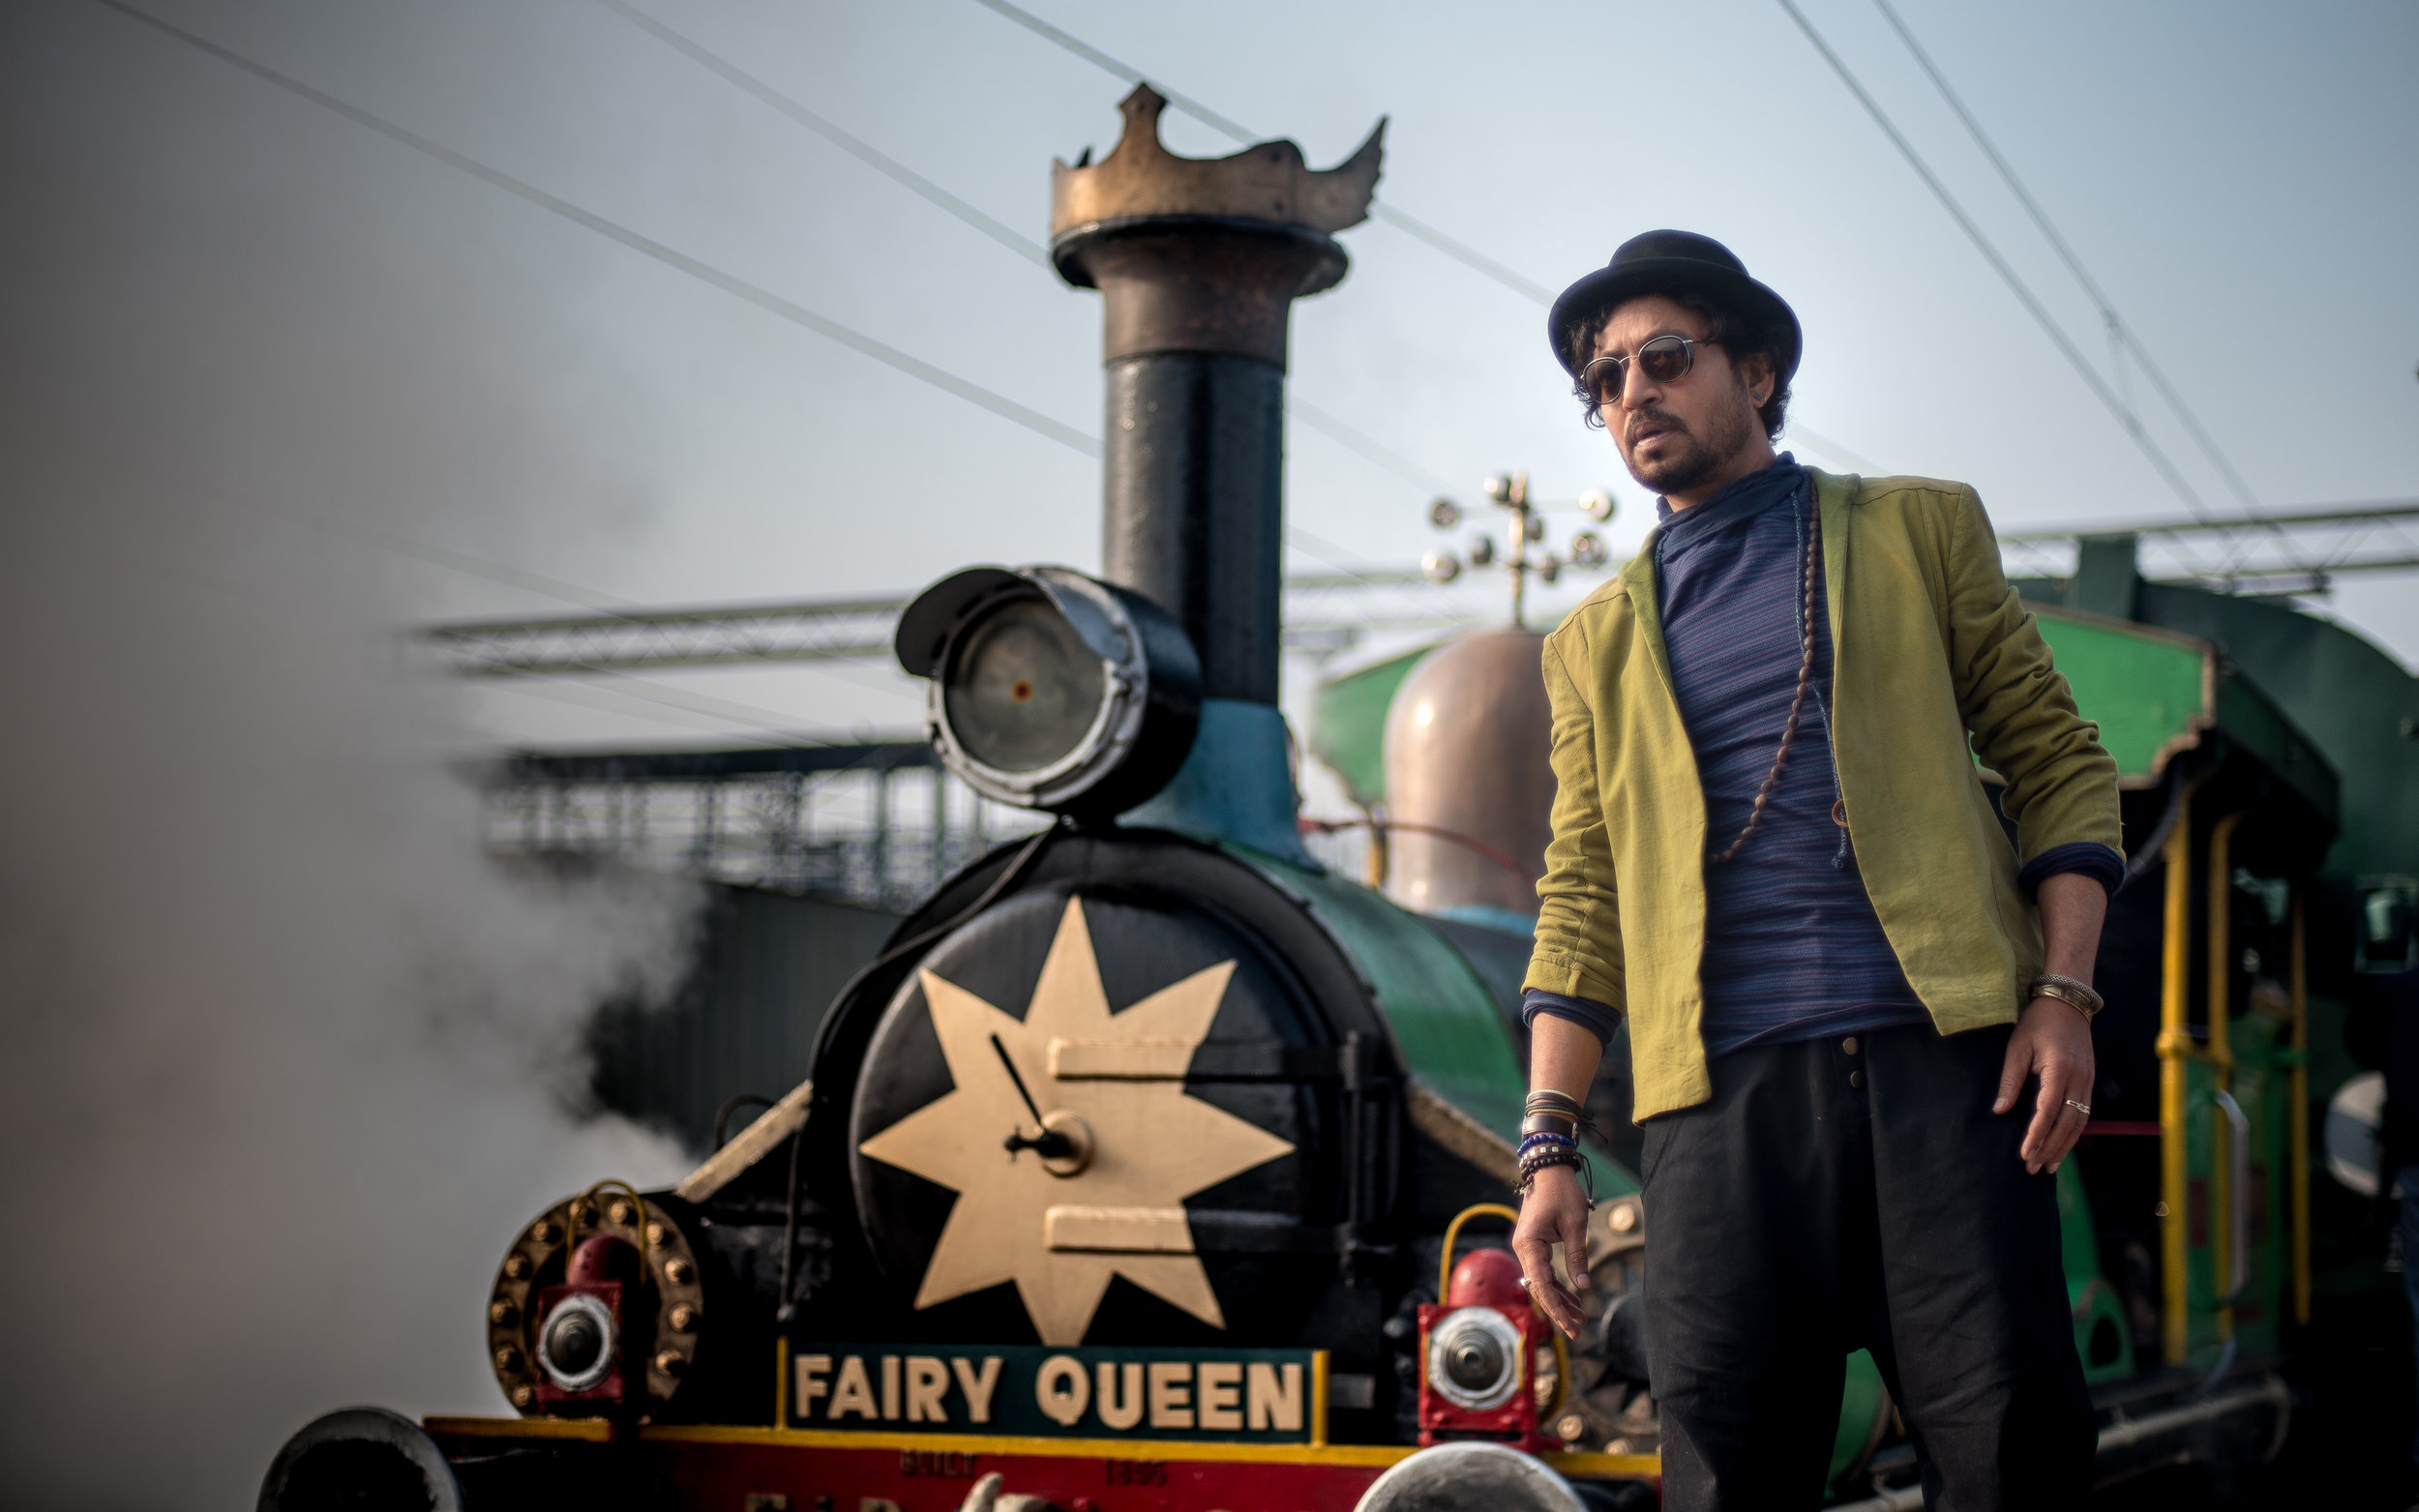
Why is the 50mm 1.8 lens the best lens in the world and why should you buy it!
It’s been a while since you’ve had this DSLR but your photos just don’t stand out. They seem to be missing something. You can change that today.
It’s been a while since you’ve had this D-SLR but your photos just don’t stand out. They seem to be missing something. That finesse. That x factor. That punch.
That ‘D-SLR look’ you’ve seen on Instagram.
Mind you, If you’re not getting the kind of shots you want, it could make you fall out of love with photography. At the end of the day we do things to get results. And if you’re putting in the time and you don’t think it’s yielding anything substantial, it can turn you off big time.
Here’s what happens. You’re getting great natural light on your subject. You might even think that the picture has a kind of mood. You compose your shot, hold your breath and click the shutter release button. Nice.
Later, you see the image on your computer and you can’t believe it’s the same picture. It looks ordinary. You scratch your head and go, “I thought I’d get quality images with a D-SLR.”
But here’s the thing. Image quality and sharpness often depends on the kind of lens you’re using and its aperture (aperture is the opening of the lens, which is denoted by the f number. For example, f.4 or 5.6.) The lower that f number is, the wider the aperture will be.
A wider aperture allows more light to enter the lens, and this allows your camera to render focus areas much better.
The 18-55 kit lens that comes “free” with your D-SLR may seem good enough to start with, but it has an aperture range between f/4 and f/5.6
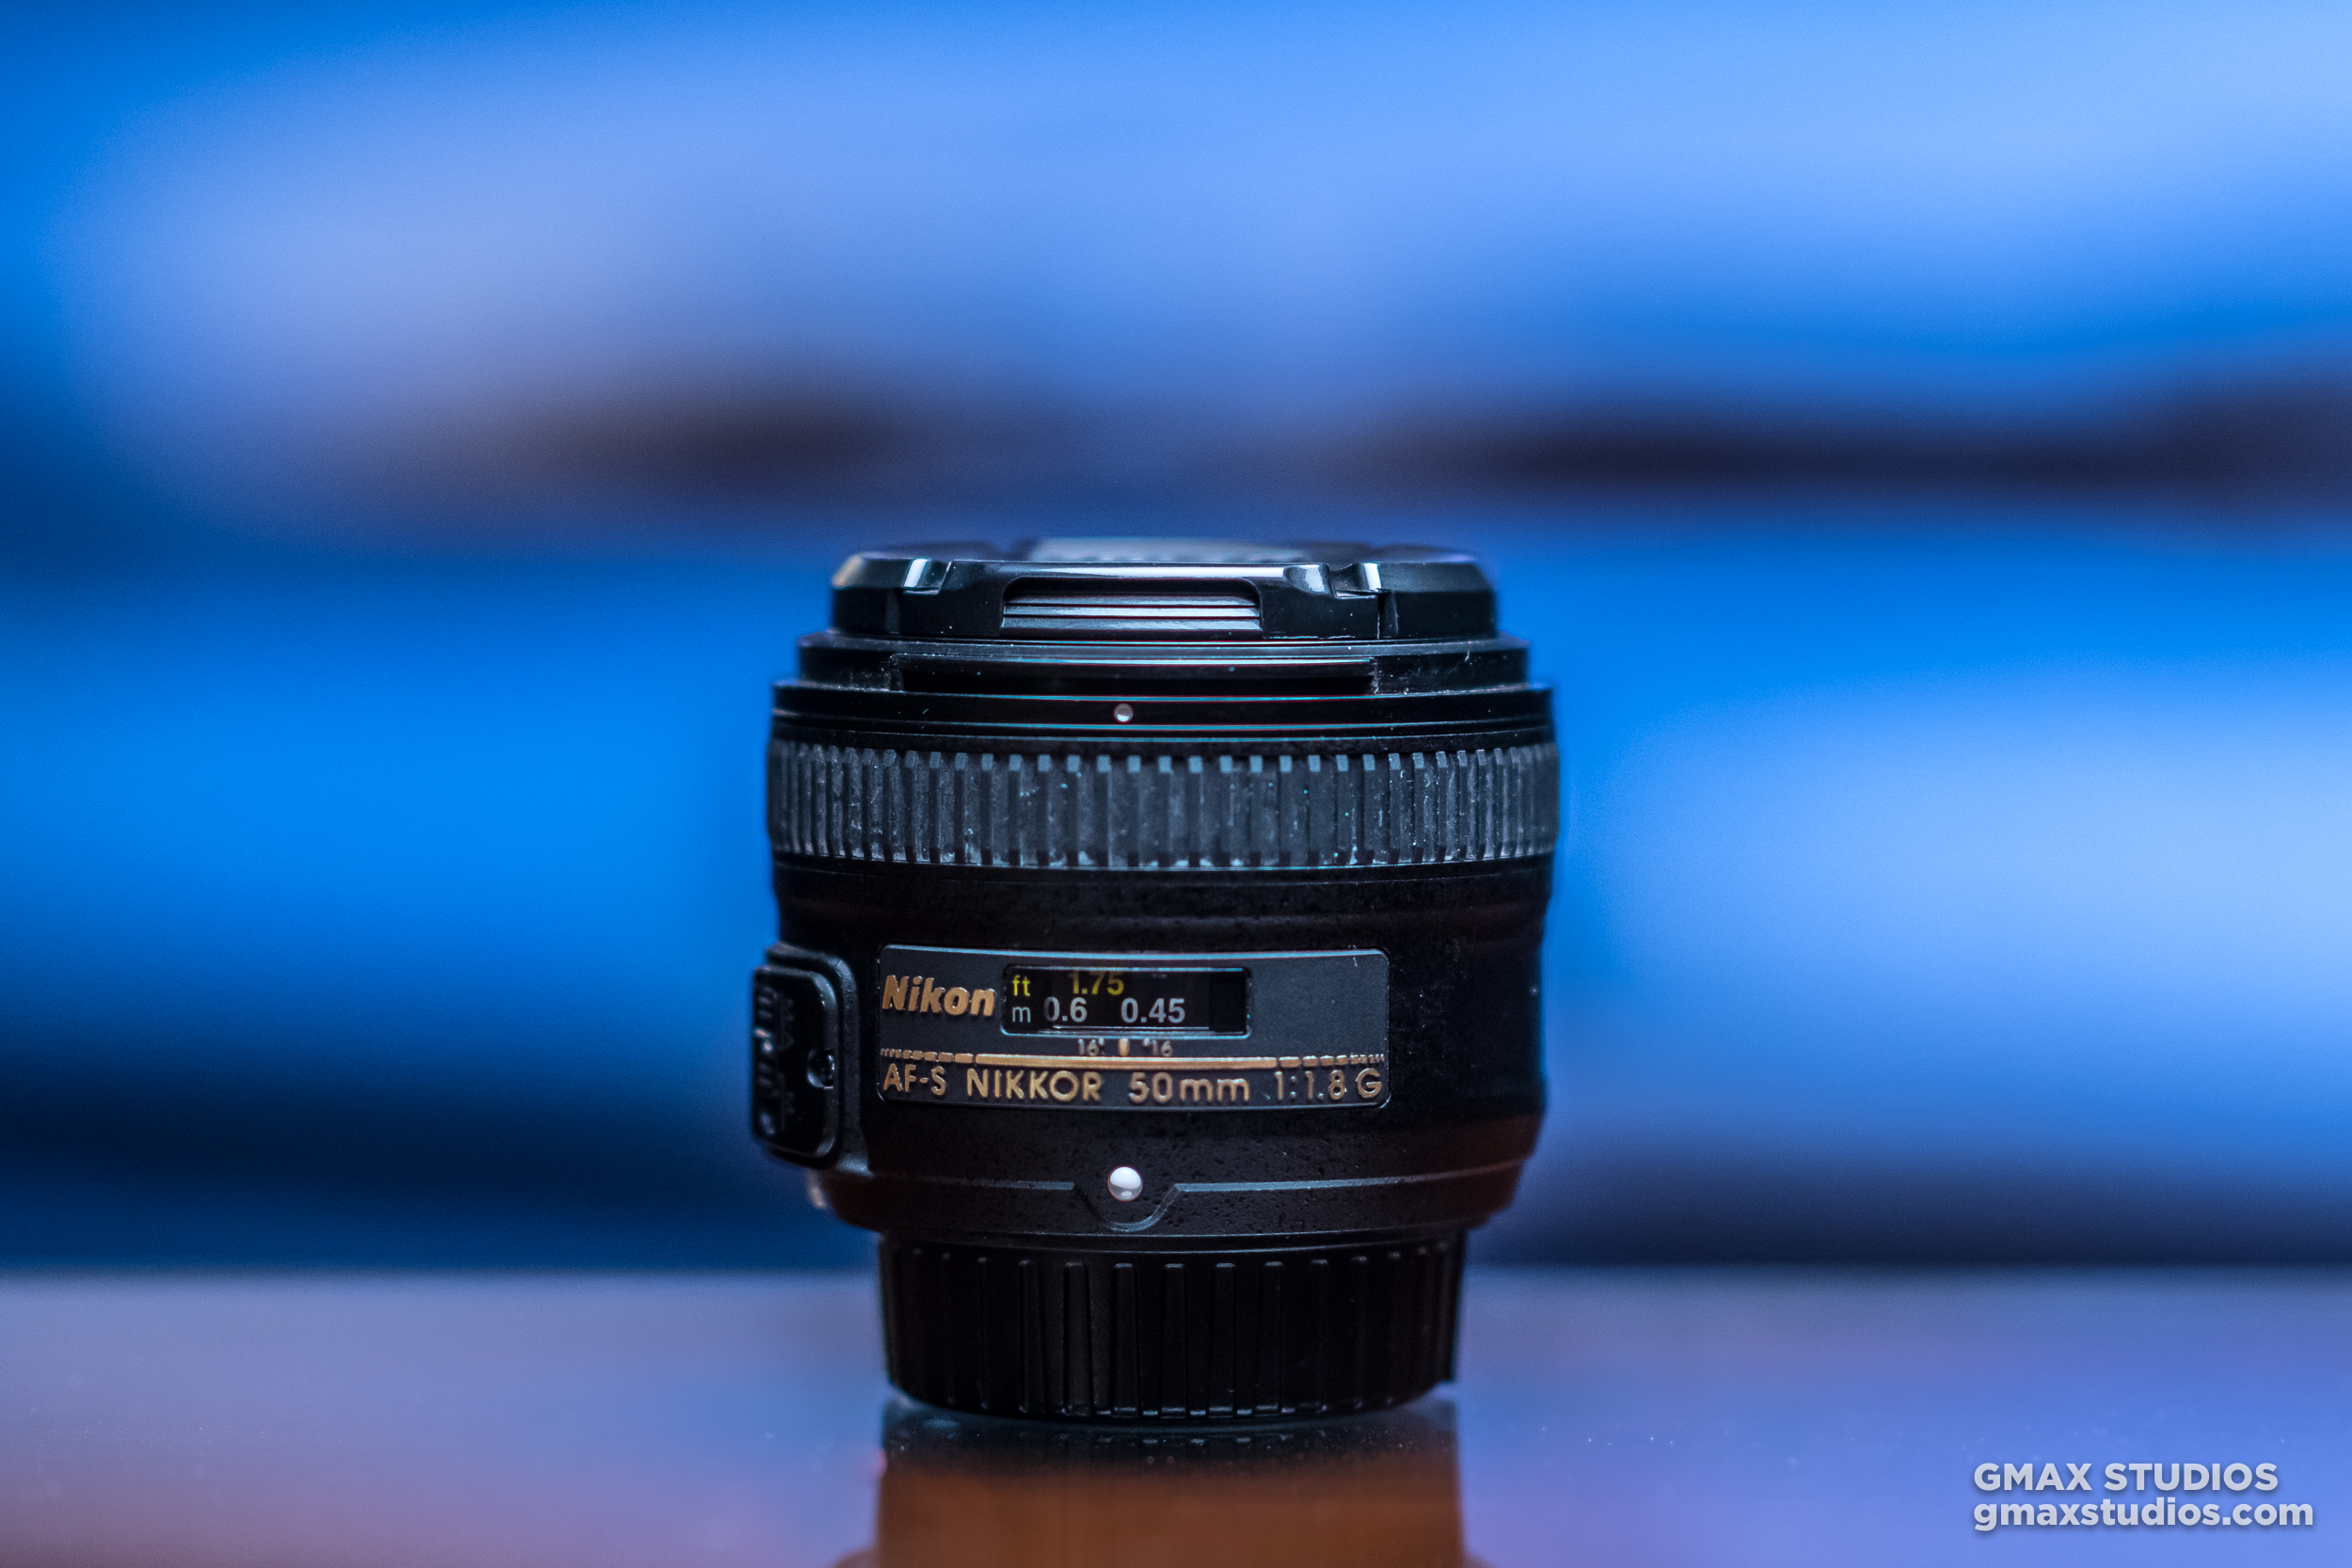
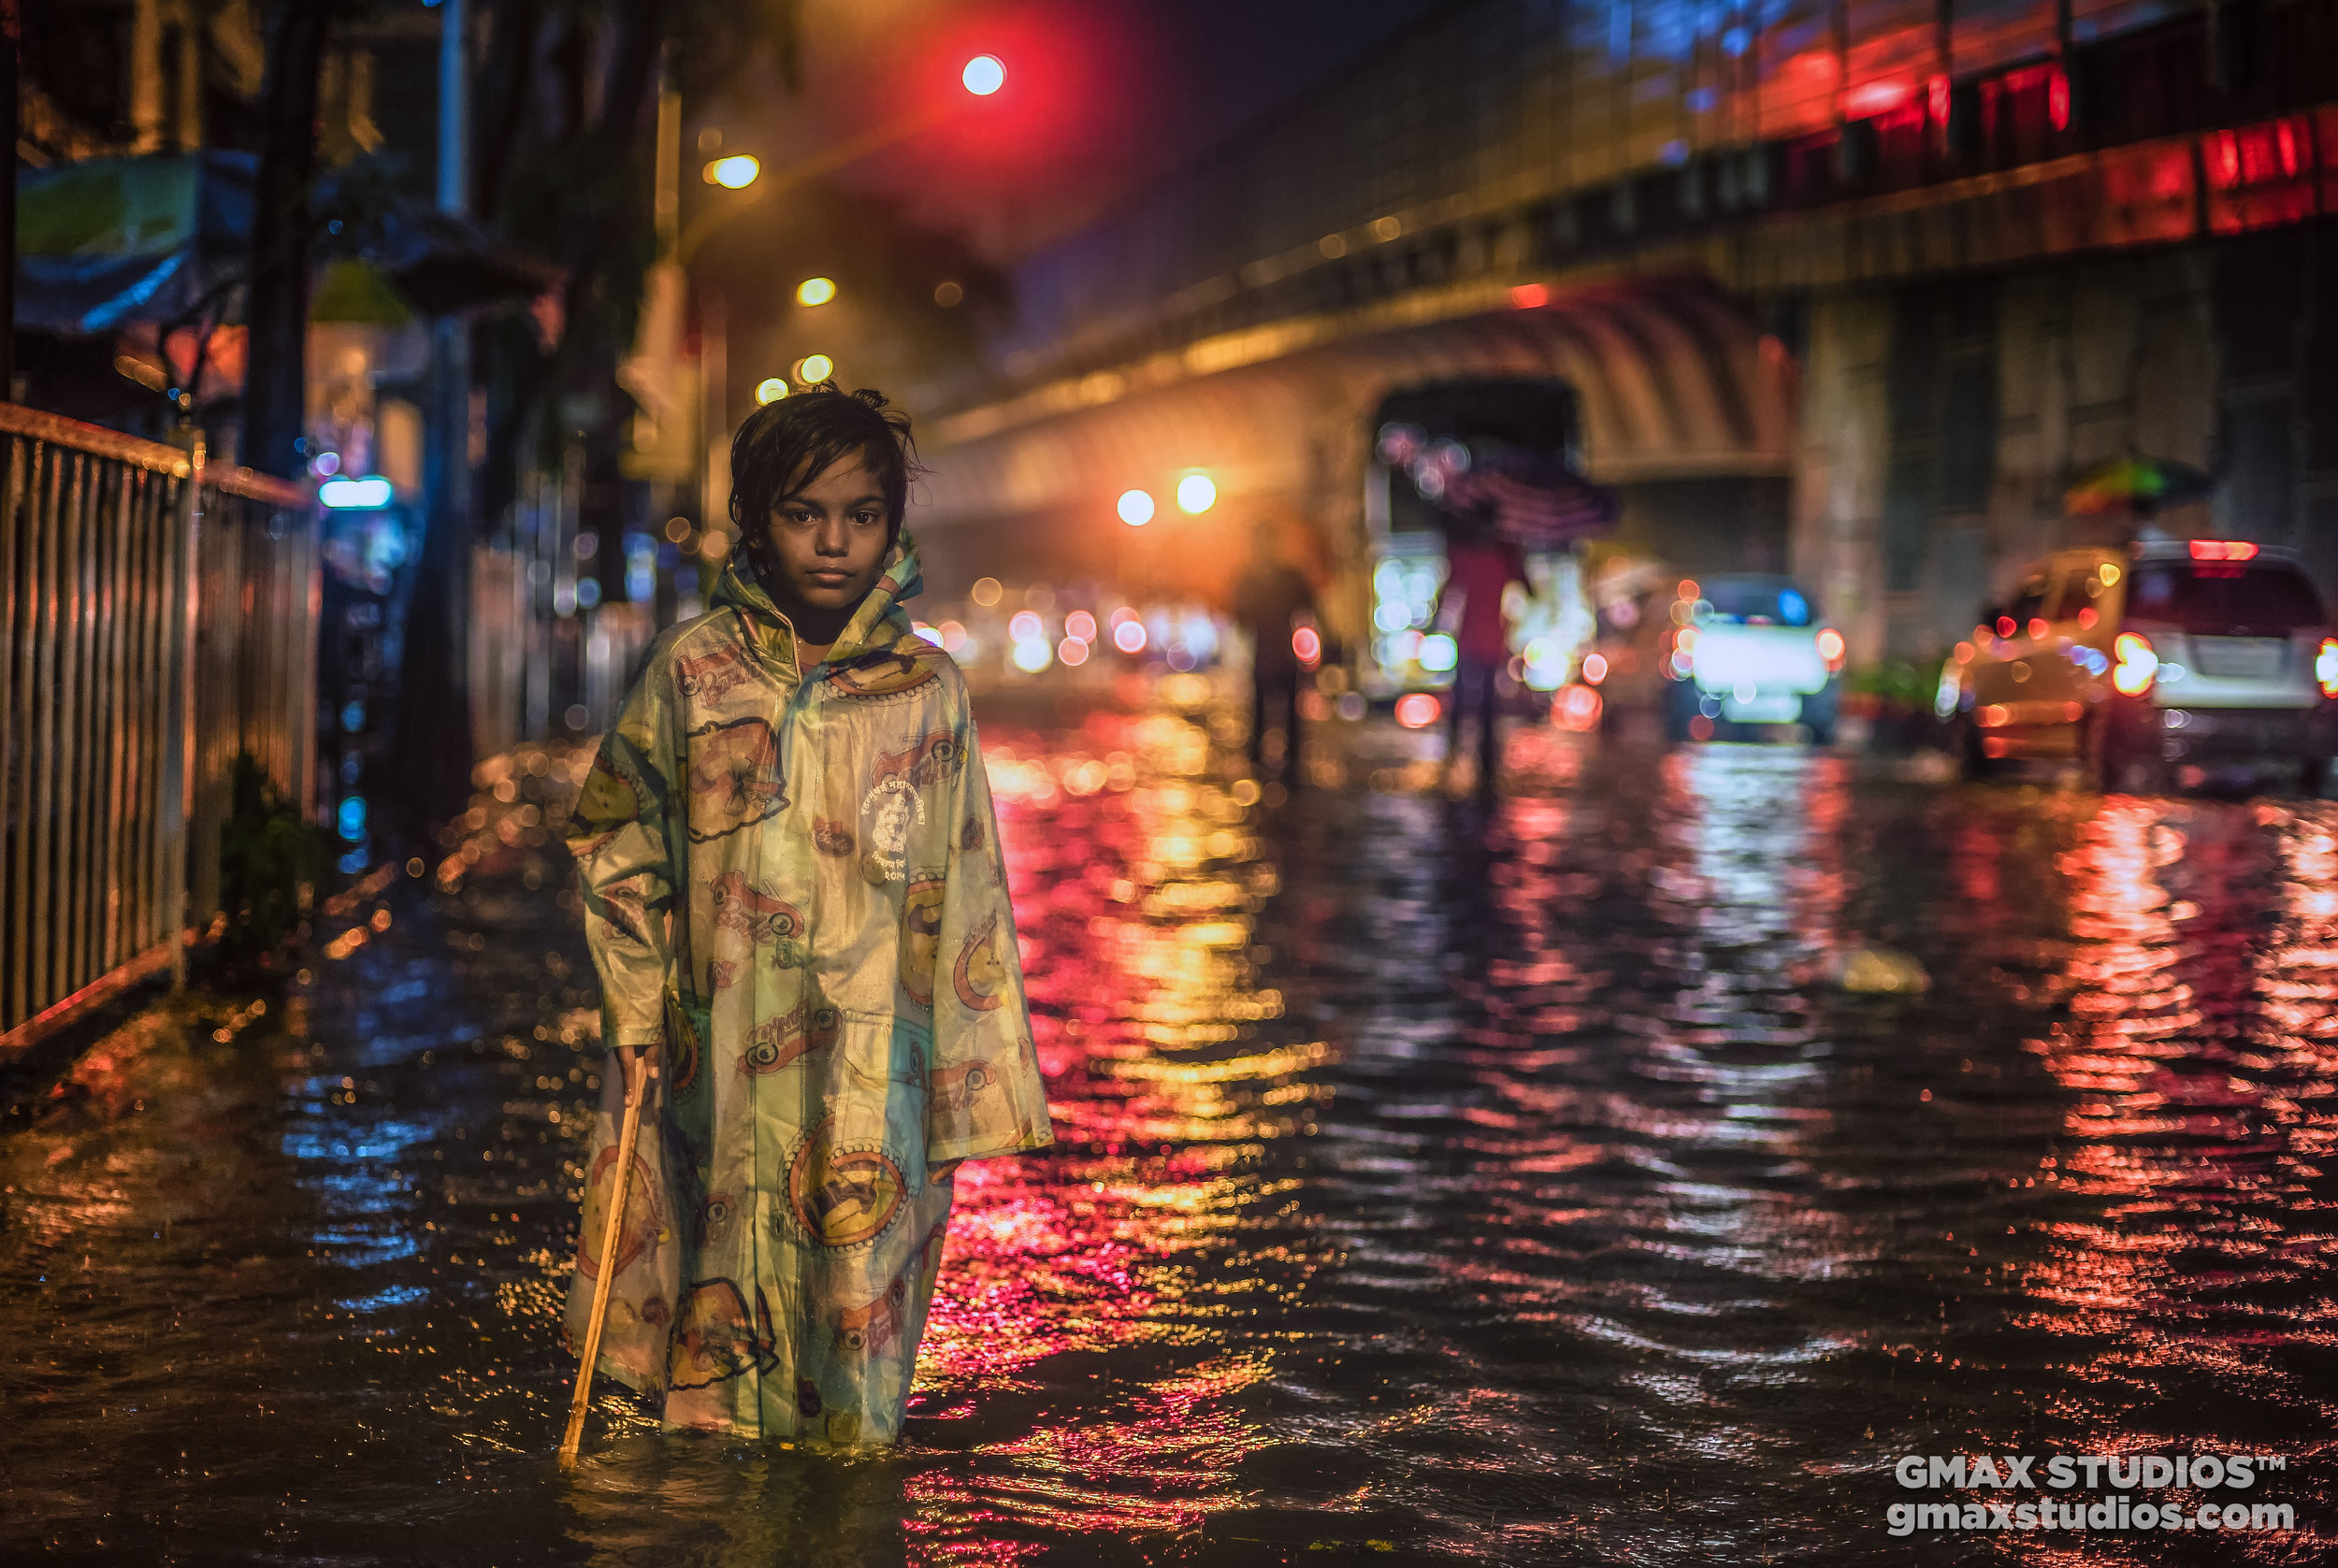
If you’re looking for beautiful bokeh, sharper image quality, a 50mm prime lens with a 1.8 aperture is a great lens to buy.
Background blur has mostly to do with your aperture
The 50mm 1.8 prime lens is also called a ‘nifty fifty’ because of how nifty or useful it is to photographers. It's light, cheap and almost every camera company makes it. It's also a fast lens, (lenses with wider apertures are called fast lenses) which means you can shoot at higher shutter speeds, and you don’t need to bump up the ISO too much. In terms of quality, the nifty fifty is best bang for your buck.
Here are a few reasons why we think it’s a great lens.
The nifty 50 is the personification of “good things in small packages”
It’s Light and Easy to Carry
Weighing between 150 to 200 grams, the 50mm 1.8 will have your shoulders thanking you for it. It fits right in to any camera bag, and you can take it anywhere without attracting much attention. If you had to pick one lens to travel with - this would be the one.
It’s Versatile
The nifty 50 is the Johnny Depp of camera lenses. It can practically be used in every genre of photography. Portraits - check. Landscapes - check. If you’re into street photography, it’ll be hard to top the functionality of this lens.
Everything Looks Right
A 50mm lens is also called a normal lens. At a focal length of 50mm, its field of view is similar to what the human eyes perceive. Everything looks as it should, there’s not much distortion like in the case of wide lenses or the feeling of distance when you take a photograph using a telephoto lens.
It’s a Fast Lens
Like we mentioned earlier, fast lenses allow you to shoot using high shutter speeds - which means less camera shake resulting in sharper photographs. You can shoot in low light conditions easily. So feel free to step-out past 6 pm and photograph as much as you want, and the next time your friends come over for a party and whip out their samsung, tell them to put it aside because you have them covered.
It’ll Give You That D-SLR Look.
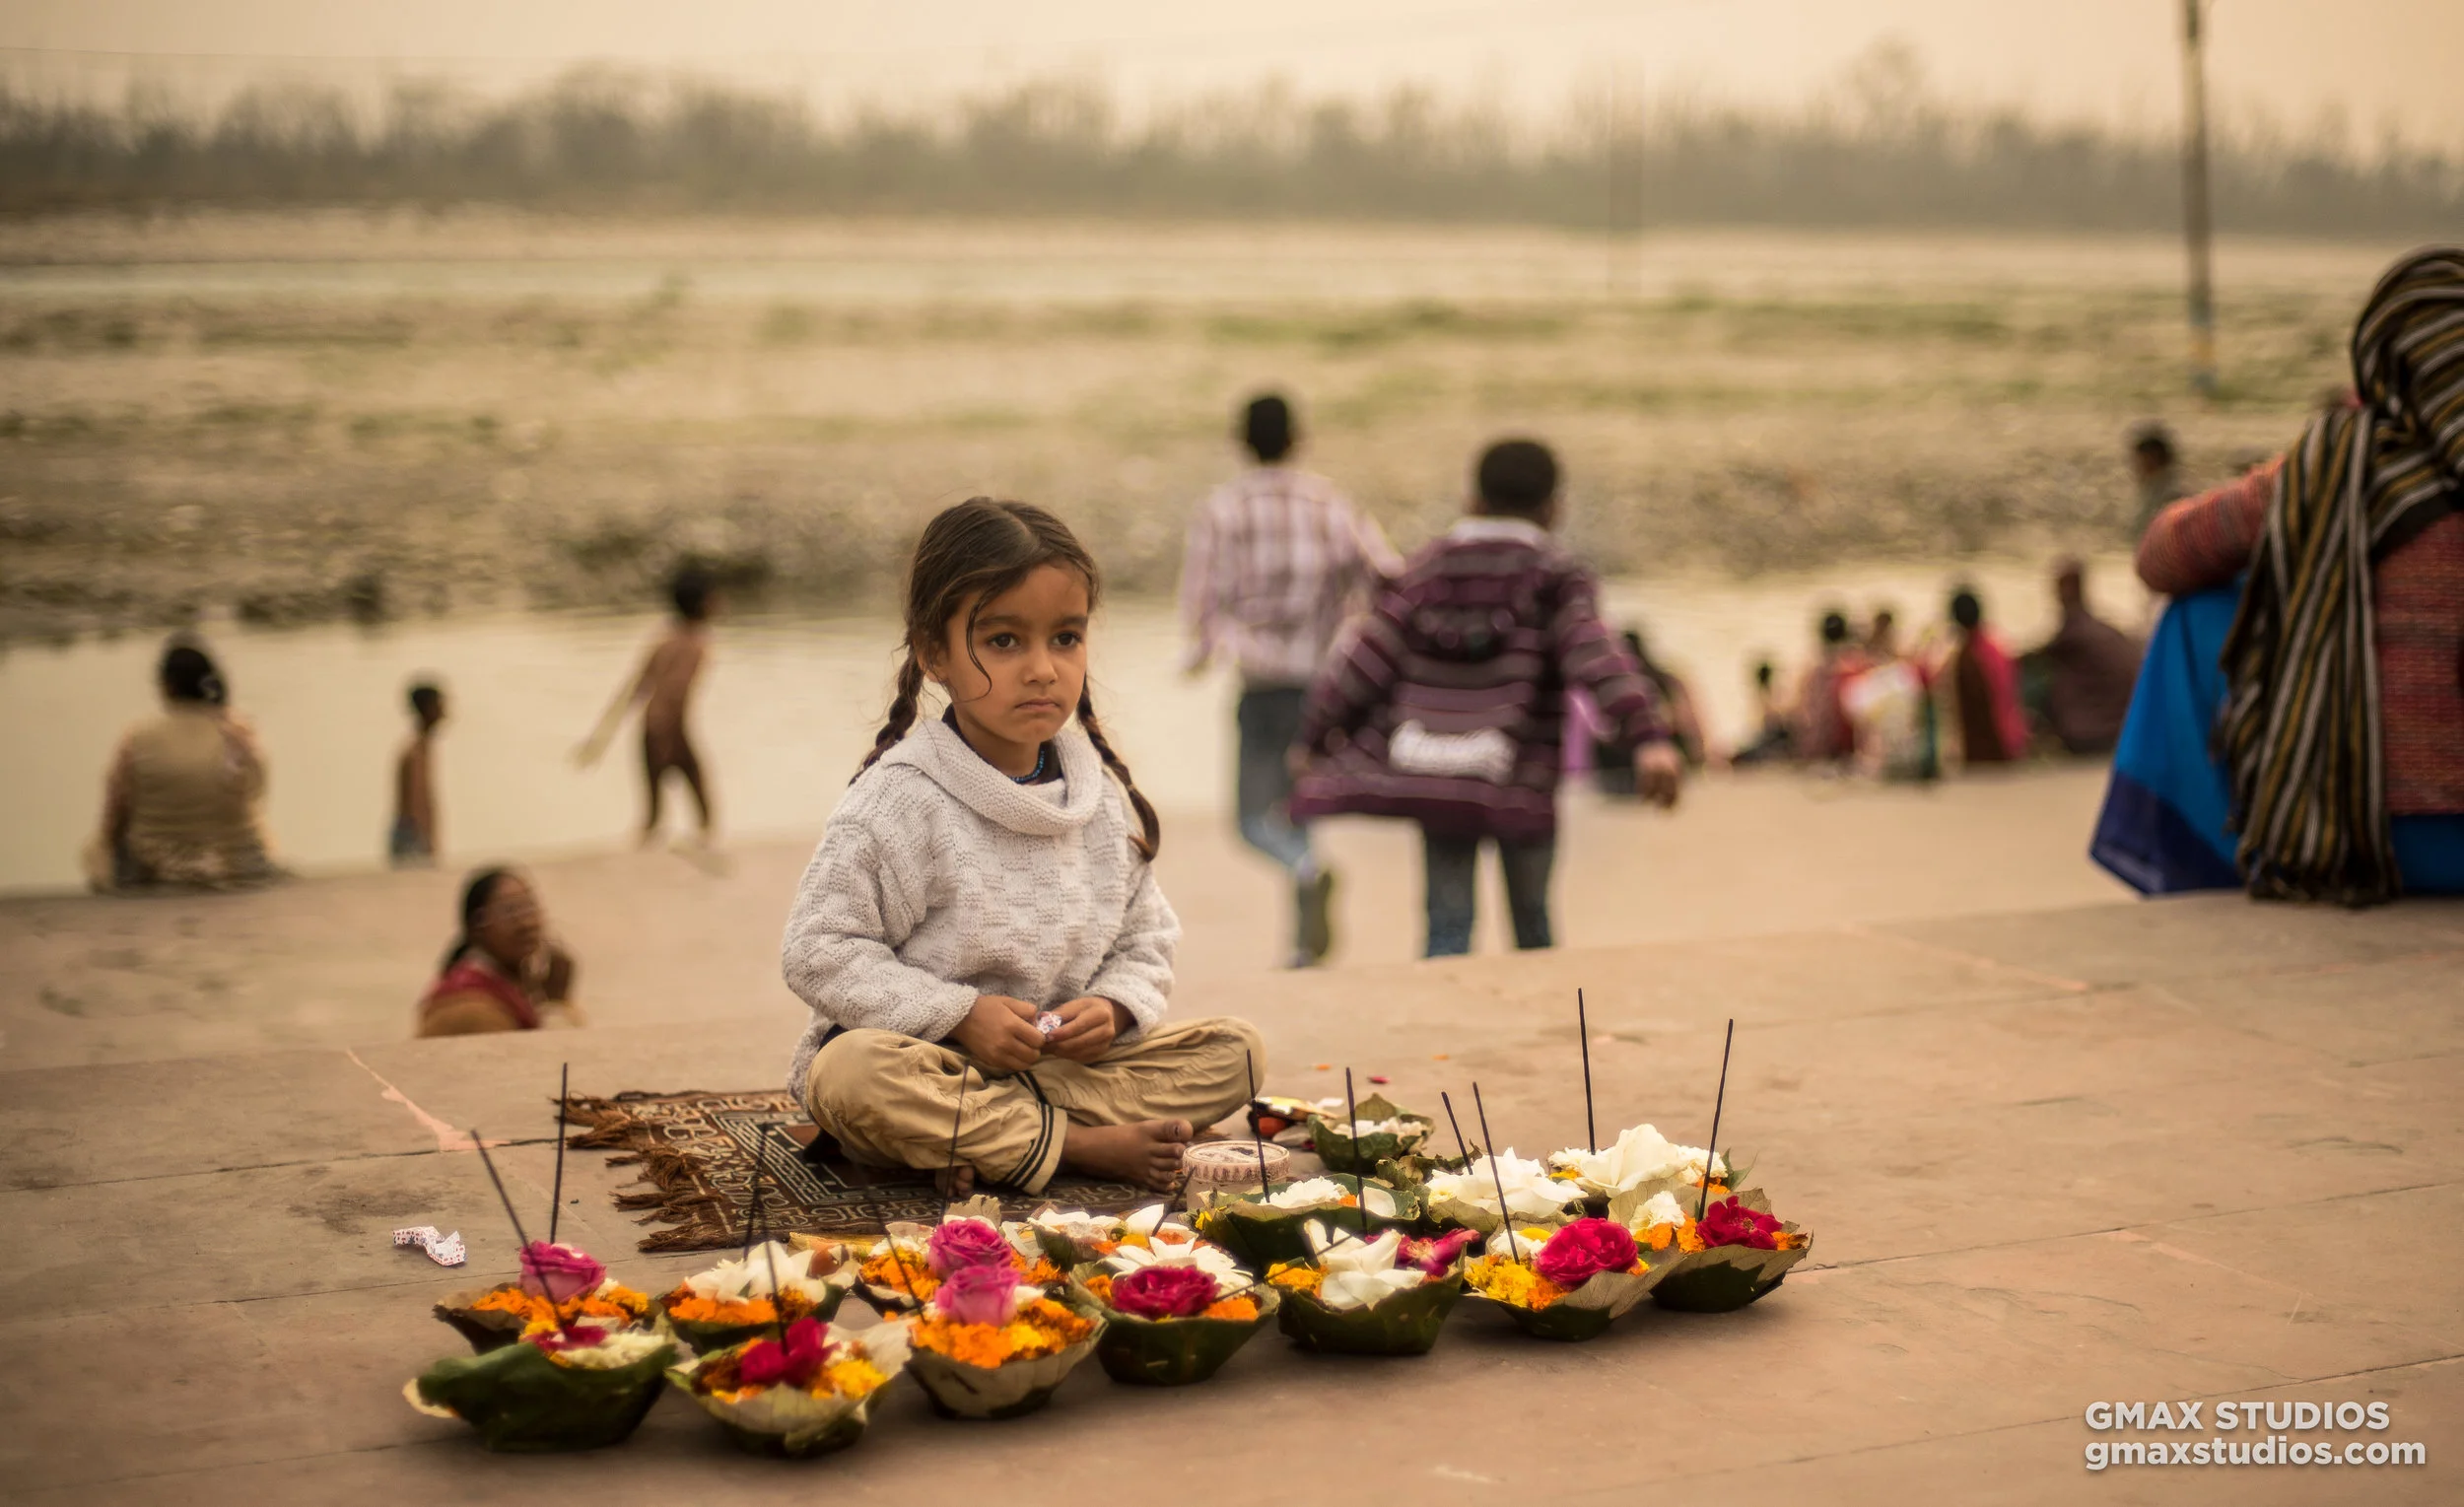
Chin up. You’ll finally get that D-SLR look you’re after. By that we mean pictures that have a shallower depth of field, where the subject is separated from its background to a greater degree. We all love those blurred backgrounds, don’t we? Well, the depth of field depends on your aperture and it isn’t a trick some photographer came up with.
Increased Sharpness
The 50mm lens is incredibly sharp. If you’ve been shooting with zoom lenses, the sharpness you’ll get from a prime lens will surprise you.
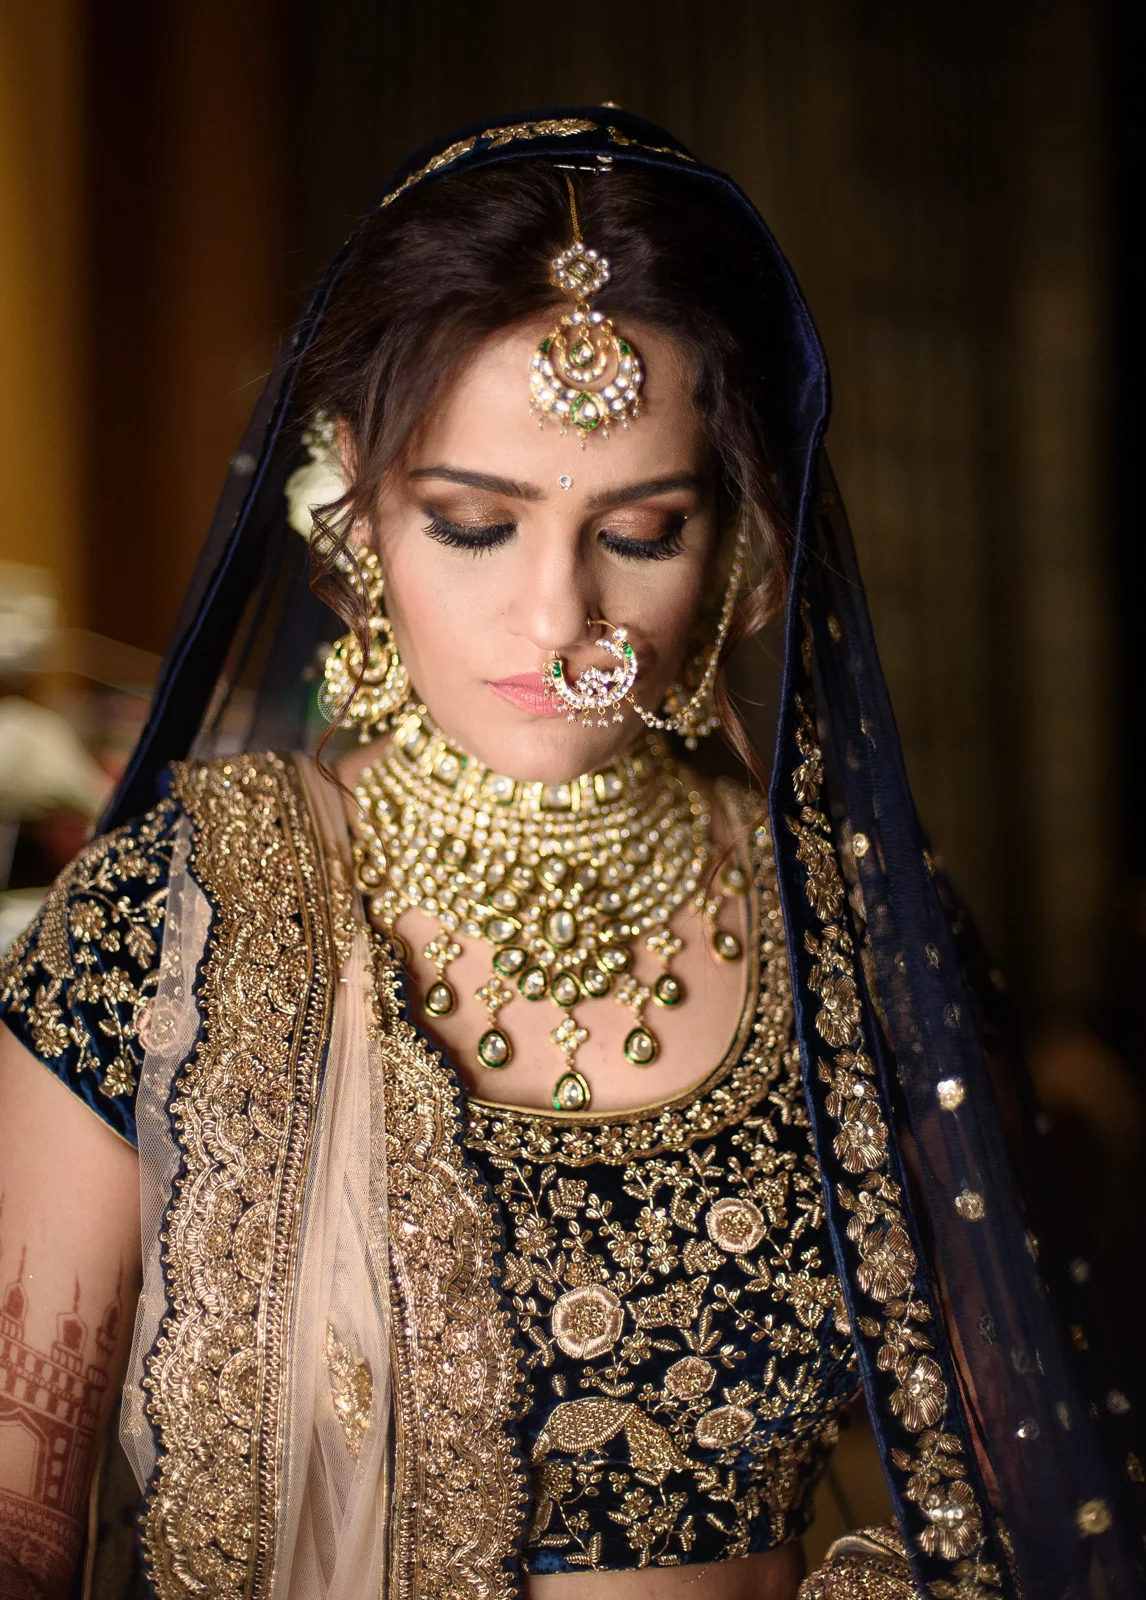
You'll have no trouble taking fashion or commercial shots with the 50mm 1.8 lens.
It’ll Make You a Better Photographer
Yes that's correct. If you’re used to taking photographs with a zoom lens, it’s quite possible that the constant zooming in and out might have pampered you a little bit. Because you can zoom in or out whenever you want you don’t work as hard, like you would with a prime lens that has a fixed focal length.
A prime lens isn’t a wide lens and it isn’t a telephoto lens. It’s somewhere in between. Which means you’ll have to travel back and forth to frame your subject correctly. This will teach you how to compose, get creative and think out of the box.
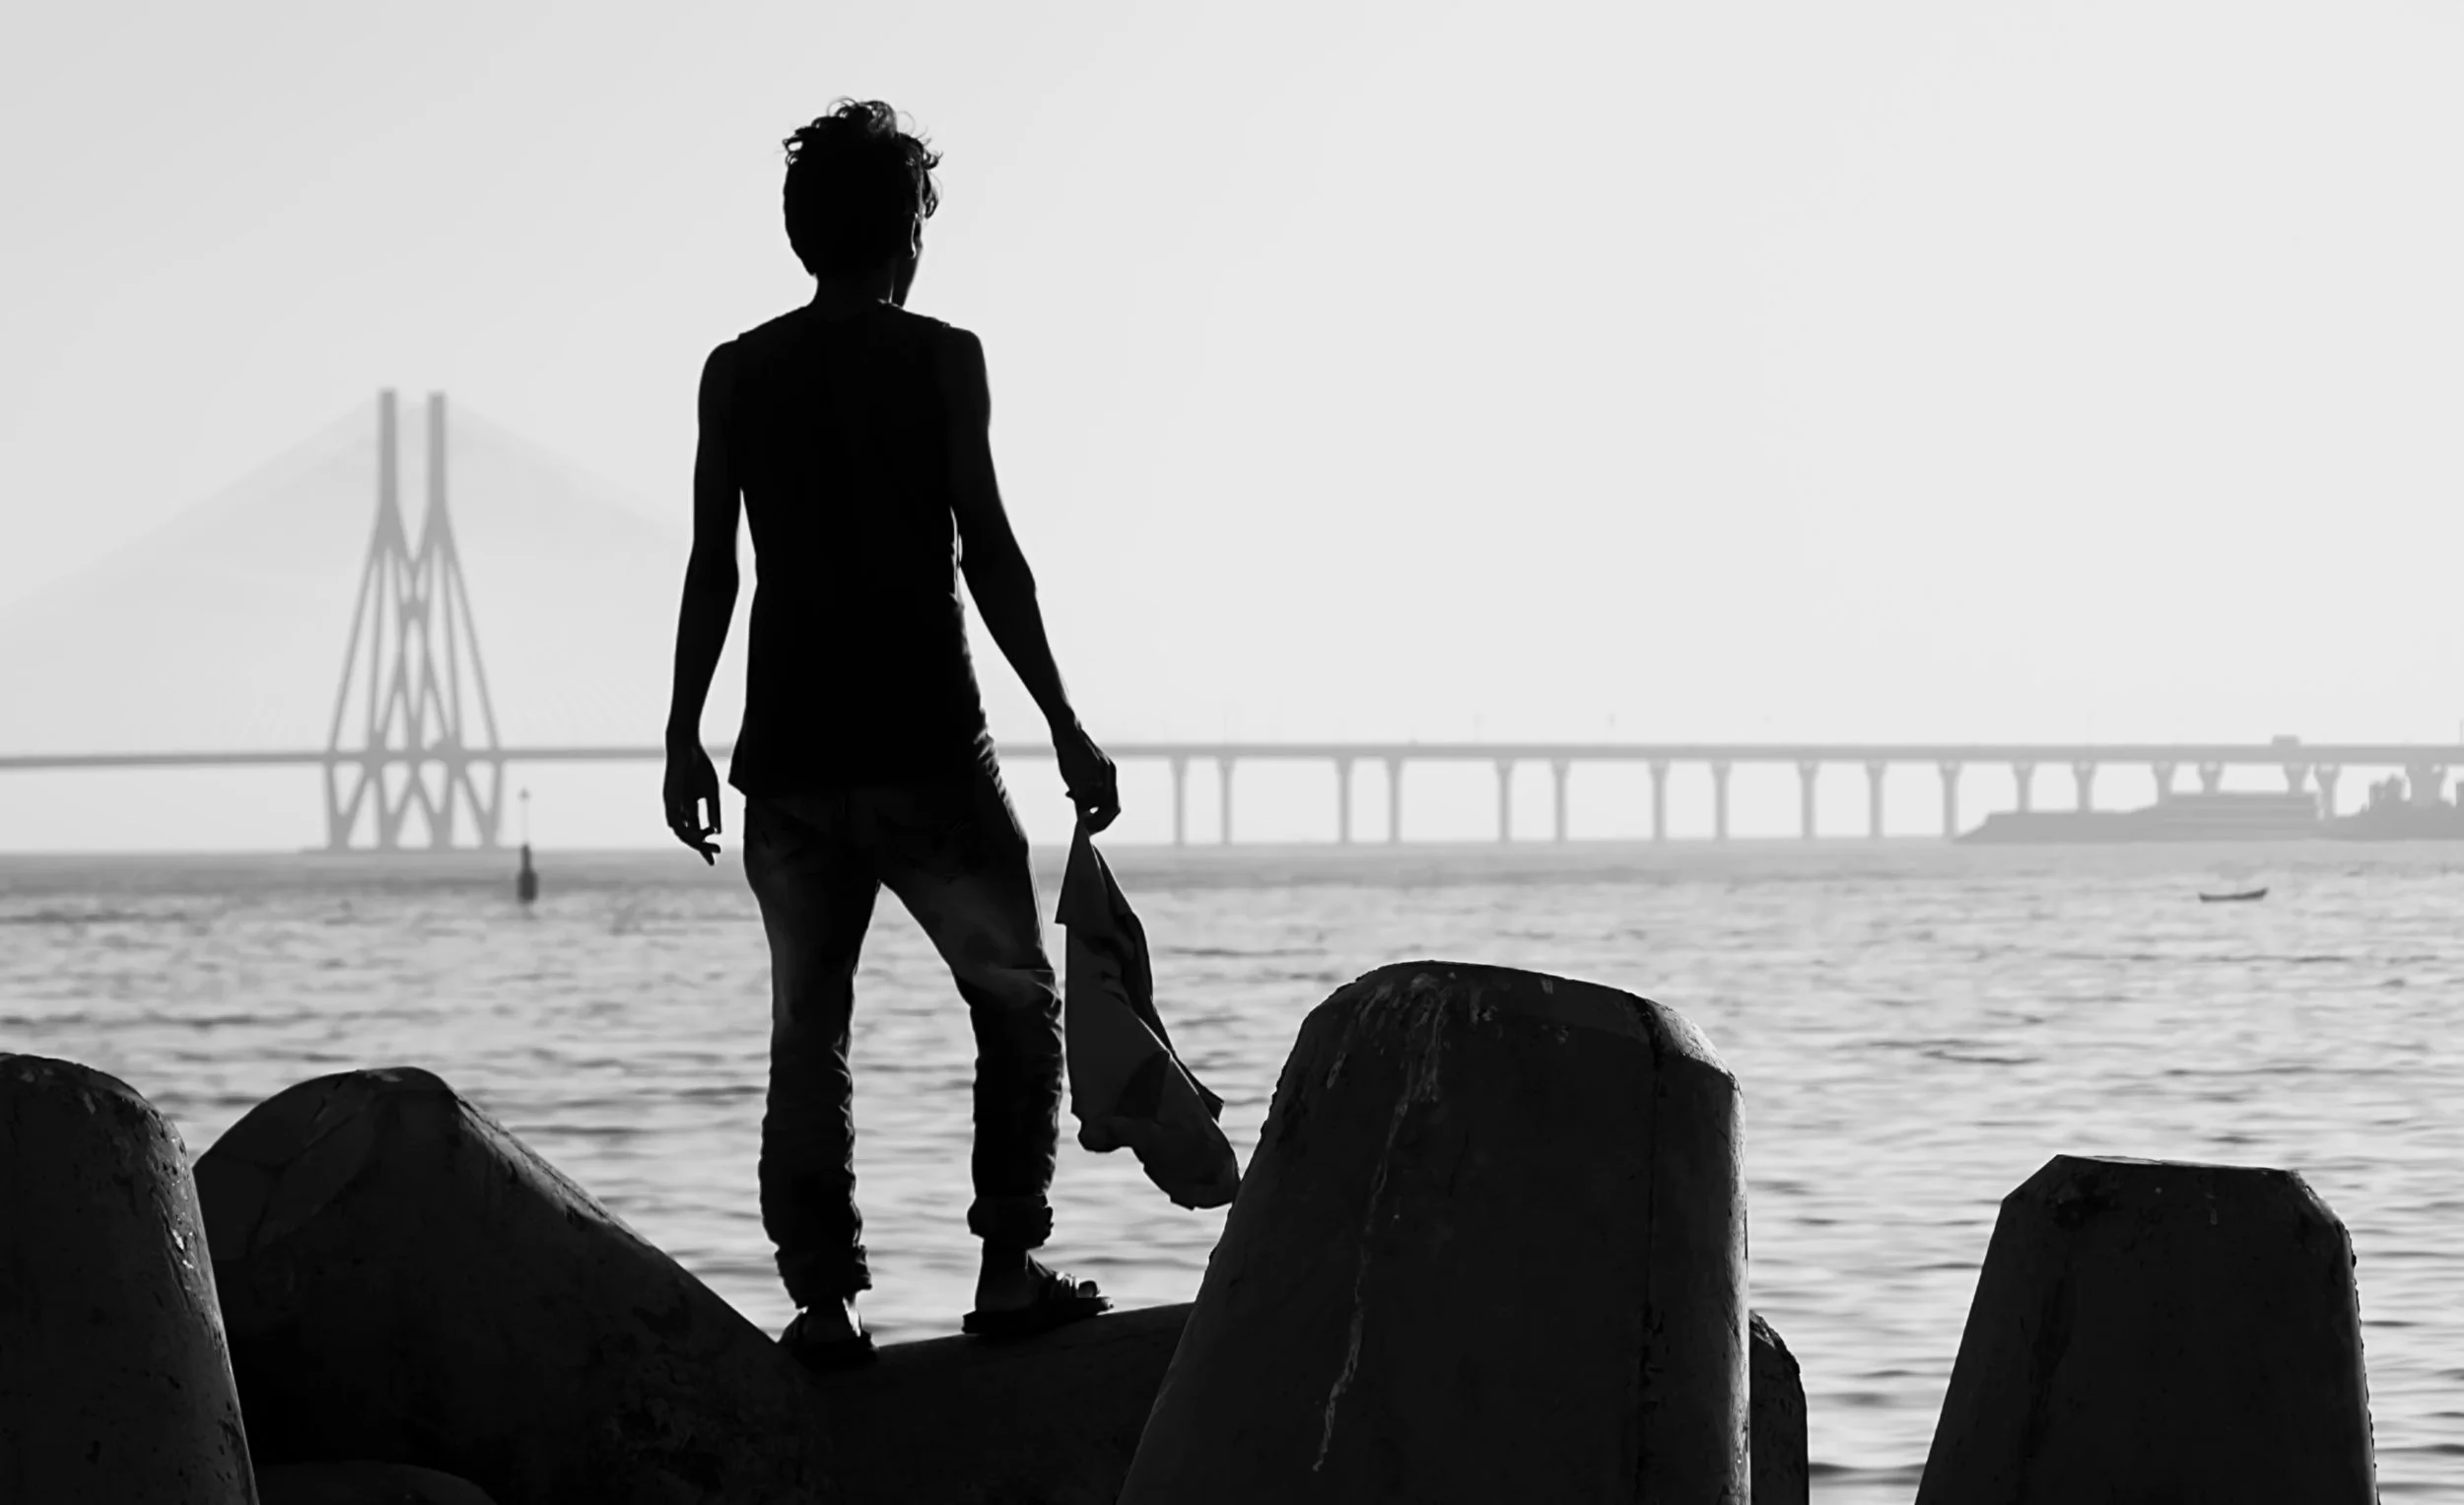
Photograph by Himanshu Singh Gurjar
If you’re still not convinced - check out this video on the nifty 50. It’s quite likely that it’ll become your favorite lens in the world too. Leave us a comment if you have any questions.
ISO shutter speed and aperture relationship explained
The Exposure Triangle - that is the relationship between ISO, shutter speed and aperture explained.
I remember the time when I had just picked up a camera with a serious intent to start shooting. It was all so confusing. "So many settings!" I used to keep thinking and then one day I realised that while photographing I could only control the aperture or the shutter speed. I was shooting film, so I had little control over ISO - once the film was inside the camera, it was pretty much fixed at what ISO I was shooting.
So now, while shooting digital, in spite of all the confusion there are just three things you need to control to create a good photograph - ISO shutter speed and aperture (Ok four, if you want to count in white balance too!)
What is the relationship between ISO, shutter speed and aperture?
The relationship between ISO, shutter speed and aperture is also known as the exposure triangle.
EXPOSURE TRIANGLE
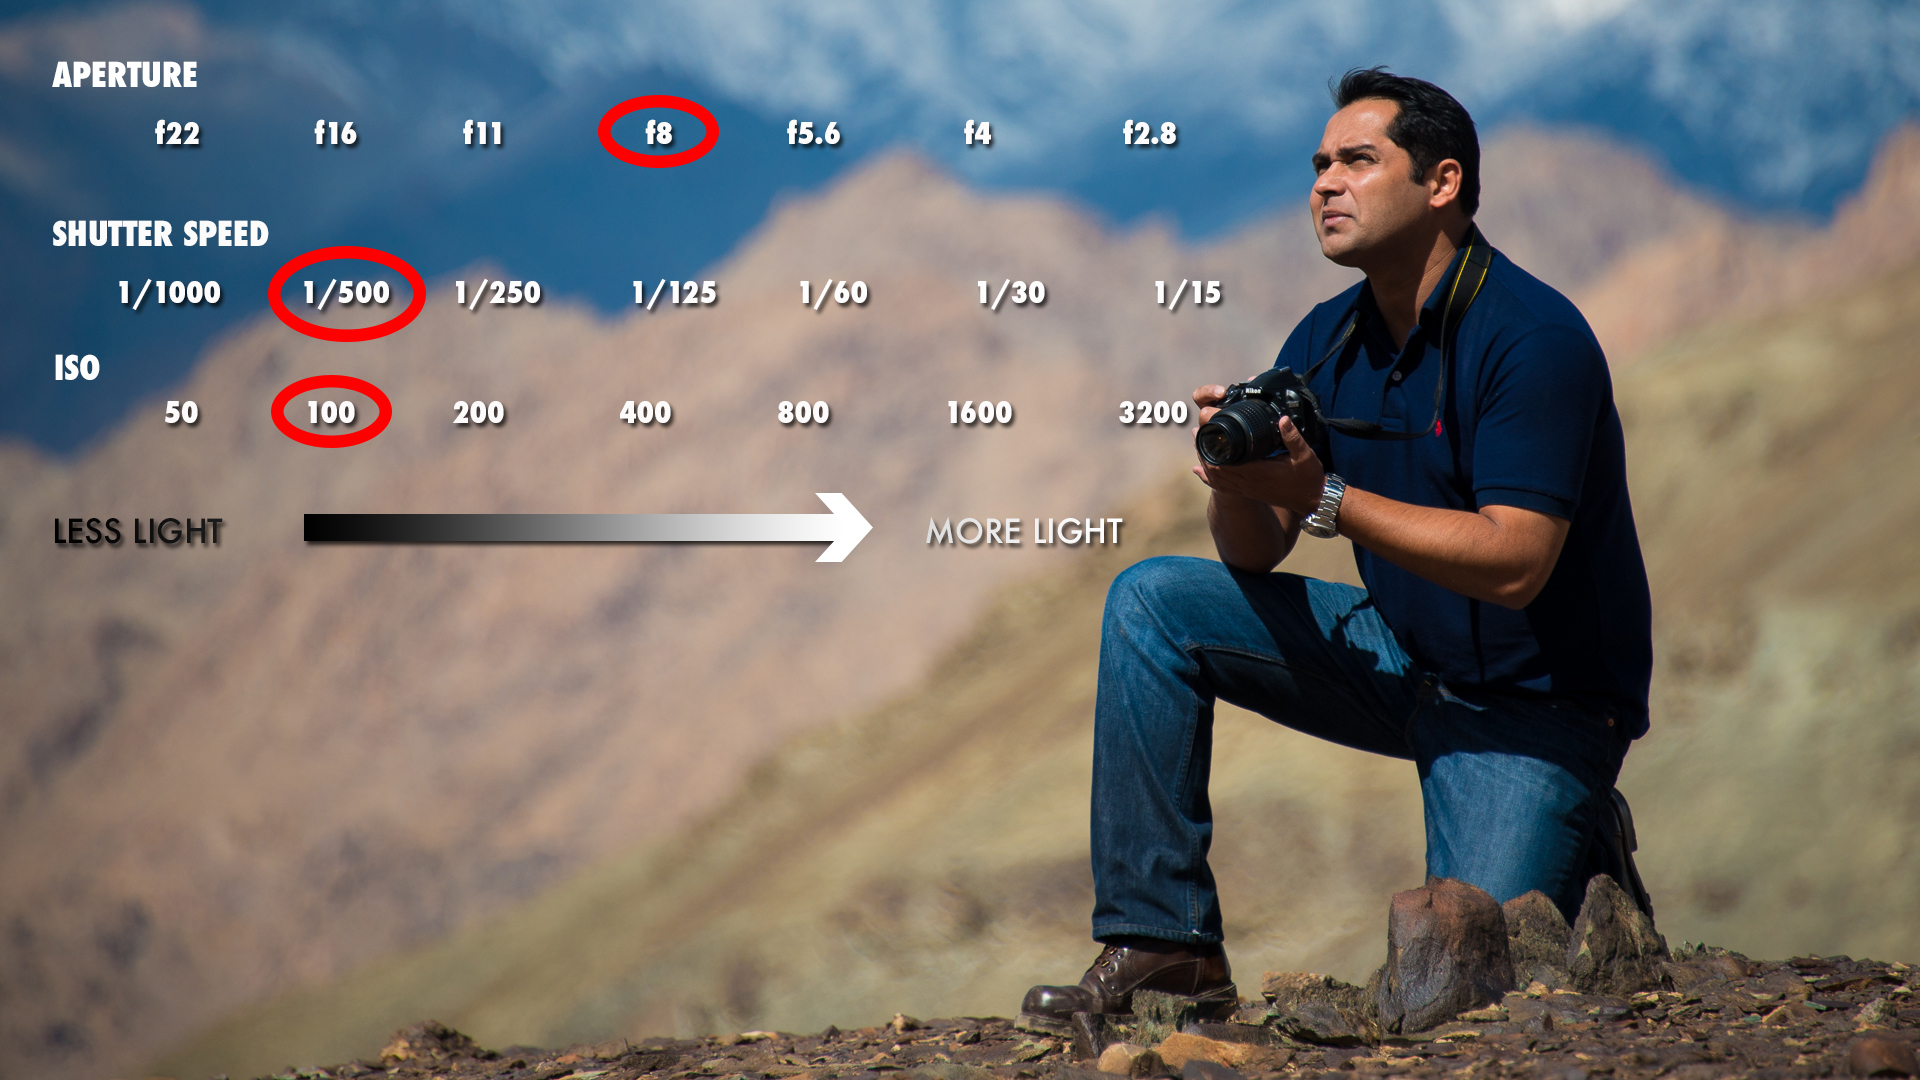
These three settings define what the exposure value of a photograph. It means that the exposure value of any photograph can be expressed as a combination of these three settings or values. For example the photograph below was taken at an exposure value of f11, 1/250th at ISO 100 - where f11 is the aperture, 1/250th(of a second) is shutter speed and the ISO is 100.
iso shutter speed and aperture relationship
So now if I increase the amount of light entering the camera by opening the aperture by 1 stop to f8, the photograph becomes slightly overexposed as seen in the photograph below.
ISO shutter speed and aperture relationship - overexposed
In order to compensate for this, I will have to increase my shutter speed to 1/500 in order to get a properly exposed photograph again. This because I have used another setting (shutter speed) to decrease the amount of light by the same value that I increased the amount of light.
EV valueok500
So, what this relationship primarily boils down to is this:
If you you increase or decrease one of the values in the exposure triangle - you will have to increase or decrease another value BY THE SAME value in order to get the same Exposure Value.
Sounds confusing? Well it kind of does when you put it in words but the good news is that once you see the video below it will become perfectly clear. Please subscribe to our channel by clicking here if you like the video and would like to see more of these.
Please share this video with your friends if you liked it. Ask your questions in the comments below and also let us know what other videos or articles you would like to see in the future.
Understanding aperture in photography
Understanding aperture in photography
Imagine in your mind, how the camera works. For you to make a good photograph, a certain amount of light needs to hit the sensor. Let us assume this amount of light to be hundred units. If the light hitting the sensor lesser than the amount of light required, the photographs will be dark or “underexposed”. Similarly, if the amount of light hitting the sensor is more than the amount of light required, the picture will be over-bright or “overexposed”.
There are two ways of controlling the amount of light hitting the sensor-via the aperture or with the shutter speed.
What is aperture?
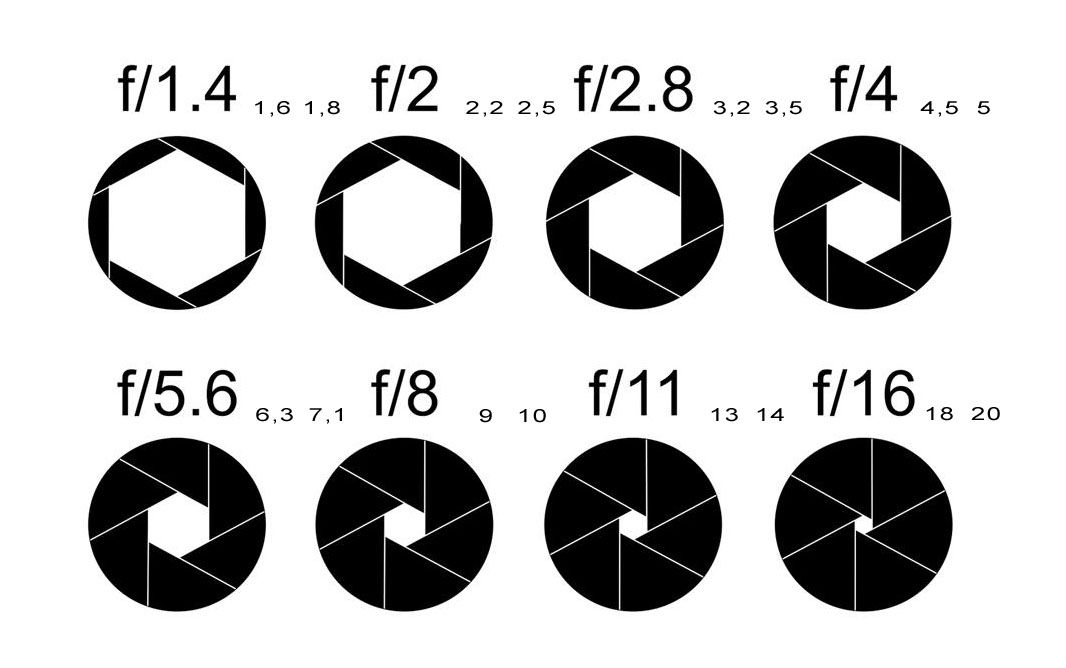
The aperture is nothing but the hole in the lens through which the light enters the camera. For the time being, all you need to know about the aperture is that smaller the number [1.4 or 1.8], the bigger the aperture and similarly, the larger the number will [16 or 22], the smaller the aperture or the size of the hole on the lens.
Understanding aperture in photography
All these numbers are often referred to by using the alphabet F in front of them. So 1.4 is referred to as F1 .4 and 16 is referenced to as F-16. This is just another way of trying to sound cool. There is actually no difference if you say 16 or F-16.
Understanding aperture in photography - Aperture closed down
Just remember, the smaller the number-the bigger the whole AND the bigger the number, the smaller the hole. This is all that you need to remember about the aperture. This will become second nature as time goes by but it is crucial that for the time being, you remembered this!!!
Understanding aperture in photography - Full open aperture
The size of the aperture is measured in f-stops, which control the depth of field. With few exceptions, each f-stop lets in half as much light as the next larger opening and twice as much light as the next smaller one. From the largest opening to smallest, standard f-stops are as follows: f/1, f/1.4, f/2, f/2.8, f/4, f/5.6, f/8, f/11, f/16, f/22, f/32 and f/45. This can be a little confusing because the larger the f-stop, the smaller the amount of light that is let into the camera. The easiest way to think off-stops is in terms of fractions: just as '/i6 is less than l/s, an f-stop of f/16 is smaller than, and lets in less light than, f/8.
You won't find the full range of settings on any one lens. In most cases, the standard lens on a digital camera is in the f/3.5—f/16 range.
The maximum aperture of a lens determines by how much it can be opened. The maximum aperture is also referred to as the maximum iris, or the speed of a lens. Although lenses are referred to by their focal length, the description of a lens also carries a second number, such as 2.0 or 3.5, which indicates the maximum aperture of the lens. Larger maximum apertures, such as f/1.8, let in more light than smaller apertures, such as f/3.2, allowing you to take better shots in low-light situations.
Watch the video below to understand aperture better.
Also read: How aperture affects your photograph - Depth of field
Please share this post with your friends if you found this useful.
Learn photography by reading: The Ultimate Photography Guide for Beginners
How aperture affects photos |Depth of field
When you learn photography, it is easy to get confused between the various modes on the camera.
I shoot on A aperture priority mode on my camera 99% of the time (see Aperture).The main reason I do this is because I don't shoot too much of action and sports and thus find no reason to switch to S, shutter priority mode. I also like to control my depth of field or DoF as it is known. In easy terms, depth of field refers to how blurred out your background is, compared to the focus point. This is controlled by the aperture.
How aperture affects photos - Depth of field
To demonstrate this point, enter "The GMAX Team":
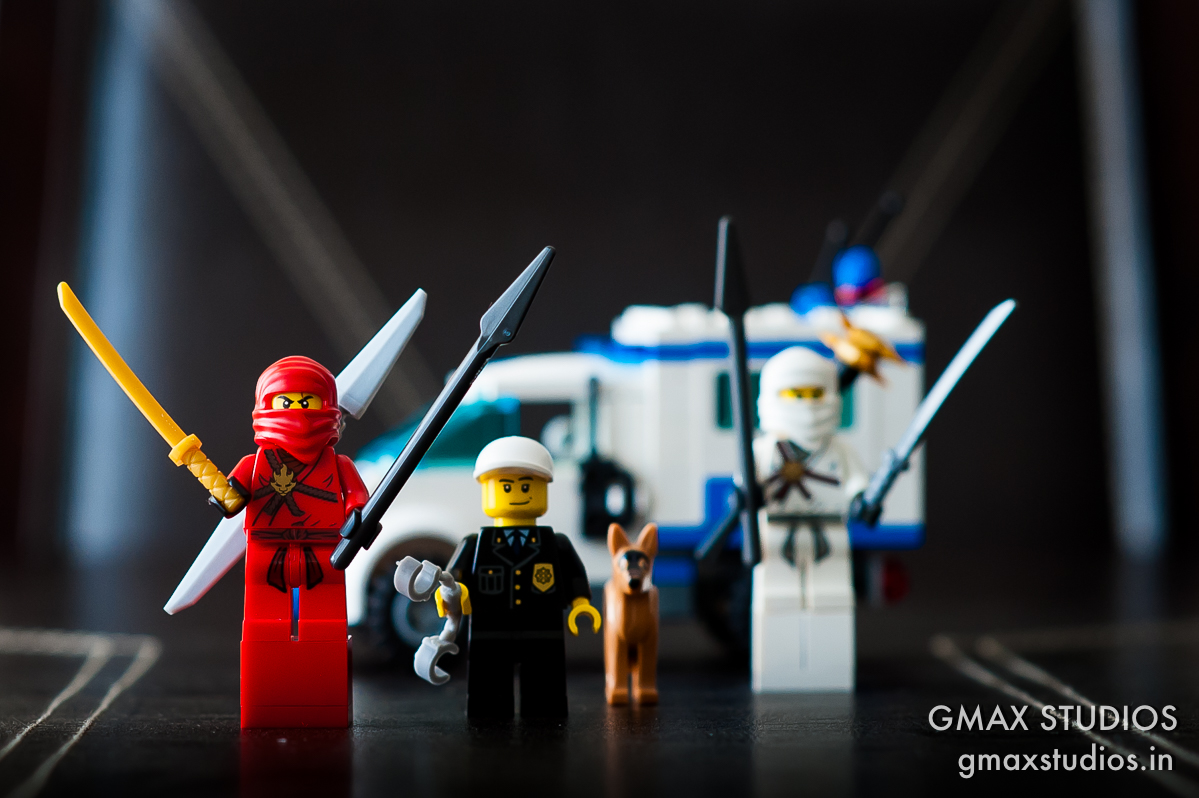
I shot the image below on an aperture setting of 1.8 on my camera. The camera automatically set the shutter speed to 1/160th of a sec.

The focus is on Kai, the red Ninja. Notice, that though the difference between the team members is only inches - they have been arranged slightly one behind the other - the policeman, appears to be blurred. The focus gently blurs from Kai, to the policeman's handcuffs and the dog Tommy and Zane, the white Ninja are completely blurred.
For the next shot I changed the aperture setting to f4. The background is gradually beginning to come in focus. The policeman is happy now.
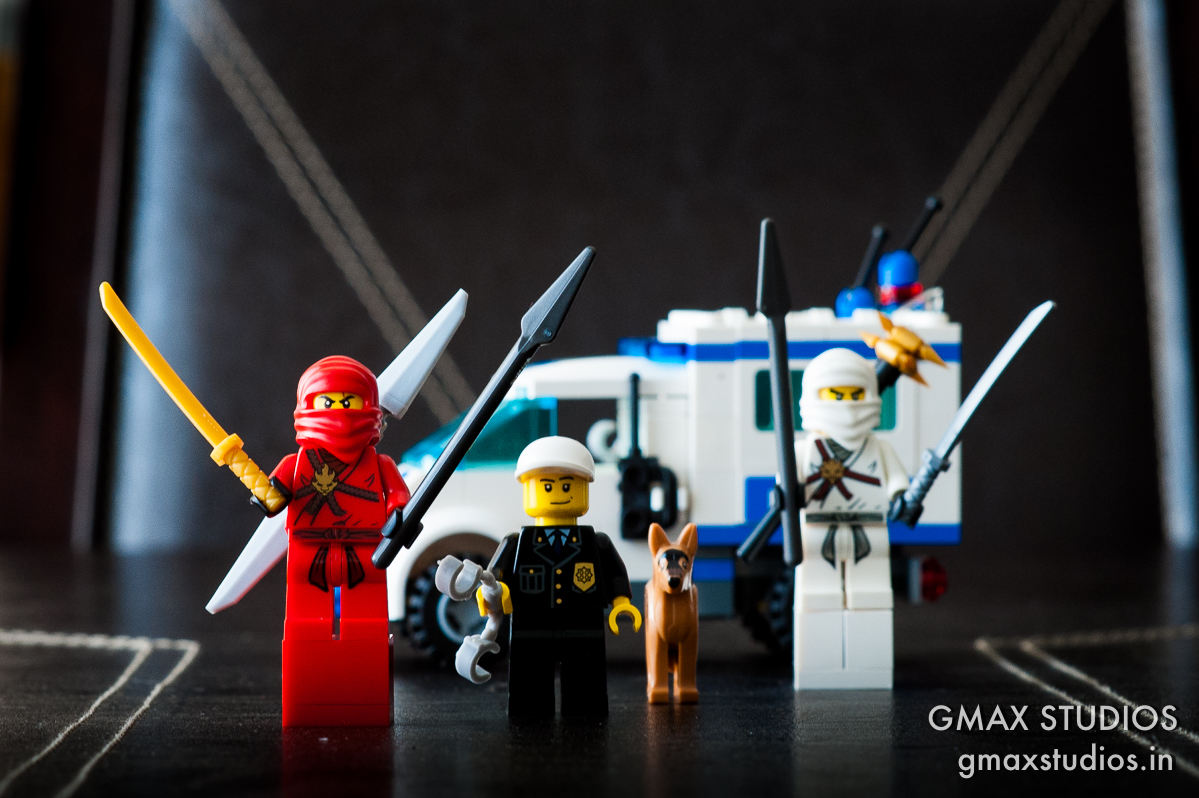
If we make the aperture even smaller by closing it down to f11, the background is almost completely in focus. The eyes of the white Ninja are almost sharp too. You can also make out the form of the chair at the dining table. which was not the case at all when we were shooting at f1.8. Also notice how the stitching on the dining table is in focus BEFORE and AFTER the focus point.
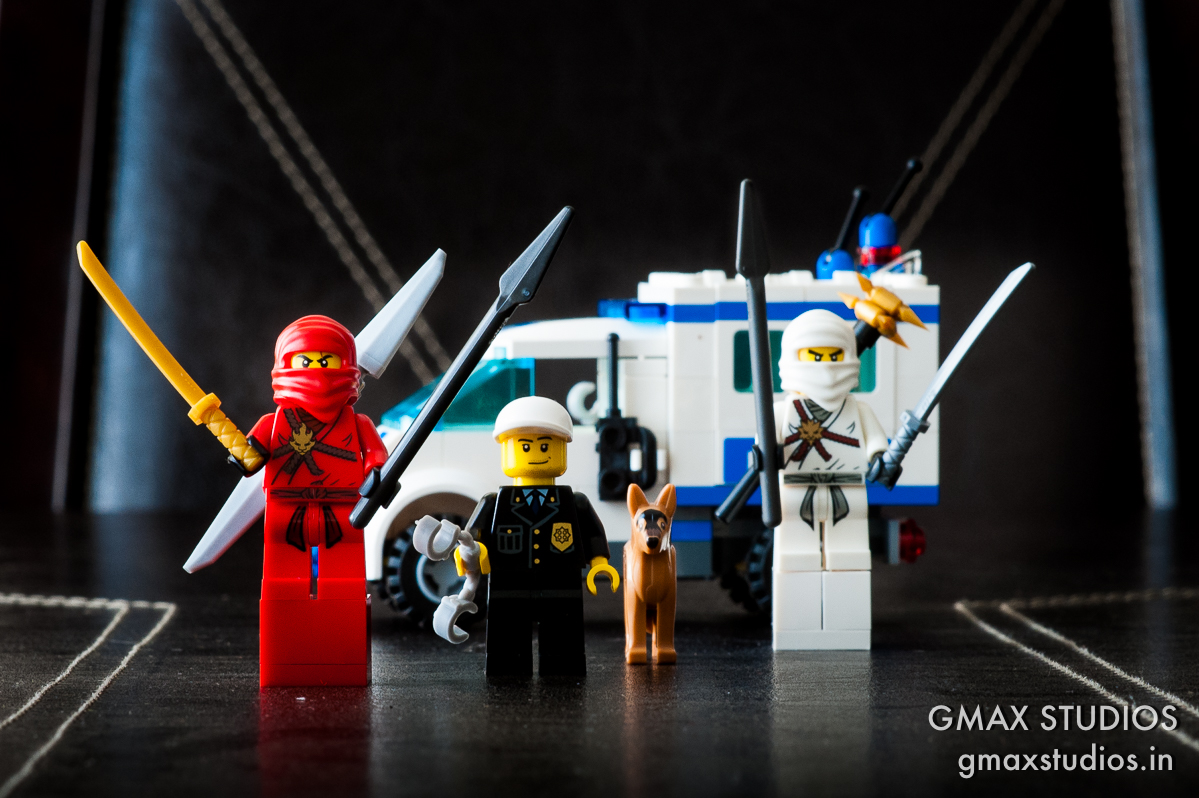
For comparison, here is the first image shot at f1.8 again:

Thumb Rule:
The higher the number of the aperture, more of the background will be in focus. This can be summarised by the graphic below.
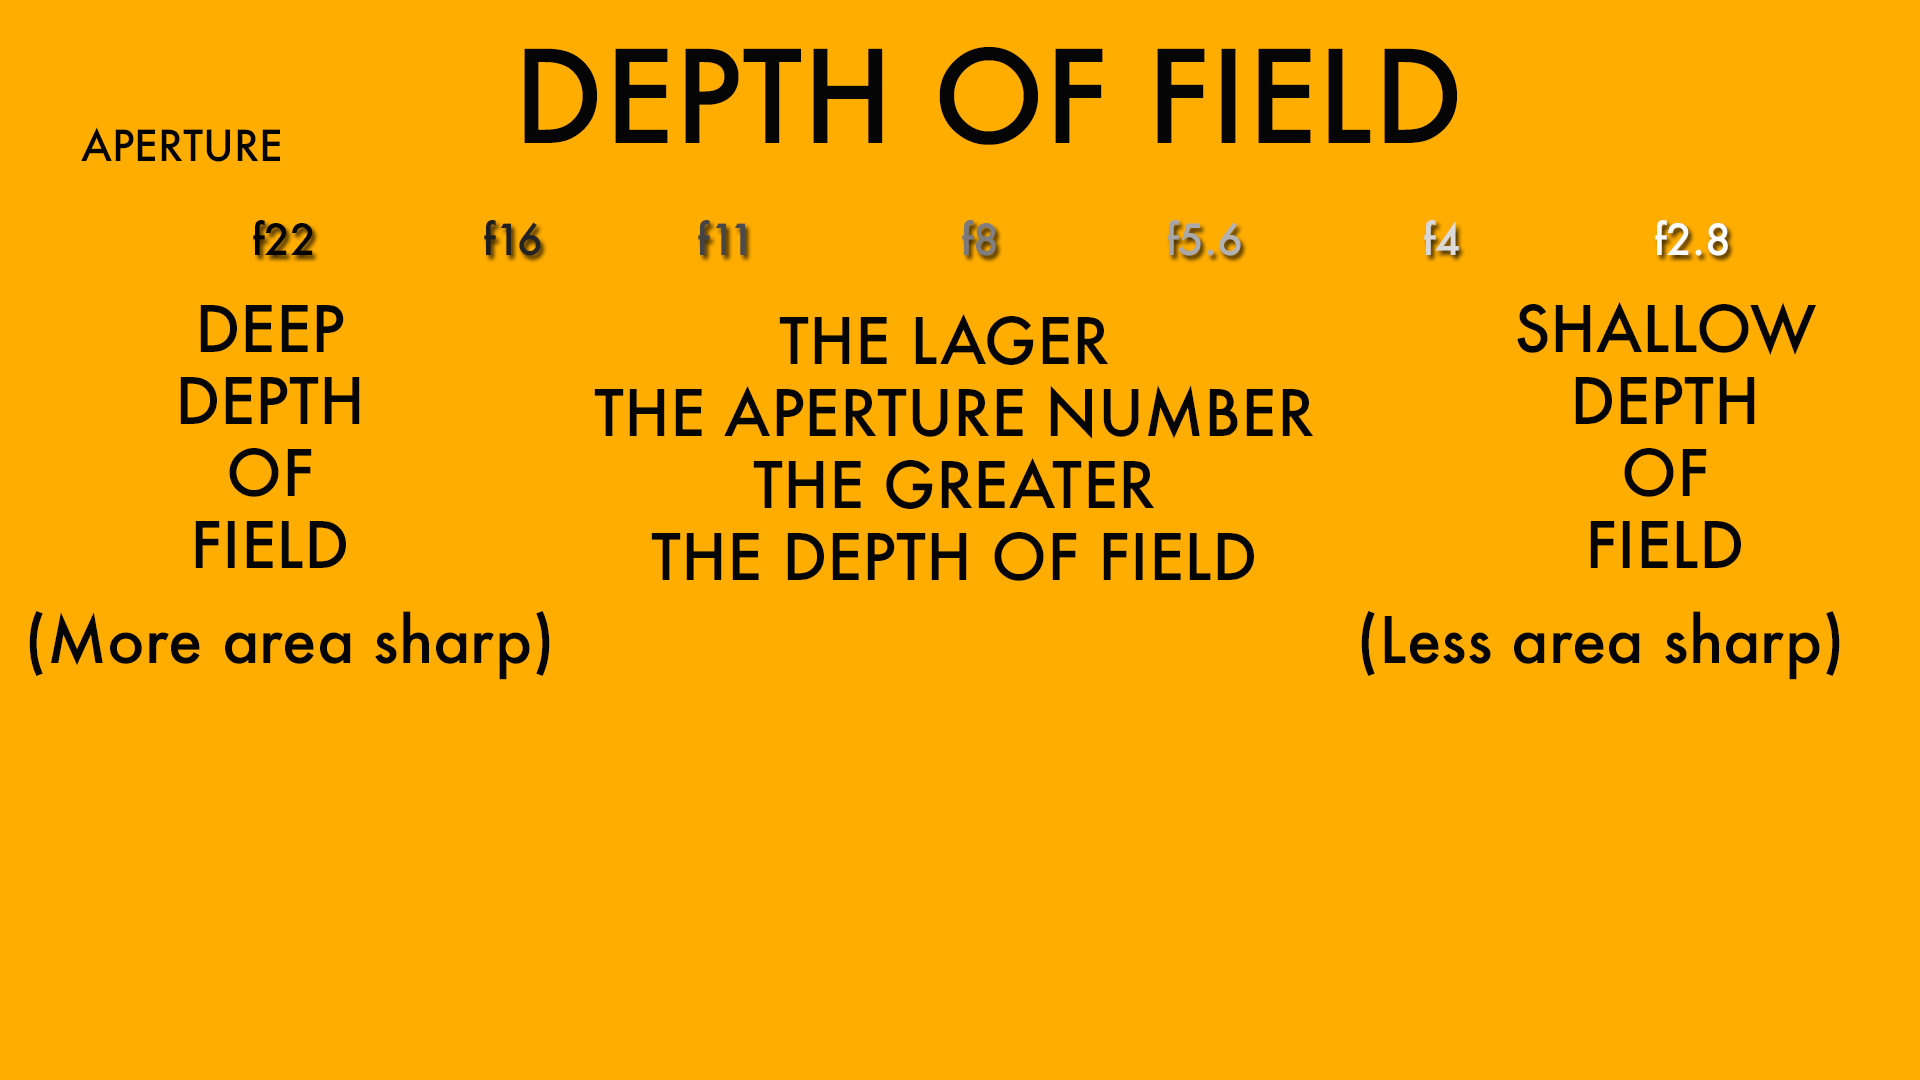
You can download a hi-res version of this graphic to your computer or smartphone by adding us to your Google Plus circles. Also watch the video below to understand this concept better and see a practical demonstration of how aperture affects photos and depth of field. If you like the video, please consider subscribing to our channel by clicking here.
https://youtu.be/q3SvCAlgFLw
Shoot me your questions in the comments or leave your suggestions as to what articles or videos would you like to see next.


