
Nikon Firmware Update Enables Raw Video, Eye AF And CF Express Cards On Z7 And Z6
Nikon just dropped this news. This is going to change the mirrorless game.
Nikon has announced a firmware update that will enable raw video output to an external recorder, Eye AF and CF Express card compatibility.
Apple ProsRes RAW Output
On the second day of the CES 2019, Atomos’ CEO Jeromy Young announced that the new Atomos Ninja V is compatible to record ProRes RAW with the new Nikon Z6 and Nikon Z7.
“Atomos is excited to work with Nikon on the development of ProRes RAW recording from Nikon’s Z series. This expands ProRes RAW to Ninja V and is the world’s first true full frame mirrorless to give raw video output. The combination will enhance content creation at all levels, from Social, through Pro Video and into Entertainment.”
- Atomos Global
According to Atomos, the Nikon Z6 and the Nikon Z7 output a stream of RAW data via a HDMi cable to the Ninja V. Capturing Apple ProsRes RAW with the Ninja V will unlock wider and complete control of the video image at highest quality possible.
Some believe that Atomos is using a closed loop protocol with-in the HDMi, which basically means that they are taking all the pixels and rearranging them.
Nikon’s new mirrorless cameras, the Z6 and Z7 will be more than capable of outputting a RAW signal to the Atomos Ninja V, it’s not unrealistic to expect that more cameras will be capable of doing this in the near future. We wouldn’t expect that we are likely to see either Canon or Sony enable a RAW output to be recorded from their cameras.
Eye AF
With this new firmware update Nikon intends to announce its long awaited Eye auto-focus feature in their mirrorless cameras like the Z6 and the Z7. The Eye AF is a very good helping-hand when it comes to taking pictures such as portraits, event or street photography scenario.
“Our much-anticipated Eye AF function that is currently in development for the Z7 and Z6 can effectively detect your subject’s eyes, making focusing so much easier! You’ll capture stunning shots where focus has been clearly acquired on the subject's eyes - good news for portrait and streetphotographers!”
-Nikon Global
According to Nikon, the technology/feature is in its last and final implementation phase. In the demonstration video below, you can see it acquires the eye as fast as a Sony/Fujifilm has been able to do with their mirrorless technology. The only difference being that the area of the box seems to be much larger than that of Sony’s or Fujifilm’s Eye AF.
Source: Nikon Europe YouTube Channel
It will be possible to select which eye to focus on if there are multiple subjects in the frame, in which case, this makes it easier for the shooter to prioritise the particular subject.
We expect the Nikon’s Eye AF to be as efficient as Sony’s or Fujifilm’s.
As of now, Nikon has not released an official date about when we can expect this new firmware upgrade, but we believe it will be soon.
If you would like to know further please visit:
CF Express Card
Nikon has also announced that their new mirrorless cameras will be compatible with the new CF express cards after the firmware update. These cards use the same form-factors as the XQD cards which are the only data transfer interface used in the Z6 and Z7.
What’s really surprising is that Sony was the first one to introduce XQD cards and yet they have not incorporated the technology to any of their camera devices.
In a recent statement given by Pro Grade Digital states that they will be introducing a 1 terabyte CF Express card demonstrated 1,400 MB/s read speed and over 700 MB/s burst write speed.
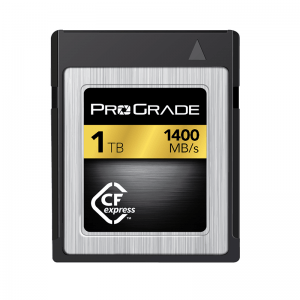
Source: ProGrade Digital Website
“ProGrade Digital is delighted to be participating in this exciting technology demonstration highlighting the speed of the ProGrade Digital 1TB CFexpress card and Thunderbolt™ 3.0 in the digital workflow,”
-Wes Brewer, founder and CEO of ProGrade Digital.
“With read speeds up to 1400MB/s, this technology provides peak performance for offloading cinema-quality, video and still image files at speeds that are at least three times faster than ever before.”
- ProGrade Digital Global
If you would like to know further, please visit:
https://progradedigital.com/2019/01/08/prograde-digital-cfexpress-1-0-demonstrated-at-ces-show/


How to white balance Nikon cameras

Why do a preset white balance?
The cameras made today are extremely sophisticated and they can judge pretty accurately what kind of photograph is being shot under what lighting conditions. But sometimes, you need to give them a little push so that they are able to serve you better. If you feel that your photographs are too warm or too cool for your taste, maybe it is time for you to do a custom white balance or as Nikon calls it - preset white balance. We are going to take a look at the easiest, cheapest and fastest way to white balance Nikon cameras. If you want to know about custom white balance on Canon cameras, please read this article here.
White balance is nothing but getting rid of the colour casts on your photographs by telling the camera, "Hey! This is white! Please make other adjustments accordingly!" So logically, the easiest way of doing this is by showing the camera a piece of white paper and telling it that this is white. Different cameras have different ways of measuring white under different lighting conditions, though internally the process remains the same.
How to white balance Nikon cameras
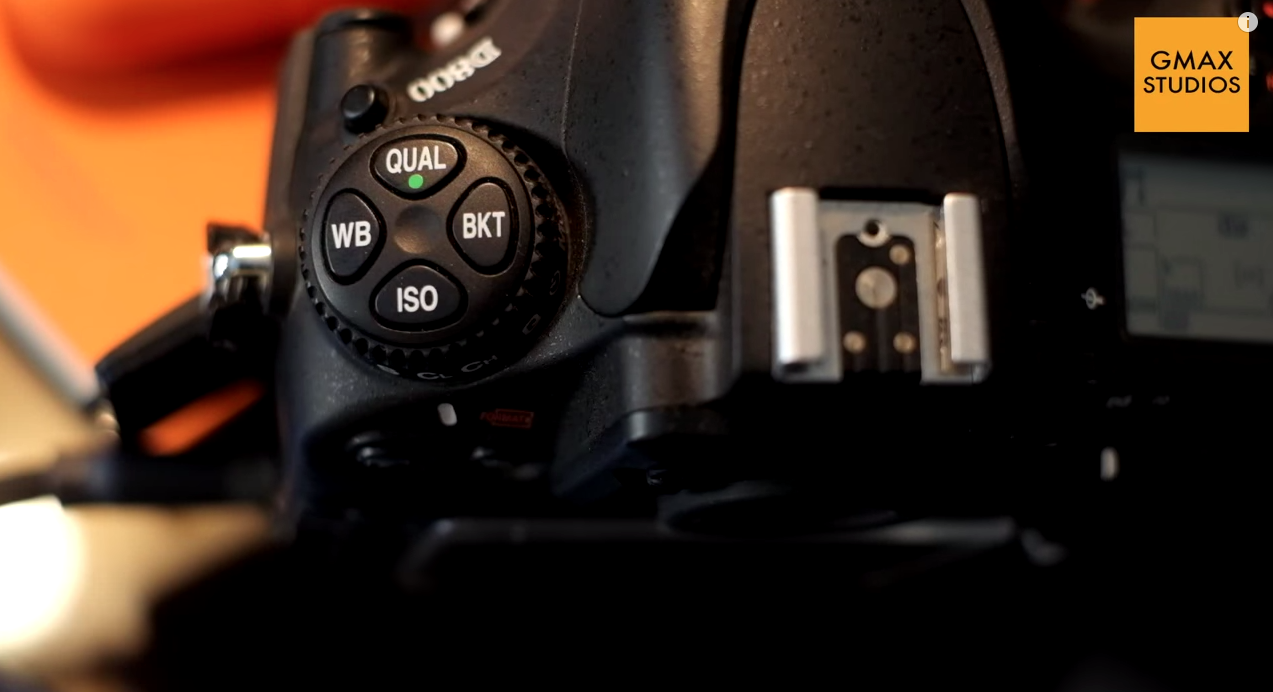
Nikon calls this adjusting the PRESET white balance and it is done by pressing the WB(white balance) button on the camera and turning the command dial until the display show "PRE". You then release the WB button and press it again. The PRE now begins to flash. This means that the camera is in ready mode to take the new white balance setting. Now all you need to to do is put a white paper in front of the camera and press the shutter button while the PRE is still flashing. The display should read "GOOD" which means your preset white balance was successful.
Important
- The white paper should fill the entire frame - nothing else should be visible.
- If you are shooting a wide shot, zoom in to the white paper or move closer to the paper.
- Do not get the paper close to the camera as the light falling on the paper has to match the light falling on your subject. Get the camera closer to the paper instead.
- If the camera is hunting for focus, switch to manual focus. It will not make a difference if the paper is out of focus to take the white balance reading.
- If the camera displays "NO GOOD" that means that the camera was unable to get a proper reading. Check if your exposure is correct. Underexposure or over exposure might cause a bad reading.
- Make sure that the PRE is flashing when you press the shutter button.
Please watch the short video below to understand this process better. If you have any questions, please ask them in the comments and if you like the video, please subscribe to our channel by clicking here.
https://youtu.be/CL_WPm13zI0

Please ask any questions that you might have in the comments section below.